Einleitung
This guide will walk you through the step by step process of removing the display assembly from the laptop. To replace just the LED screen component within rather than the entire assembly, refer to Asus Chromebook C300SA-DS02 Screen Replacement.
Werkzeuge
-
-
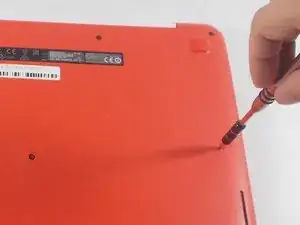
Remove the eight 8.0mm Phillips #0 screws on the bottom of the laptop.
-
Remove the three 6.0mm Phillips #0 screws.
-
-
-
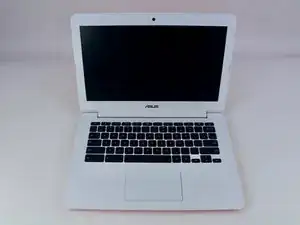
Open the laptop.
-
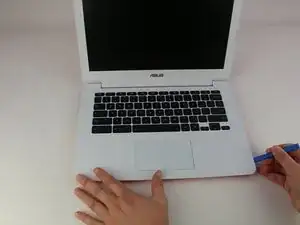
Using an iFixit opening tool, pry along the edges of the keyboard.
-
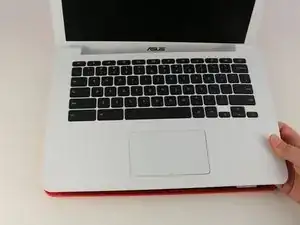
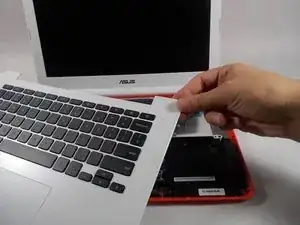
Lift the keyboard and slide it gently towards you.
-
-
-
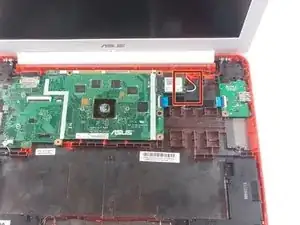
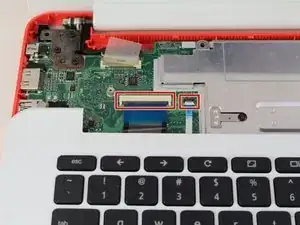
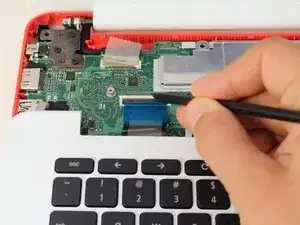
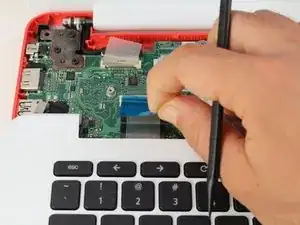
Disconnect the two ZIF connectors by prying up the locking bar with a spudger and removing the ribbon cable.
-
-
-
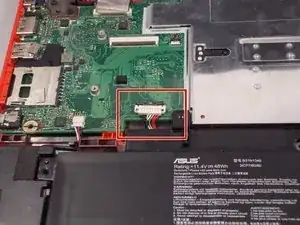
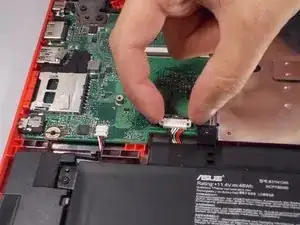
Using your thumb and index finger, pinch the multi-color cable and disconnect it from the motherboard.
-
-
-
Peel back the tape covering the display cable.
-
Ease the cable towards the screen and out from the connector.
-
-
-
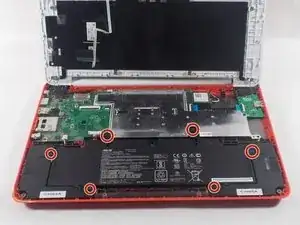
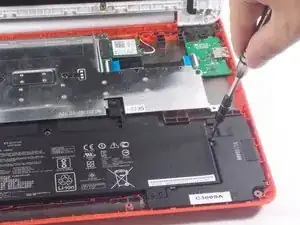
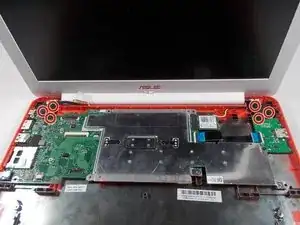
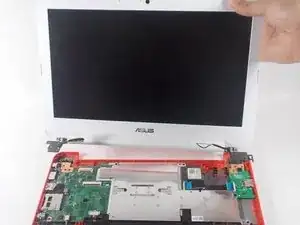
Use a Phillips #0 driver to remove the six 5mm screws on the top right and left display hinges.
-
To reassemble your device, follow these instructions in reverse order.
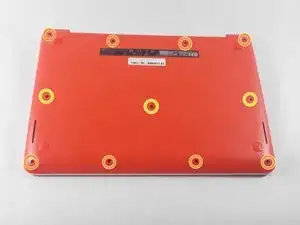


I appear to have FIVE of the smaller screws. The four securing the near edge and the one in the center are smaller than the four securing the far edge and the left and right sides. Either your diagram is wrong, or someone screwed mine together incorrectly.
brucegreer -
Mine is the same way — six long screws, five short ones. The screw paths seem to correspond accordingly.
Paul Wagenseil -