Einleitung

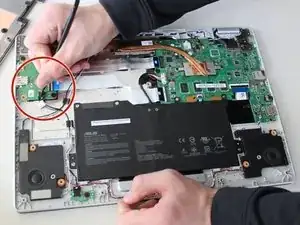
If keys on the keyboard stick or are unresponsive when pressed for the Asus Chromebook C523N, use this guide to replace your keyboard. Before starting this guide, make certain that the Chromebook is not connected to power and is powered off.

  1. KCOdwkQrFk6BHRVj
    KCOdwkQrFk6BHRVj
    uBp6dx5VxrvtfJpf
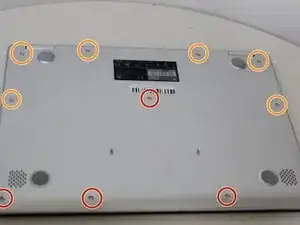
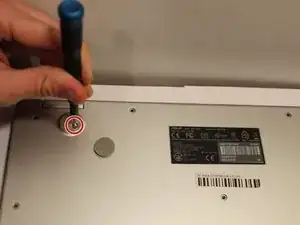
    • Remove the four 0.5mm JIS #00 screws from the bottom edge of the Chromebook and one in the center.

    • Remove the six 1.7mm JIS #00 screws from the sides and top edge of the Chromebook.

  2. knFqESPV1nkhUKUu
    knFqESPV1nkhUKUu
    O5KKTHHgFlJHqCSU
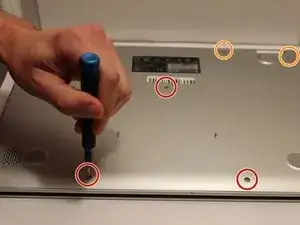
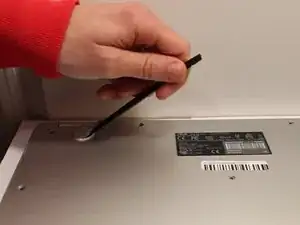
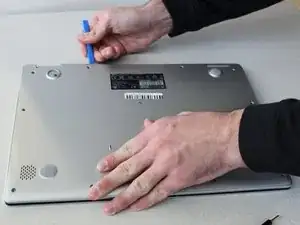
    • Using a spudger, lift the top left base pad and remove it to reveal a final screw underneath.

    • Remove the one 0.5mm JIS #00 screw underneath the base pad.

  3. 1TrpSnxHHUbAsDbj
    1TrpSnxHHUbAsDbj
    LSKIhHERrGHrqLsT
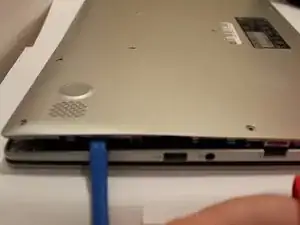
    • Use an opening tool to gently pry the base enclosure up and remove from the laptop.

  4. MBhfvT6FTGHRsSxa
    MBhfvT6FTGHRsSxa
    JRo4LhWfScCF4Qwt
    uJ1FAFIDwgK1GIxv
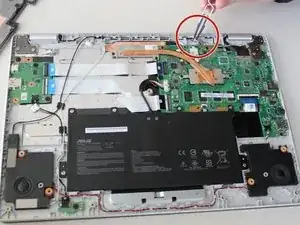
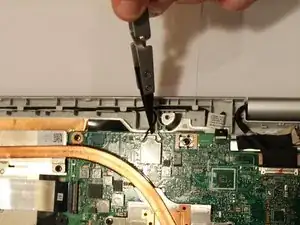
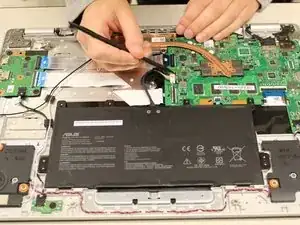
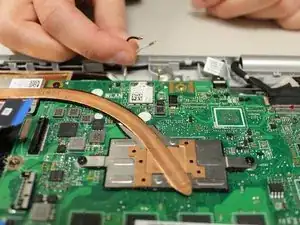
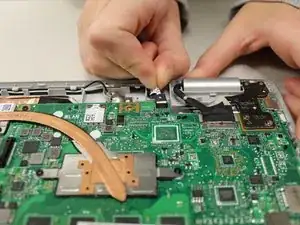
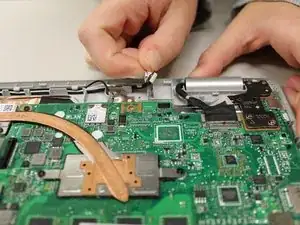
    • Using the nylon tipped tweezers, gently pry the black and white wires from the wireless card and lift.

  5. wHBvmxkDAMhtVWN1
    wHBvmxkDAMhtVWN1
    DGABIETl1JCYLj6j
    WMlk6PZOxvJJ1SbU
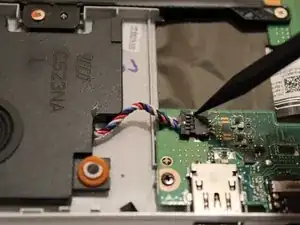
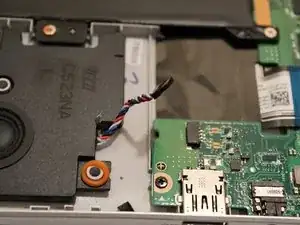
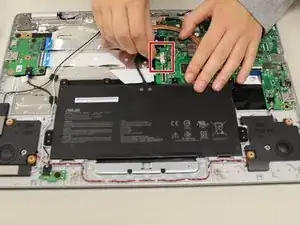
    • Use a spudger to pry the small tangle of black, red, white, and blue wires from the audio connector, pushing the wires back toward the speaker.

  6. vZW4KUVwD16mWw1x
    vZW4KUVwD16mWw1x
    daWG5Z5G5cGAxrTT
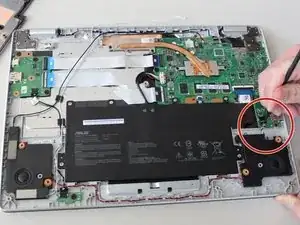
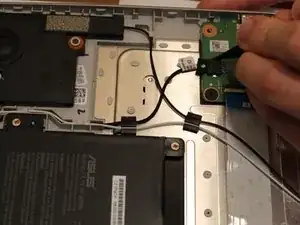
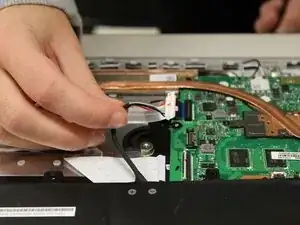
    • Use a spudger to pry the black wire from the audio connector, pushing the wires back toward the left speaker.

  7. RPSw3KQKYkVXuJKd
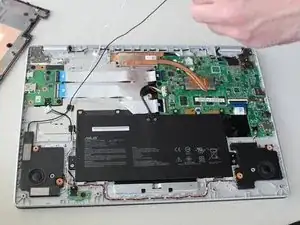
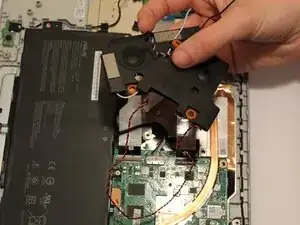
    • Gently grab both speakers and lift them from the Chromebook to remove.

  8. yFAT12Vfka5HvQU2
    yFAT12Vfka5HvQU2
    5SZZreZoyIcsjqX6
    tZDCnZkGLS6WPoZo
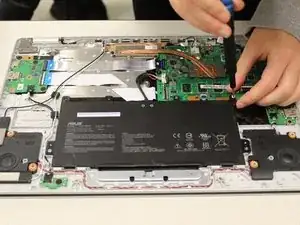
    • To disconnect the cable, use the tip of a spudger or your fingernail to flip up the small locking flap.

    • Gently disconnect the battery cable from the motherboard.

  9. qApN3ixeYBC3CcYK
    qApN3ixeYBC3CcYK
    EkimdHpEcaISJwmO
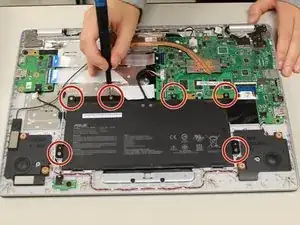
    • Remove six 1.4 mm JIS #00 screws from the battery.

  10. VaNrOCrjy2TWkKET
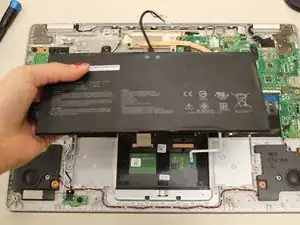
    • Remove the battery from the laptop.

  11. roXFcyhdfL1UaXGR
    roXFcyhdfL1UaXGR
    EUQDhDZxUJHYF2DC
    QsQjLXmptgjfiI2M
    • Using tweezers, gently pry the black and white wires from the wireless card and lift.

  12. cQGAiDdoLW1mJudN
    cQGAiDdoLW1mJudN
    vfcGIJPbiAQbdOTY
    QFSaGv2XCqMwOI5B
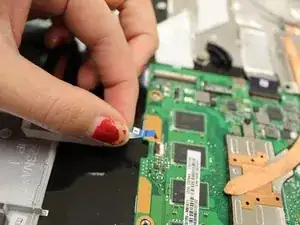
    • Gently pull the trackpad cable from the connector, located next to the wireless card.

  13. oXcqmfApZMva261r
    oXcqmfApZMva261r
    ugYAMmuATL3fSHjJ
    aZTUfVBMr3MhxmrN
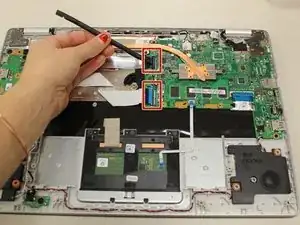
    • Using a spudger, disconnect the two side-by-side ribbon cables from their connectors, pushing in the direction of the ribbons (toward the left side of the Chromebook).

  14. D43GWDbdKctnSwLX
    D43GWDbdKctnSwLX
    kGqgyQsbES6mELm6
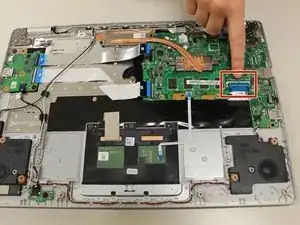
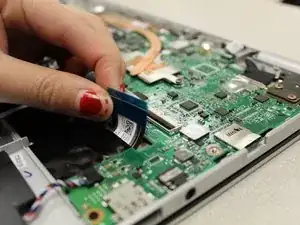
    • Disconnect the thick blue ribbon cable from the connector by pulling it away from the motherboard.

  15. q6NPd5R1JKimQAta
    q6NPd5R1JKimQAta
    vWdLrLEAUYnNfr24
    CBRCFIASfVwsuyTF
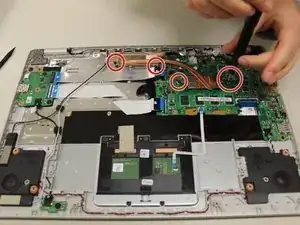
    • Remove the 0.4mm JIS #0 screws from the heat sink in the center of the motherboard.

    • Lift and remove the heat sink.

  16. jishdCNrjbI2NMrr
    jishdCNrjbI2NMrr
    ZtPcUcVMTCBWgRUJ
    FlilPnfnPKwdBKTe
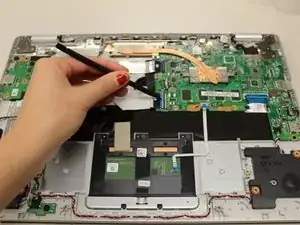
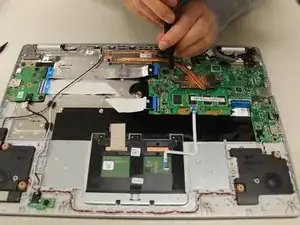
    • Gripping the thin white ribbon cable, gently pull it away from the motherboard to disconnect.

  17. QmwEQ1pGqRKTnYvE
    QmwEQ1pGqRKTnYvE
    TefyCSUbEdiSx3Vx
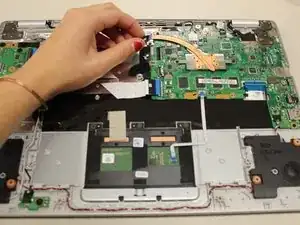
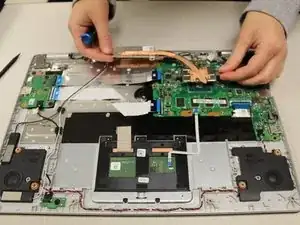
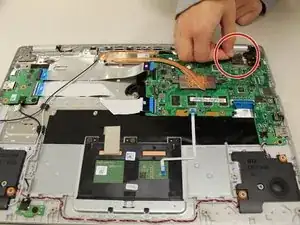
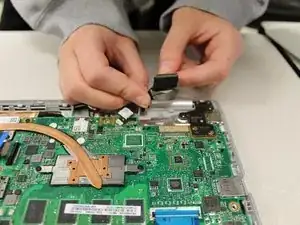
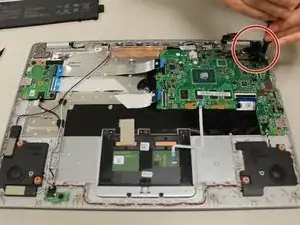
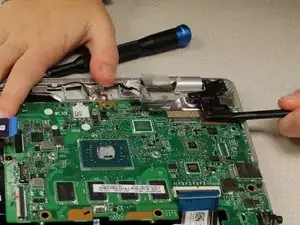
    • Disconnect the thick black connector by gently pulling it up, away from the motherboard.

  18. UQ3rMFye5DSGKfxB
    UQ3rMFye5DSGKfxB
    lAqySCeCVycZwqNt
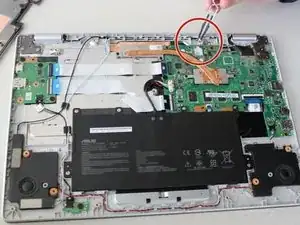
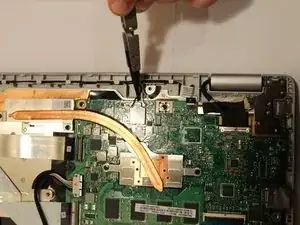
    • Remove the two 0.4mm JIS #00 screws at the bottom of the hinge (closest to the motherboard).

    • Using an opening tool, pry the hinge upward.

  19. o1Iq1UpRNqghNseO
    o1Iq1UpRNqghNseO
    rTqQnVRtRMx1ZUTZ
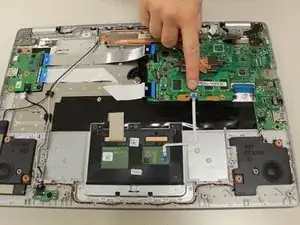
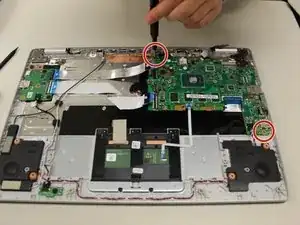
    • Remove the two 0.4 mm JIS #00 screws from the motherboard.

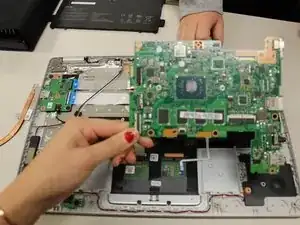
    • Gently lift and remove the motherboard.

  20. vnuei3wDriEEGBRI
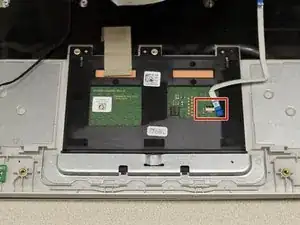
    • Pull gently on the touchpad cable connector to disconnect.

  21. vw1fvO4MNwqZGKvm
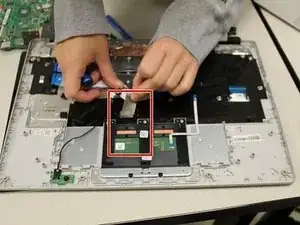
    • Carefully, remove the tape from the touch pad only.

  22. DiCVipwMSaIBSkNb
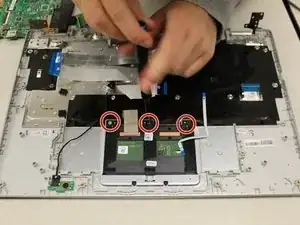
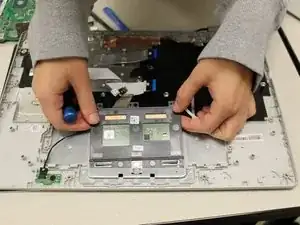
    • Remove the three 1.4 mm JIS #00 screws.

  23. IPN3TURNKn5LZEJT
    IPN3TURNKn5LZEJT
    mgMiNBnEfWjboTXy
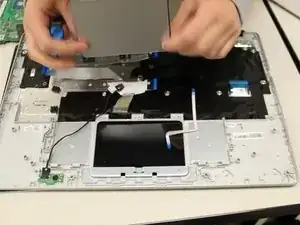
    • Lift at the far edge of the touchpad to remove it.

  24. TbrHjFoTyWSL6OKR
    TbrHjFoTyWSL6OKR
    2csBxKrDlEw2SNXo
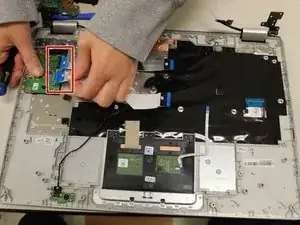
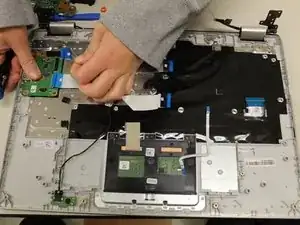
    • Disconnect the two ribbon cables from the daughterboard.

  25. K2wAmTDCwb1JJhPY
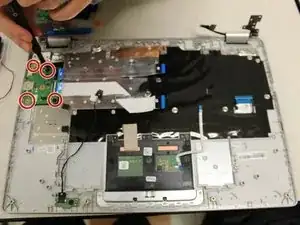
    • Remove the four 0.4mm JIS #00 screws from the daughterboard.

    • Remove the daughterboard.

  26. r25GKQVSWXUqhjuS
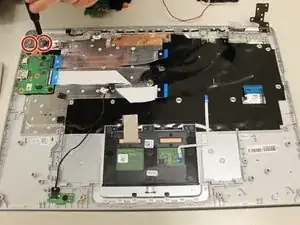
    • Remove the two 0.4mm JIS #00 screws on the left hinge.

  27. PNQJSnZZWgngGgIK
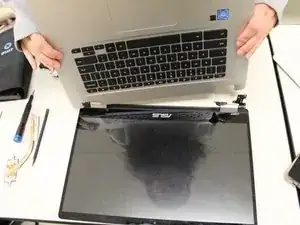
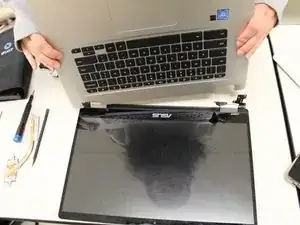
    • Lift the keyboard of the Chromebook off of the screen.

Abschluss

To reassemble your device, follow these instructions in reverse order.

Aaron Hogan

Mitglied seit: 15/10/19

630 Reputation

2 Kommentare

Great walk through. I used this to replace a keyboard on a C423N ASUS. Everything but the track pad connector on the mother board and three screws instead of 2 on the screen hinges is the same.

Charles Stanley -
Hi there

How would I replace the screen for this model??

Saif -