Einleitung
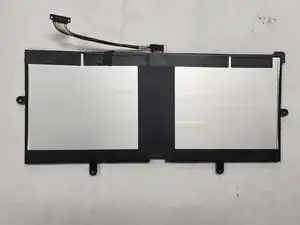
If your Asus Chromebook C302CA Flip laptop battery has been experiencing unexpected power outages, charging delays, or dying sooner than expected, this could indicate that your battery needs to be replaced. If that's the case, this guide will walk you through the steps of removing and replacing your laptop battery.
A battery is an energy storage device made up of two or more electrochemical cells that convert stored chemical energy into electrical energy and are used as a power source. As a result, it is important to take care of your laptop battery because your laptop cannot function without it.
Nonetheless, make sure your laptop is turned off and unplugged from any outlets before you begin removing the components.
It is best if you gather all of your tools in one place before beginning to replace this component. We recommend that you use the iFixit Magnetic Project Mat to keep your screws organized. Choose a location where there will be no children to interrupt you to prevent them from using tools that could harm them.
Werkzeuge
-
-
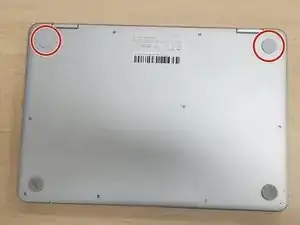
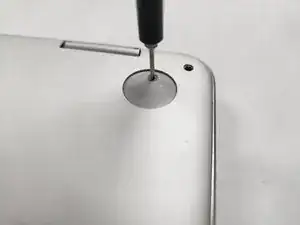
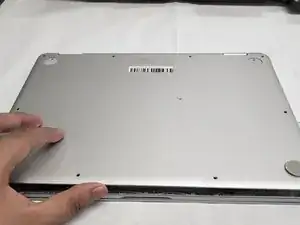
Remove two rubber caps on the top.
-
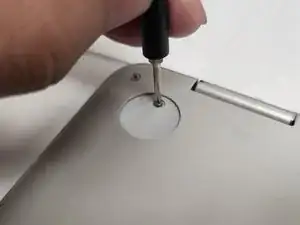
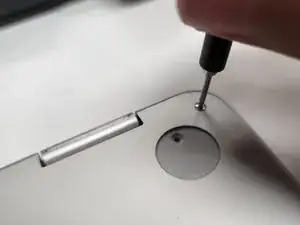
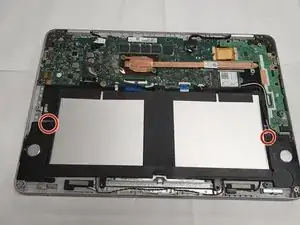
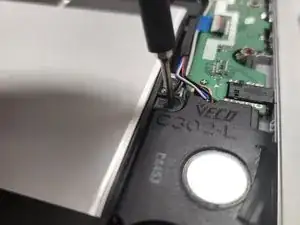
Remove the two 1 mm screws using the Phillips #00 screwdriver.
-
-
-
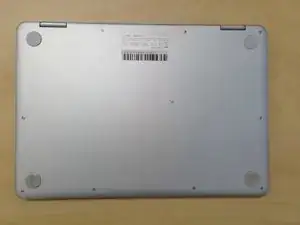
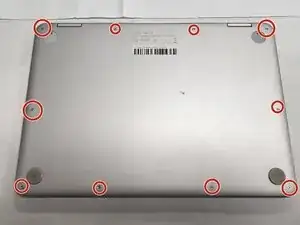
Remove the ten 2 mm screws from the back panel using a T5 Torx screwdriver.
-
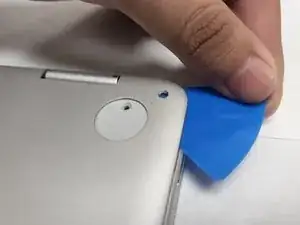
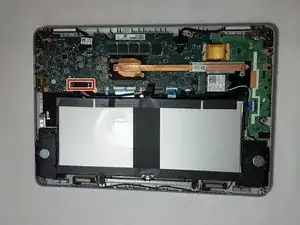
Carefully remove the back panel using an opening pick.
-
-
-
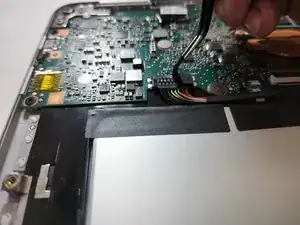
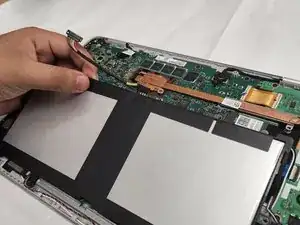
Remove the sticker holding the cable using a pair of tweezers.
-
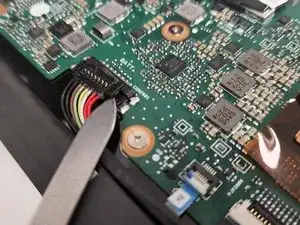
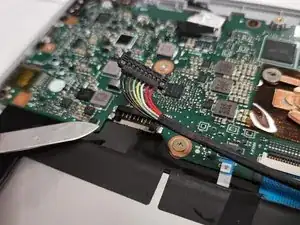
Detach the cable from the motherboard by lifting it up with a spudger.
-
To reassemble your device, follow these instructions in reverse order.
