Einleitung

If the touchpad on your Asus Chromebook Flip laptop (model C302A) stopped working after you tried troubleshooting, you may need to replace it. You may need to replace it if it is damaged as a result of it not being disabled in the BIOS or if it has Corrupted Operating System files that probably caused the damage. If this is the case, this is the guide for you. This guide will walk you through the process of safely removing and replacing your touchpad.

A laptop's touchpad serves the same purpose as a desktop computer's mouse. A trackpad is another name for it. The touchpad controls the mouse pointer, also known as the cursor.

With that being said, make sure your laptop is turned off and unplugged from any outlets before you begin removing the components. It is best if you gather all of your tools in one place before beginning to replace this component. We recommend that you use the iFixit Magnetic Project Mat to keep your screws organized. Choose a location where there will be no children to interrupt you to prevent them from using tools that could harm them.

  1. eN5WGYOBNDA246PG
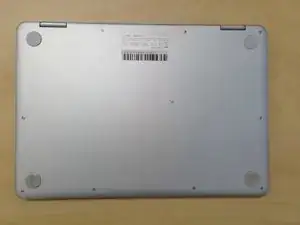
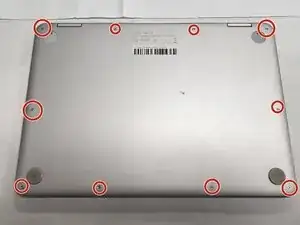
    • Turn the laptop over so the bottom is facing you.

  2. fqiJTbWAkpPqZUK3
    fqiJTbWAkpPqZUK3
    PDvwJMiiS2HHDw51
    rCMNvDH2lyAsjNc1
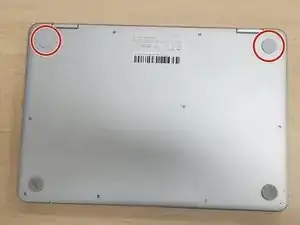
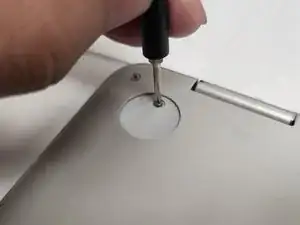
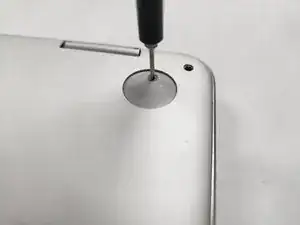
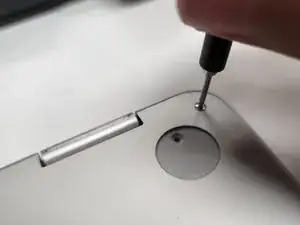
    • Remove two rubber caps on the top.

    • Remove the two 1 mm screws using the Phillips #00 screwdriver.

  3. SHXfqsvjFUHInpMI
    SHXfqsvjFUHInpMI
    llyDuWSR3BYpll1p
    KvGYvZYUIfIQTRND
    • Remove the ten 2 mm screws from the back panel using a T5 Torx screwdriver.

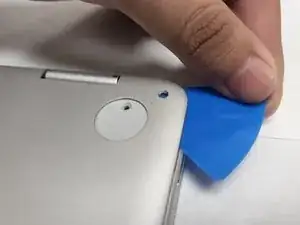
    • Carefully remove the back panel using an opening pick.

  4. bIBxc6YUjSG3nrco
    bIBxc6YUjSG3nrco
    ZfAdWLxLtKDygtIG
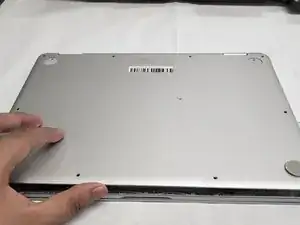
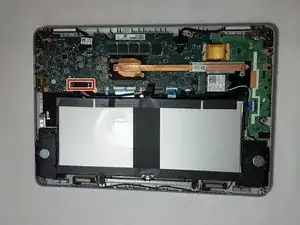
    • Remove the back panel from the laptop.

  5. J6xtiKYq3ynSIuES
    J6xtiKYq3ynSIuES
    C4JX1yPjVd55HPFf
    BiCTScUjlo4lvIZh
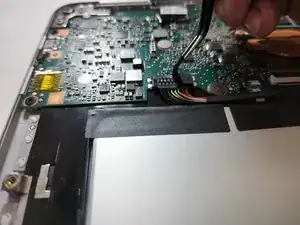
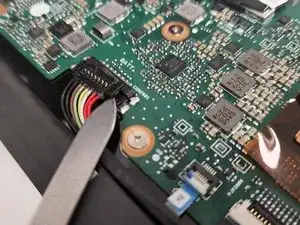
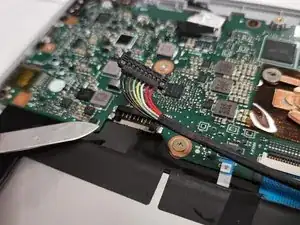
    • Remove the sticker holding the cable using a pair of tweezers.

    • Detach the cable from the motherboard by lifting it up with a spudger.

    • Always use a plastic or nylon ESD-safe tool. Metal spudger and other sharp tools can puncture a battery, potentially causing a fire.

  6. YLvF2r5CLgIiB22Q
    YLvF2r5CLgIiB22Q
    DtR1DAAC2nSNkojC
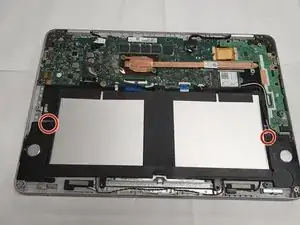
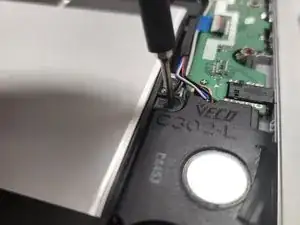
    • Remove the two 2 mm screws holding the battery using a Phillips #00 screwdriver.

  7. 2rrcVVWVUEOVu6Cc
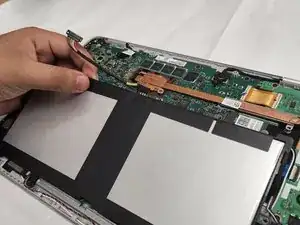
    • Carefully lift up the battery from the front side to remove it from the laptop.

  8. MYoTNuLPtR11Za4w
    MYoTNuLPtR11Za4w
    hJj1iKOEfHtZNBYs
    awKUksVehKrUWduD
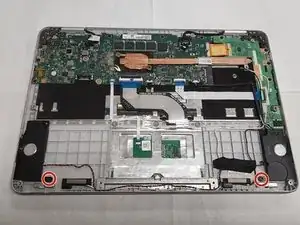
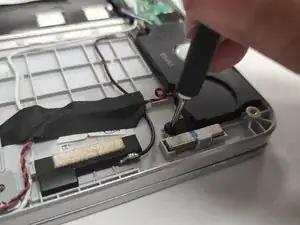
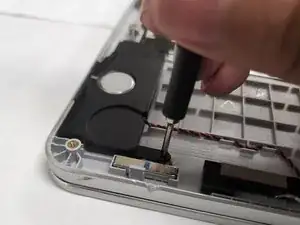
    • Remove the two 2 mm screws from the speakers using a Phillips #00 screwdriver.

  9. kVJ2CyT3r2g3KmBN
    kVJ2CyT3r2g3KmBN
    I15OBqM2ZZ3nYDCj
    yJuJhrJgAZKVlM16
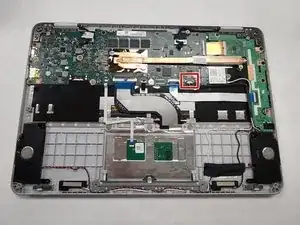
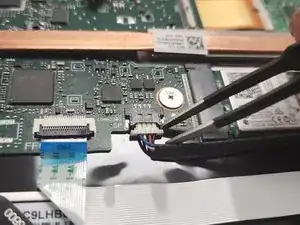
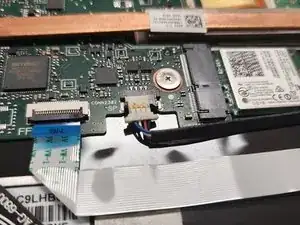
    • Detach the cable that is connected to the motherboard using a pair of blunt tweezers.

  10. AGTf3mLL2I1ylprD
    AGTf3mLL2I1ylprD
    dHZsEZH3lZnSyKHo
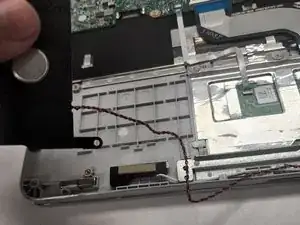
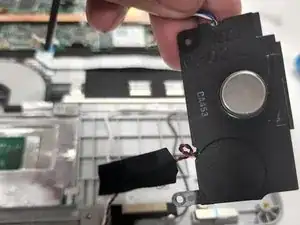
    • Remove both speakers from the laptop and set them aside.

  11. 62QRPHANyYk52DsS
    • Lift the tab connected to the motherboard using tweezers.

  12. oLdXKxJE3OKWWvu4
    oLdXKxJE3OKWWvu4
    Ka4HYNOrKd6eKOOc
    pHYTEjYIkD4E5UUa
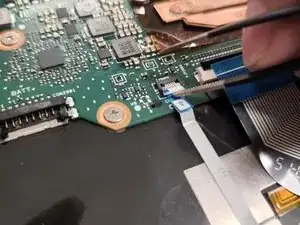
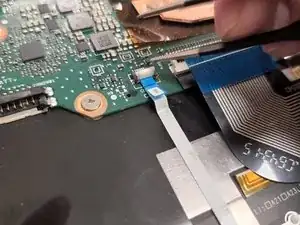
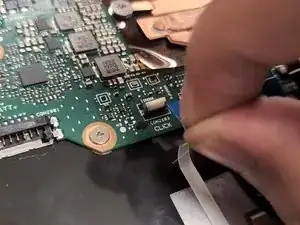
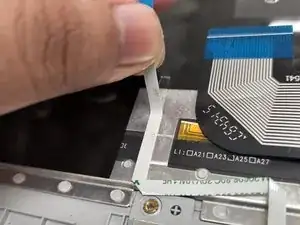
    • Flip up the ribbon cable tab using a pair of tweezers.

    • Disconnect the cable by holding the blue tab with your fingers and pulling out towards you.

  13. BRKkjMoAC6KXH15A
    BRKkjMoAC6KXH15A
    H6KLUUaQDAAtuvax
    UhMkhIpYqQ26IZ42
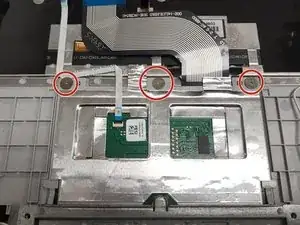
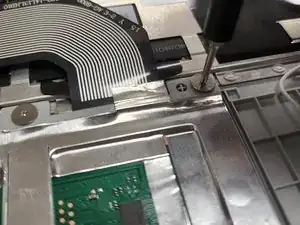
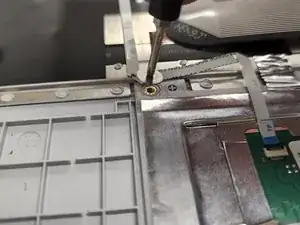
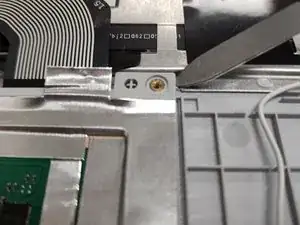
    • Remove three 3 mm screws from the trackpad using a Phillips #00 screwdriver.

  14. uOJnaUgN4FkqxJMO
    uOJnaUgN4FkqxJMO
    1QNL4CqaZAHKukJh
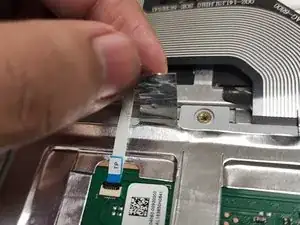
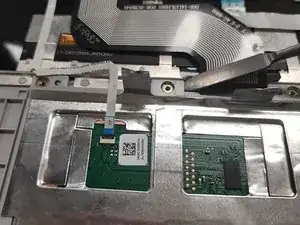
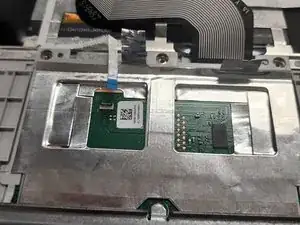
    • Detach the ribbon cable and silver adhesive attached to the computer by pulling it up towards you.

  15. aJHOlhhgxBWQCyLF
    aJHOlhhgxBWQCyLF
    qnDKYN2KiCBGlYUA
    E3ixQ5VLC1qXHRKv
    • Use a spudger to pry up all around the edges where the screws were to loosen the trackpad.

  16. ZIlVqNLbkZvwcyZR
    ZIlVqNLbkZvwcyZR
    s1DXHOVYlXQL2mEd
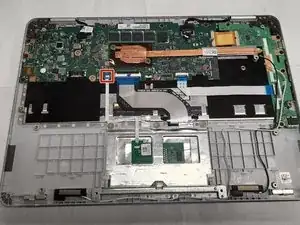
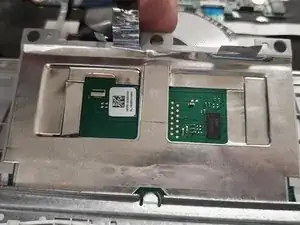
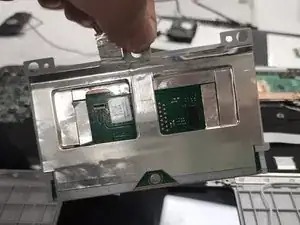
    • Lift up the trackpad to remove it from the laptop.

Abschluss

To reassemble your device, follow these instructions in reverse order.
Zahid Enriquez

Mitglied seit: 08/02/22

483 Reputation

0 Kommentare