Einleitung
If your Asus Chromebook Flip laptop (model C302CA) Wi-Fi card has been damaged or you are experiencing connection issues, and you have attempted to troubleshoot them, but nothing works, then you should consider replacing it. This guide will walk you through the steps of replacing your Wi-Fi card.
A Wi-Fi card is a component in the computer that controls the motherboard's connectivity and traffic while determining which components are compatible with the motherboard, such as the CPU, RAM, hard drives, and graphics cards. This is why it is critical to replace it if it is no longer working because it affects your computer's connection.
Make sure your laptop is turned off and unplugged from any outlets before you begin removing the components.
With that in mind, it is best if you gather all of your tools in one location before beginning to replace this component. We recommend that you use the Magnetic Project Mat from iFixit for your screws so that they don't get lost. Choose a location where there will be no children to interrupt you to prevent them from using tools that may hurt them.
Werkzeuge
-
-
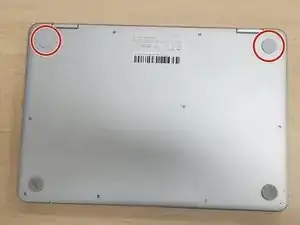
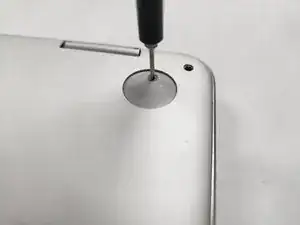
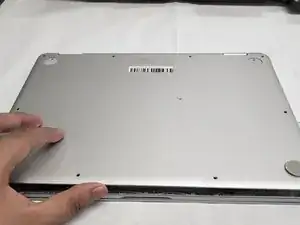
Remove two rubber caps on the top.
-
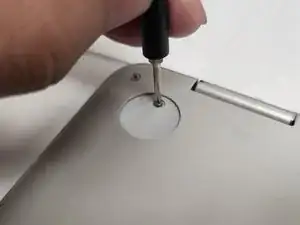
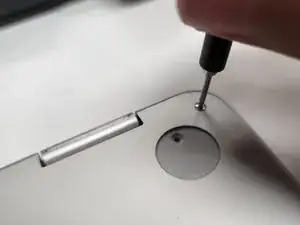
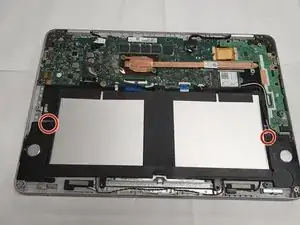
Remove the two 1 mm screws using the Phillips #00 screwdriver.
-
-
-
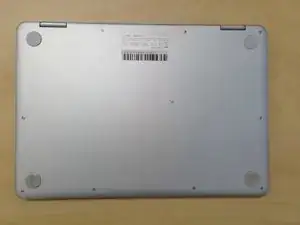
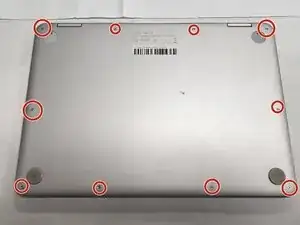
Remove the ten 2 mm screws from the back panel using a T5 Torx screwdriver.
-
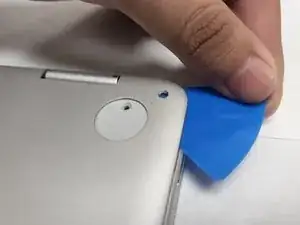
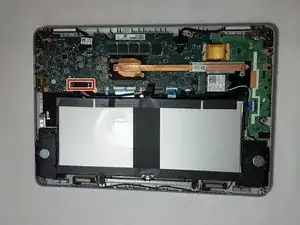
Carefully remove the back panel using an opening pick.
-
-
-
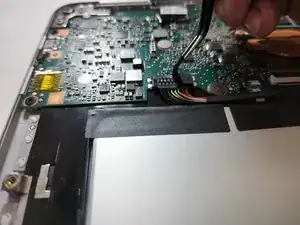
Remove the sticker holding the cable using a pair of tweezers.
-
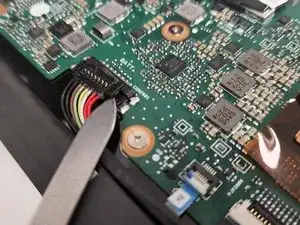
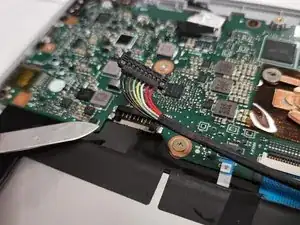
Detach the cable from the motherboard by lifting it up with a spudger.
-
-
-
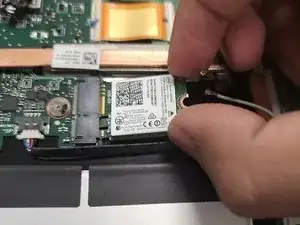
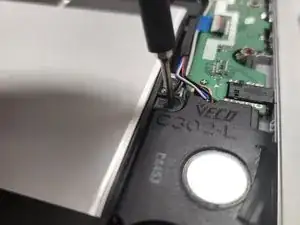
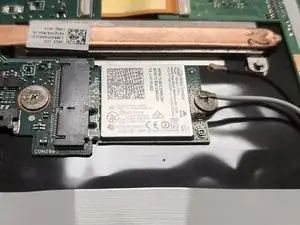
Carefully remove the black and white cables connected to the Wi-Fi card.
-
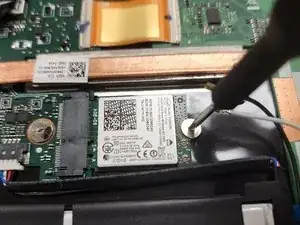
Remove the single 2 mm screw while holding the Wi-Fi card using the Phillips #00 screwdriver.
-
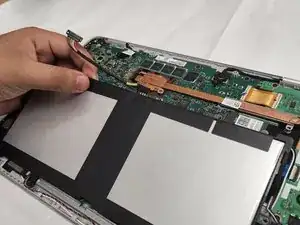
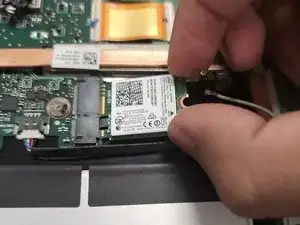
Remove the Wi-Fi card from the laptop.
-
To reassemble your device, follow these instructions in reverse order.
