Einleitung
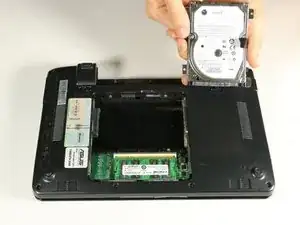
Follow this guide if you need to replace your netbook's hard drive. Back up any important data so that you can transfer it to the new hard drive.
Werkzeuge
-
-
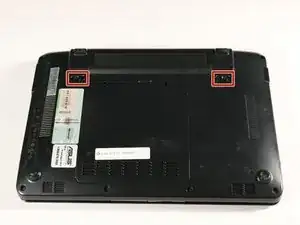
Lay the laptop down with the bottom facing upwards.
-
Locate the two battery lock slide tabs.
-
-
-
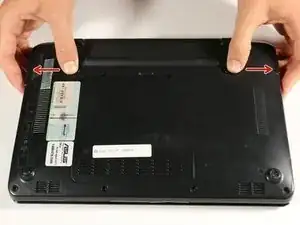
Slide the tabs outward to unlock the battery.
-
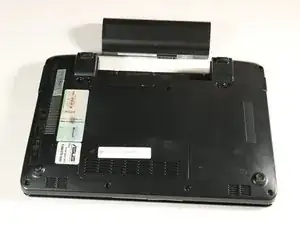
While holding the left tab outward, slide the battery away from you to remove it.
-
-
-
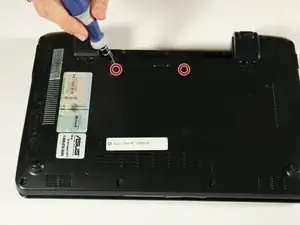
Using the Ph00 (+) Phillips screw head, unscrew the two 4 mm screws that hold the back panel in place.
-
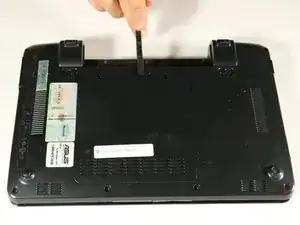
Use the spudger to gently pry off the back panel.
-
-
-
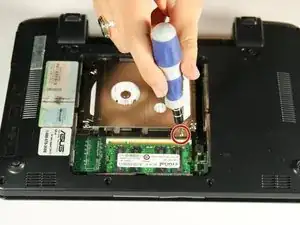
Use the PH00 (+) screw head and screw driver to remove the 4 mm screw holding down the hard drive cover.
-
-
-
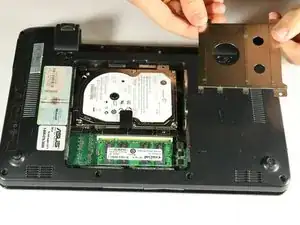
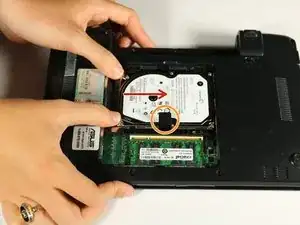
Slide the hard drive from the left towards the right side to detach it
-
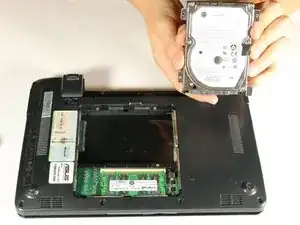
Once the hard drive is detached, lift the black tab and remove from the netbook.
-
-
-
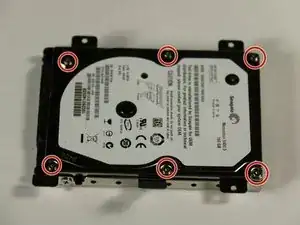
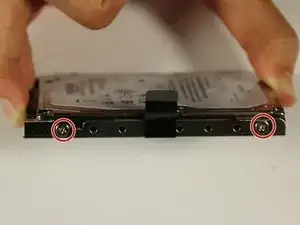
To remove the metal hard drive casing, use a T6 (star head) screwdriver head to remove six 4mm screws marked by the red circles in the picture.
-
-
-
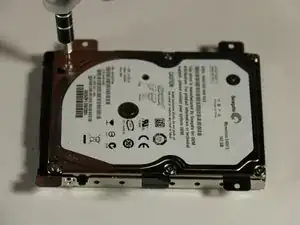
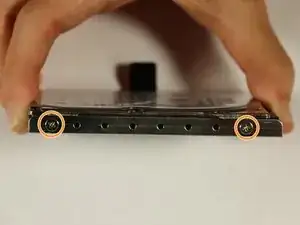
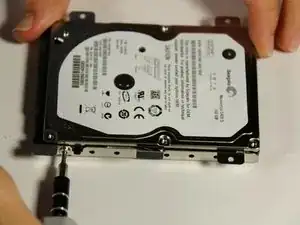
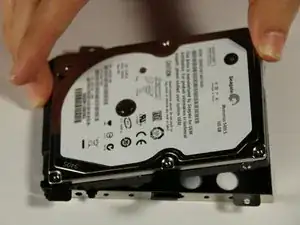
Next, remove the two 4mm screws on each side of the hard drive case shown by the blue circles. Use the PH00 (+) Philips head and screwdriver head used in the previous step to remove these 4 mm screws.
-
To reassemble your device, follow these instructions in reverse order.
Ein Kommentar
This guide used to have 8 steps as of 2017-06-19. I have edited out step 6 because it is unnecessary and risks damaging the hard drive. The screws on top of the hard drive should never be taken out outside of specialist situations such as data recovery. Removing the screws along the sides is all that is needed to remove the drive from the metal casing. Do not follow step 6 if there are still 8 steps displayed!
