Einleitung

If you are having troubles with your hard drive, this guide will teach you how to remove and replace it.

  1. PbQHbRYxC2rsQNYI
    PbQHbRYxC2rsQNYI
    DmT1NsI4nBHSY5aQ
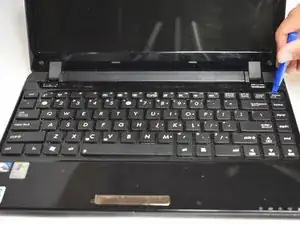
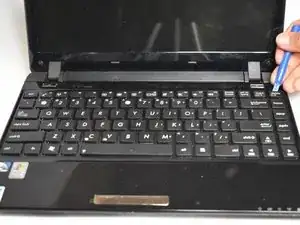
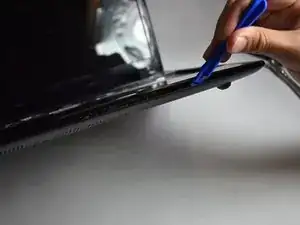
    • Use a plastic opening tool and carefully pry the top panel from the base.

  2. hsilyKlFVXqTiWIB
    hsilyKlFVXqTiWIB
    Ed3bEYYFf3bMkHON
    RWlGCHoW1KQpNnKg
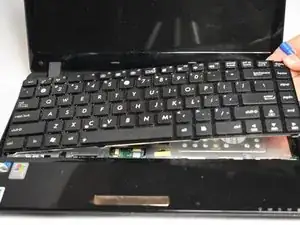
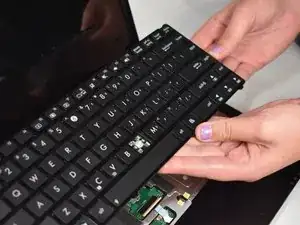
    • Slowly lift the keyboard from the base.

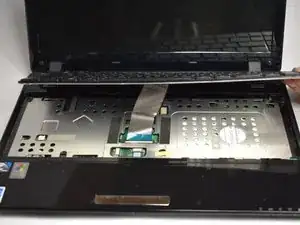
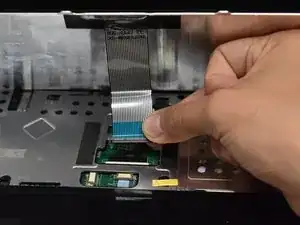
    • Disconnect the attached ribbon from under the keyboard.

  3. JSIRgDSHi52S1myA
    • Remove the keyboard.

  4. xx3TQmLCTSicHMPZ
    xx3TQmLCTSicHMPZ
    RylLorfdjwWjrvp1
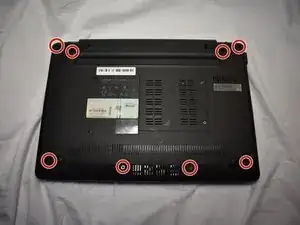
    • Lay the laptop with the back facing up.

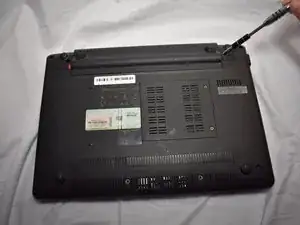
    • With a Phillips #0 screwdriver, remove the eight 6mm screws on the back of the laptop.

  5. DPgSGGhkEEeEjlwB
    DPgSGGhkEEeEjlwB
    LfkKyErpAKrLnGOk
    ZseQvWjN4wmvjoyV
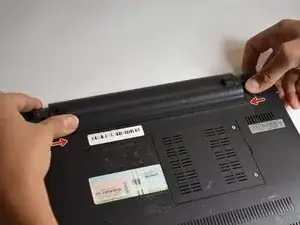
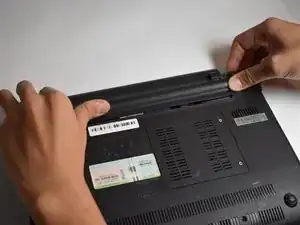
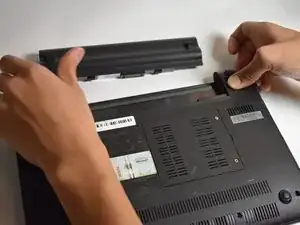
    • Slide the tabs outward to remove the battery.

  6. JxRjqgHYGm1XI2nx
    JxRjqgHYGm1XI2nx
    RmbCVU2UTHkWFSmX
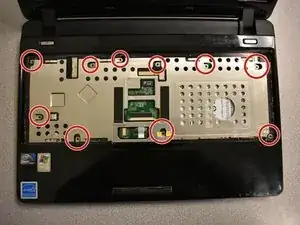
    • Flip the device so that you are facing the screen.

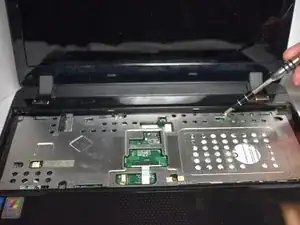
    • Remove the ten 4mm screws on the silver panel under the keyboard using a Phillips #0 screwdriver.

  7. EDbnRt3mLg1BNQOV
    EDbnRt3mLg1BNQOV
    XCKBkvG1CCD4SJrn
    VRLh6QlcorkklvZL
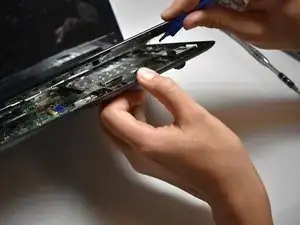
    • Using a plastic opening tool, remove the top panel of the laptop.

  8. O6AEE1wvalecMZdG
    O6AEE1wvalecMZdG
    kdjyKnXMSDPGyLb6
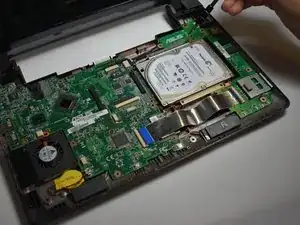
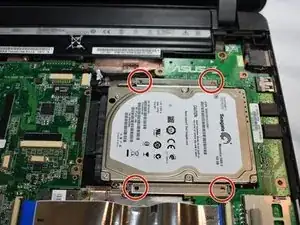
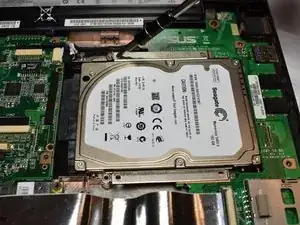
    • Using a Phillips #0 screwdriver, remove the four 4mm screws connecting the hard drive.

  9. IFCKoiFZQSAmBqtT
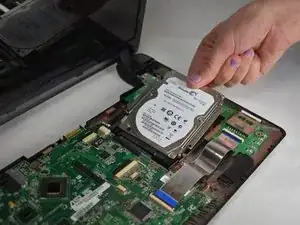
    • Remove and replace the hard drive.

Abschluss

To reassemble your device, follow these instructions in reverse order.
Katherine Chan

Mitglied seit: 22/10/18

353 Reputation

0 Kommentare