Einleitung

  1. e3V1DikTaIVxVhRD
    e3V1DikTaIVxVhRD
    V2gmNHbdhyNlBclF
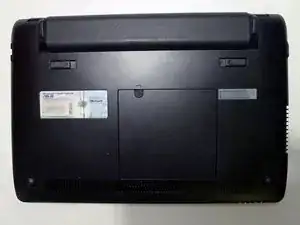
    • Turn the power off and turn the netbook upside down.

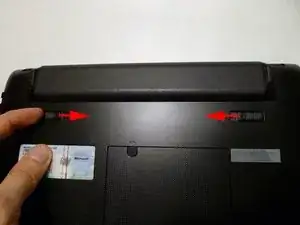
    • Slide both battery catches together to release the battery.

    • Slide the battery out.

    While there is a fairly long list of tools listed here, I was able to complete the entire guide using only a 3/64" flathead mini screwdriver (the kind you get for $0.99). I replaced the stock 500GB 5400RPM drive with the updated 7200RPM slim drive of the same line with no issues. The BIOS picked it up immediately, and I need only reinstall an OS.

    Tolidano -

    Missing step: remove the two screws under the battery, otherwise the keyboard won’t come off

    Andrea Borgia -

  2. dUvygJIQ1NqOnoXK
    dUvygJIQ1NqOnoXK
    ObTYwMccZIfHKClS
    GGEDflKLrHfKfJZO
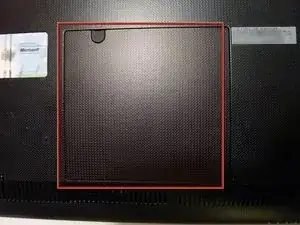
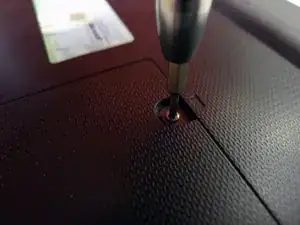
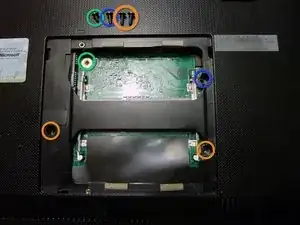
    • Locate the memory compartment.

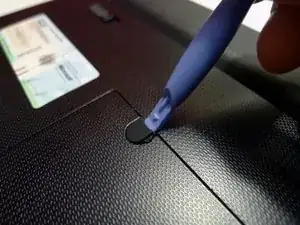
    • Using a Plastic Opening Tools, remove the screw rubber cover.

    • Remove the screw.

  3. cxcLdTcpDmIEmYqA
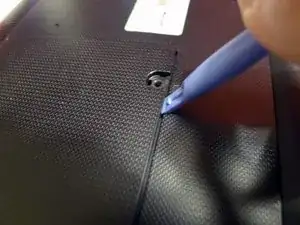
    • Use a Plastic Opening Tools near the screw hole to release the cover.

    • Remove the cover

  4. WcNPnwDgK1AkNBpA
    WcNPnwDgK1AkNBpA
    OPqCf3JKbFjSKKmb
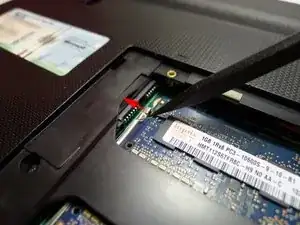
    • Using a Spudger, push both right and left metal clip to release one of the RAM module.

    • Slide out the RAM module.

    • Do the same with the second RAM module if necessary.

  5. bPJoJALxwiL4FERq
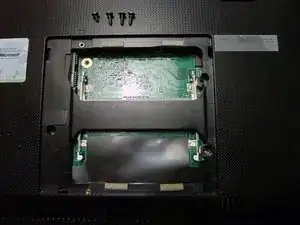
    • Remove the screws as necessary.

    • For top cover removing, only remove the 2 bottom screws.

    • For Keyboard removing, remove all 4 screws.

    • The one short screw paterns to uper left screw hole directly on the PCB.

  6. EGXu5DHoxnGGeDeI
    EGXu5DHoxnGGeDeI
    rmZi1PQTpnHrrXIu
    wEdB2fSAmgAQpOjj
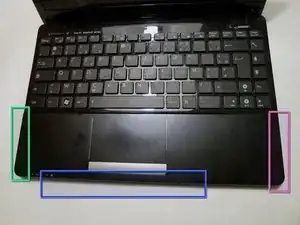
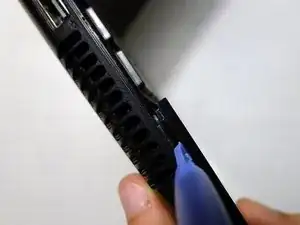
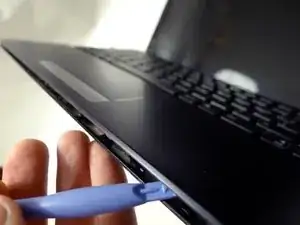
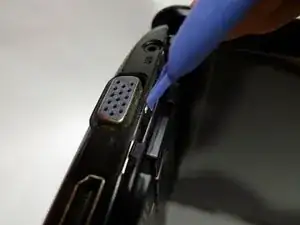
    • Use a Plastic Opening Tools to release the top cover.

    • Start from the left side.

    • Go around on the bottom

    • Finish with the right side.

    • The top cover is still connected to the PCB with the touchpad ribbon. Handle it carefully.

    excellent guide. but be careful - it's very easy to broke narrow plastic clip :(

    Marcin Dudek -

  7. CMZItL5TEtlQYfXj
    CMZItL5TEtlQYfXj
    4cyZkBqUKaPuA4UO
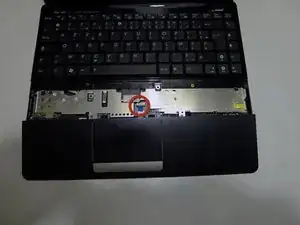
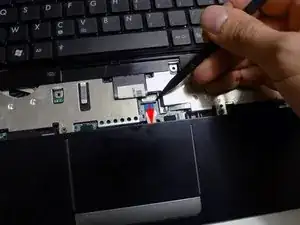
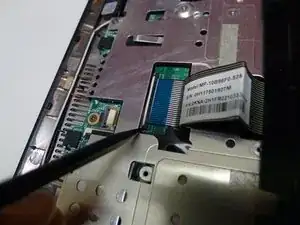
    • Carefully slide the top cover to the bottom in order to see the touchpad connector on the PCB.

    • Use a Spudger to slide the conector attachment black part and release the ribbon from the PCB.

    • Now you can remove the top cover

  8. mQn1cP3ODUgxheG1
    mQn1cP3ODUgxheG1
    KZxEBLErLBSPPQg2
    t6uTsjt5iarihneE
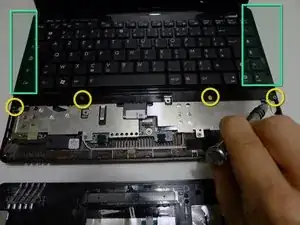
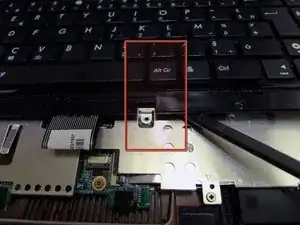
    • Make sure that the two upper screws inside the RAM compartment are removed before to continue. (Refer to Step 5).

    • Remove the keyboard 4 screws on the bottom.

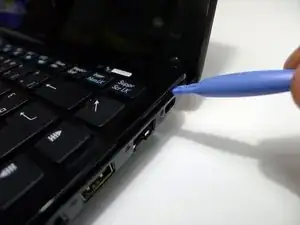
    • Use a Plastic Opening Tools to release the keyboard clips on the left and right side.

    There are two very small screws inside the battery compartment which hold the top edge of the keyboard. These must also be removed.

    Ray James -

  9. XtvxOkhsBiSV6qDg
    • At this step, the keyboard is still maintained with double-sided tape between the keyboard underside and the metallic PCB protector.

    • Carefully slide a Spudger between the keyboard underside and the metallic PCB protector near the center/right at the bottom. Use the spudger as a lever to release the keyboard from the metallic PCB protector.

    • The keyboard is still connected to the PCB with a ribbon. Handle it carefully.

    Information : you have 2 screws under battery hole which need to be removed too before to release keyboard

    renard -

  10. BCfNpbUvUCxutadl
    BCfNpbUvUCxutadl
    ng5ToxPST2NlghWr
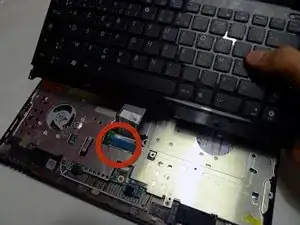
    • Carefully slide the keyboard to the top in order to see the ribbon connector on the PCB.

    • Use a Spudger to slide the connector attachment black part and release the ribbon from the PCB.

    • Now you can remove the keyboard.

  11. J2ocXE3KwwXUUcFy
    J2ocXE3KwwXUUcFy
    Vgt3pdGf2EeCHxPn
    GItgl52cKUmSBCLW
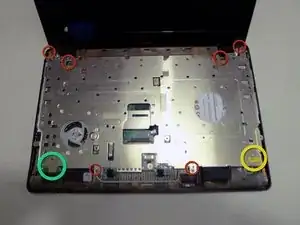
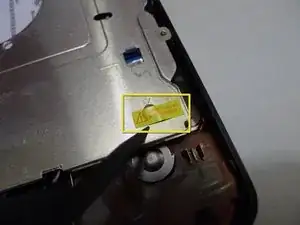
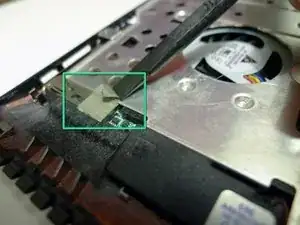
    • Peel off the protective tape at the bottom left corner.

    • Peel off the warranty void at the bottom right corner and remove the screw below.

    • Remove the 6 other screws.

  12. CiLS3ERrtowi1YYM
    CiLS3ERrtowi1YYM
    GfYpJyCqLm2wPBbp
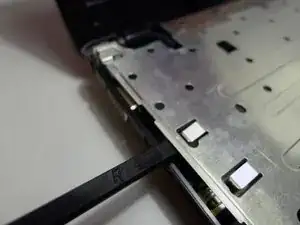
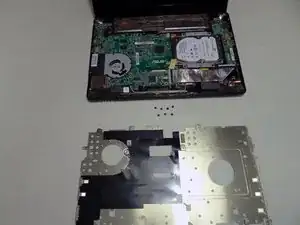
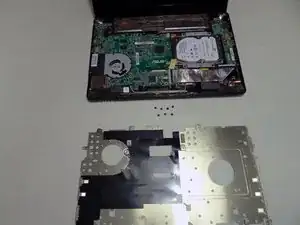
    • Remove the protector plate.

Abschluss

To reassemble your device, follow these instructions in reverse order.
Gaetan

Mitglied seit: 26/12/12

9574 Reputation

0 Kommentare