Einleitung
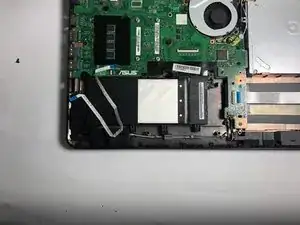
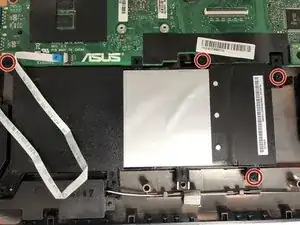
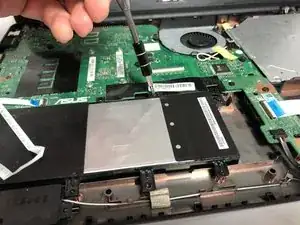
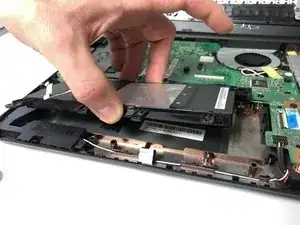
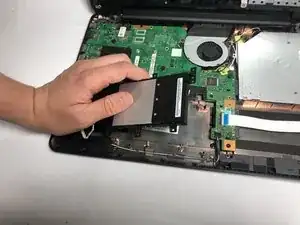
If your Acer Aspire 4741G-332G32Mn is not holding its charge, it probably needs a battery replacement. These instructions will help you to quickly remove the battery with minimal skill or effort.
When a battery is working correctly it should provide the laptop with power for several hours without being plugged into a power source. After several cycles of being charged, the battery will begin to lose the ability to hold a charge. You can check the charging capacity by calibrating your battery. If there is a drop in the battery percentage, you should consider replacing the battery.
Be sure the laptop is powered off before replacing its battery.
Take appropriate precautions if the battery is swollen. Beware of punctured batteries as they can cause fires.
Please also note that these instructions follow the CD drive removal guide.
Werkzeuge
Ersatzteile
-
-
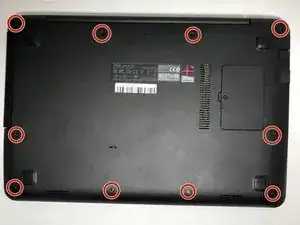
Use the Phillips #0 screwdriver head to remove the ten 18mm Phillips #0 screws on the laptop's bottom.
-
-
-
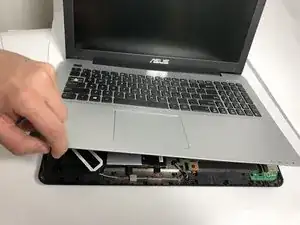
Flip the laptop over and flip the screen up.
-
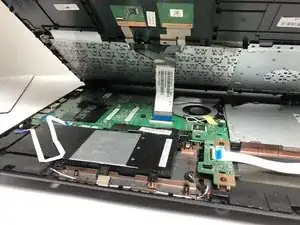
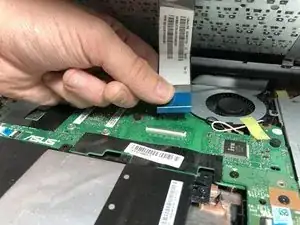
Pry upward on the edges of the faceplate in order to separate the keyboard and trackpad from the rest of the device.
-
-
-
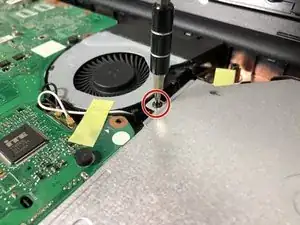
Use the Phillips #0 screwdriver to unscrew the one Phillips #0 screw that connects the CD drive to the motherboard.
-
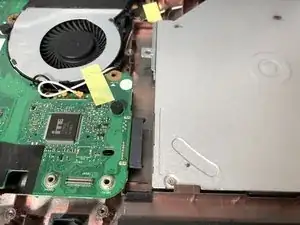
Slowly slide out the CD drive, keeping it level, to remove it.
-
To reassemble your device, follow these instructions in reverse order.
Take your e-waste to an R2 or e-Stewards certified recycler.
Repair didn’t go as planned? Try some basic troubleshooting, or ask our Answers community for help.
