Einleitung

  1. PhWAts3NMOw3I2Ax
    PhWAts3NMOw3I2Ax
    mHAWfIp4D1QkLkWs
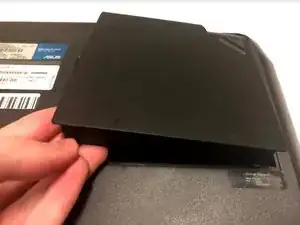
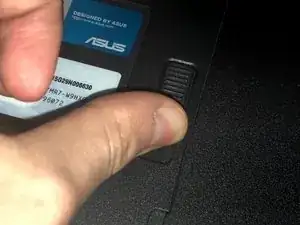
    • Make sure the computer is off and turn it over on its back. Push the slider all the way back until the compartment for the battery opens. Remove the battery and place it aside.

  2. xACDZOMNKFL1PsKp
    xACDZOMNKFL1PsKp
    W3hfTQShSY2YPWYa
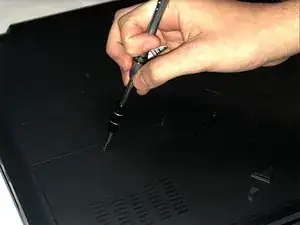
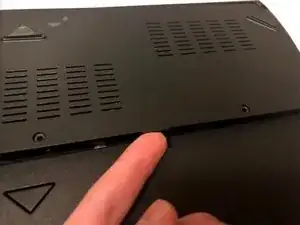
    • Find the panel on the back of the computer. Use a Phillips #0 screwdriver to unscrew the 2 4.2mm screws on that panel. Next, lift up the panel at the indent and place it aside.

  3. 3AX4L1Th3xtq22lB
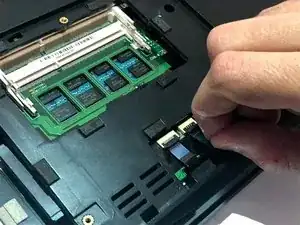
    • When the back panel is removed, disconnect the blue and black ribbon connectors exposed from the back panel.

  4. sNUL6UpPTbiuQBAG
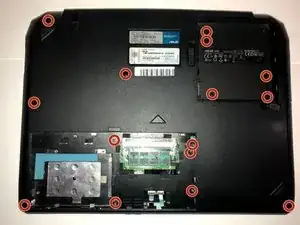
    • Remove the fifteen 4.2 mm screws on the bottom of the laptop with a Phillips #0 screwdriver, under the battery, and beneath the back panel that secure the keyboard to the laptop.

    • The top-left and upper center screws are difficult to reach with the iFixit screw kit.

  5. JIBPhwLxbbpyxpIH
    JIBPhwLxbbpyxpIH
    vIZCNQIwCcR6ZLOp
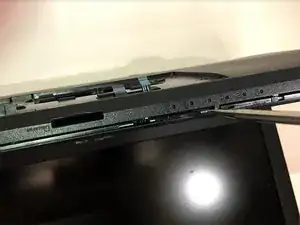
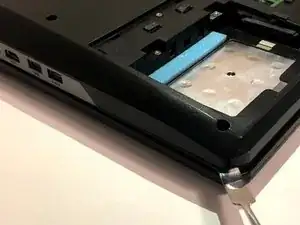
    • Begin to pry the keyboard off of the laptop with the pointed metal spudger.

    • It is possible to damage yourself as well as the device with the metal spudgers. Exercise extreme caution.

    you are missing the screws in the optical bay and the two screws that hold the mouse buttons, i ripped the thread inserts out following your tutorial!

    Bertram Degn Vestervig Eriksen -

  6. NQHqexTWIIbUUEer
    NQHqexTWIIbUUEer
    MwLlVoBxAeYdFPoq
    1kNVtEcNIuOmoHBZ
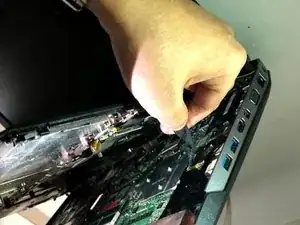
    • Remove the ribbon connectors that connect the keyboard to the motherboard. The keyboard should now be completely disconnected from the laptop.

  7. UvenLiH6QdDC6ROK
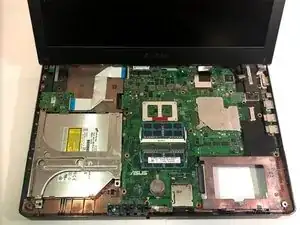
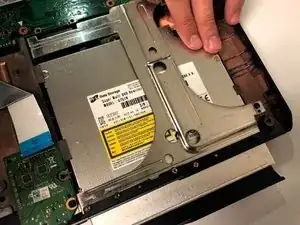
    • Placing your hand on the side of the disk drive closest to the motherboard, slightly push down and out to remove the drive.

  8. hLwKbAfP5MX5PrpG
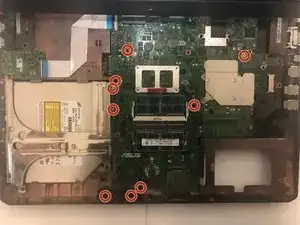
    • In this step, remove the nine 4.2 mm screws that hold the motherboard to the laptop itself using the Phillips #0 screwdriver.

    • Take the motherboard gently from the laptop.

  9. WkuI2SAU6j2J5oFw
    WkuI2SAU6j2J5oFw
    Kg2eCCHKHDTPPCEe
    • In order to get to some screws on the motherboard, the monitor needs to be moved.

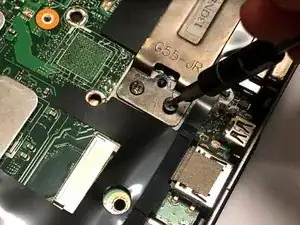
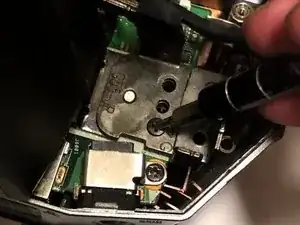
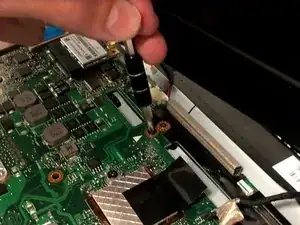
    • On the right side of the computer there should be a panel that is connecting the monitor to the computer. Use a Phillips #0 screwdriver to remove each screw.

  10. eguhu6BRVmo1VQHI
    eguhu6BRVmo1VQHI
    ROUNIT2lD4UATFyP
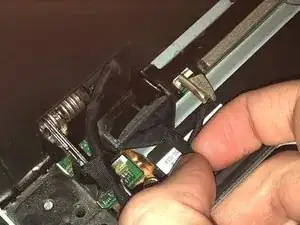
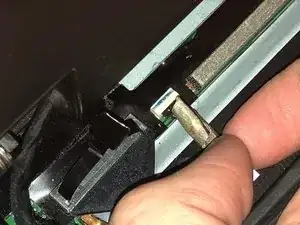
    • Pull out the 2 wires connecting the monitor to the computer.

  11. ycPTlAACWJhQyMqP
    • Push the monitor away in order to clear up space for the 2 screws and unscrew them.

  12. NJBF5yGM4Vk4MBUk
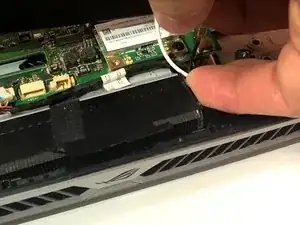
    • Disconnect the black and white wires from the motherboard slowly.

  13. Kuc4lQwnZLELOcED
    Kuc4lQwnZLELOcED
    upSDRVFKBBvDdNdR
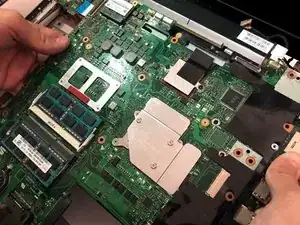
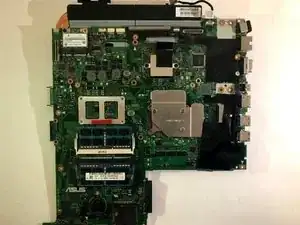
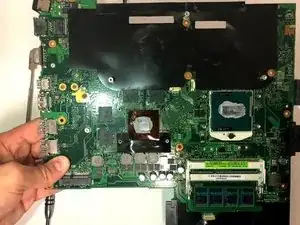
    • Before taking the motherboard out, make sure that all the screws were removed. Then, remove the motherboard from the body of the laptop gently.

    • The exhaust vent for the fans are snapped into the body of the laptop. Exercise caution when removing the motherboard.

  14. BwtrjKmuLXKpg2Dj
    BwtrjKmuLXKpg2Dj
    UUyrnChpQ2U1mh1p
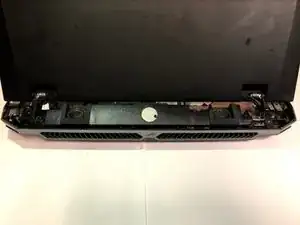
    • Remove the panel by popping it off.

  15. TGVjyiwl242TCVGw
    TGVjyiwl242TCVGw
    sqXNesIZODfY23BC
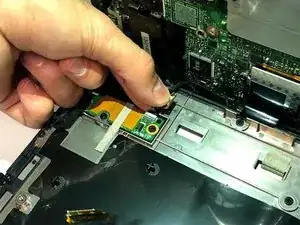
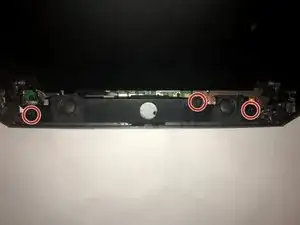
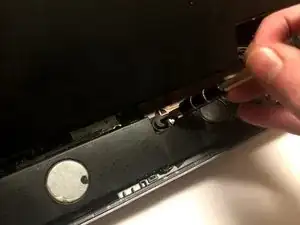
    • Use a Phillips #00 screwdriver to unscrew 3 screws on the audio board.

  16. YjphC2UE2HVZjUFD
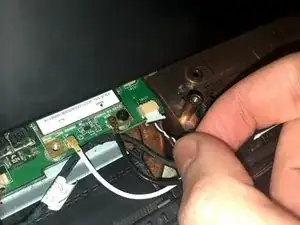
    • Lift the audio board and find the 2 wires connecting it to the computer.

    • Pull on those wires to disconnect them .

  17. KZopuBP2FdaK3jdy
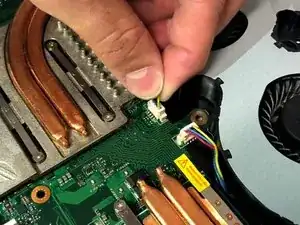
    • Disconnect the 4 Pin Connectors from the motherboard.

  18. TATxYyfxOoAbbuSB
    TATxYyfxOoAbbuSB
    TuUBJkk1ubs1EBOH
    22YUAPEgpQNkLWle
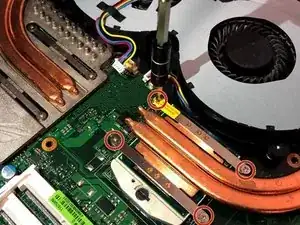
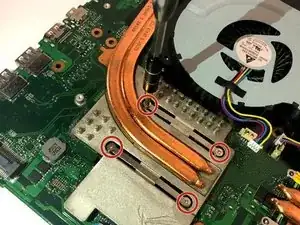
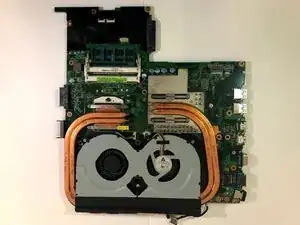
    • Using a screwdriver with a Phillips #0 head, unscrew the 8 4.2mm screws that connect the heat sink to the motherboard.

Abschluss

To reassemble your device, follow these instructions in reverse order.

Joshua Grangeno

Mitglied seit: 26/09/18

88 Reputation

5 Kommentare

Don’t forget the screws on the CD slot opening before u pry off the keyboard!

jazzmatic -

I just tore one of these down, I think this guide is missing many steps …

diyarcade -

(part 1) My advice to anyone who is tearing one of these down, take a picture of each step with your cell phone as if you are making a guide for yourself. Use a mat with a screw organizer, or some method of organizing screws, and organize them by each group. Don’t be afraid to take notes on the laptop using masking tape and a fine point sharpie. Take your time, if something won’t budge, remove more screws. (for example) On the left hinge, before you can remove the LCD assembly, you need to remove a small board that is hiding two screws underneath.
diyarcade -

(part 2) If you take your time, and take a lot of pictures, and take notes, you’ll get ‘er done :) Follow your own guide backwards for reassembly. The “I fix it” guide at the top is really just a vague overview, lacking so many steps. It’s kinda helpful, but also kind of a joke. Tearing down this laptop may take as much as one hour your first time. When I tore mine down, the thermal paste was 8 years old and needed to be replaced. There was a warranty sticker on one screw for the heatsink / fan assembly, indicating that this 2012 laptop had probably never been torn down. OK, it’s Q4 2020 and I’m going to fix this 2012 gaming laptop, LOL. Will it play Fallout 4 ? w00t :)

diyarcade -

Scroll down on this forum thread, there are pics of a complete teardown : https://rog.asus.com/forum/showthread.ph...

diyarcade -