Einleitung
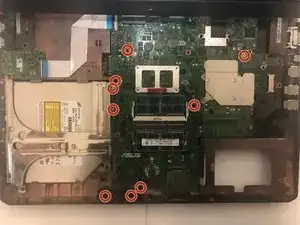
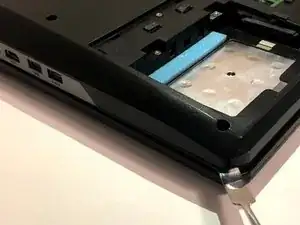
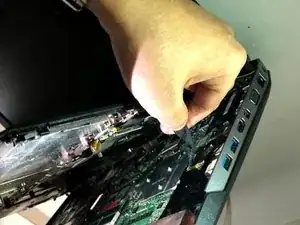
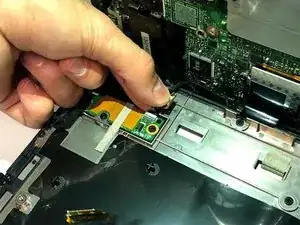
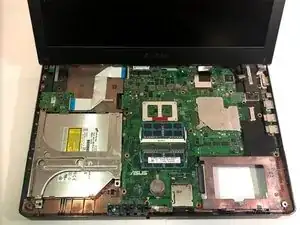
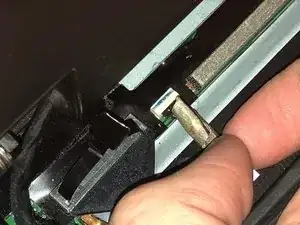
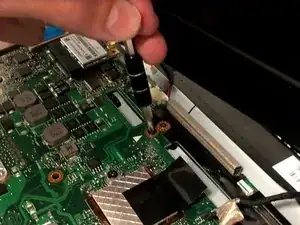
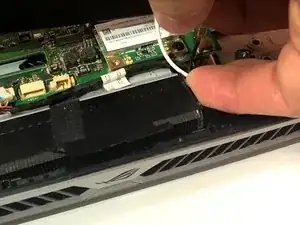
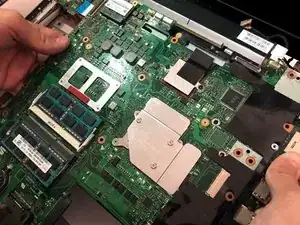
If your Asus G55VW DS71 laptop is experiencing problems booting, having general connectivity issues, or is restarting abnormally, use this guide to replace the motherboard.
The motherboard is an important part of your system but knowing when to upgrade your motherboard isn't always easy. Although replacing the motherboard can be costly, it can provide you with benefits in terms of speed, hardware support, and improved graphics support.
This guide has six major steps and can be completed without any special skills. Most of the steps involve removing screws and disconnecting wires.
Prior to beginning the repair, be sure to power off your laptop and unplug it from the charging cord.
Werkzeuge
-
-
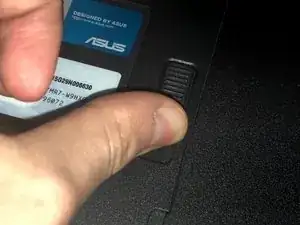
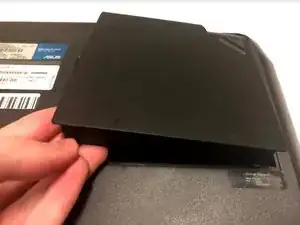
Make sure the computer is off and turn it over on its back. Push the slider all the way back until the compartment for the battery opens. Remove the battery and place it aside.
-
-
-
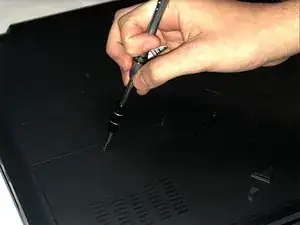
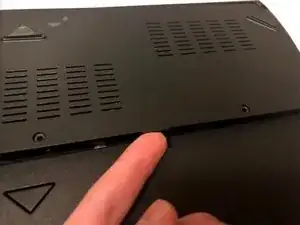
Find the panel on the back of the computer. Use a Phillips #0 screwdriver to unscrew the 2 4.2mm screws on that panel. Next, lift up the panel at the indent and place it aside.
-
-
-
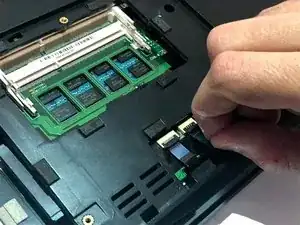
When the back panel is removed, disconnect the blue and black ribbon connectors exposed from the back panel.
-
-
-
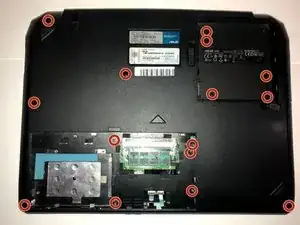
Remove the fifteen 4.2 mm screws on the bottom of the laptop with a Phillips #0 screwdriver, under the battery, and beneath the back panel that secure the keyboard to the laptop.
-
-
-
Remove the ribbon connectors that connect the keyboard to the motherboard. The keyboard should now be completely disconnected from the laptop.
-
-
-
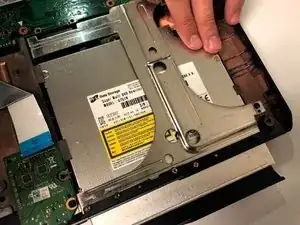
Placing your hand on the side of the disk drive closest to the motherboard, slightly push down and out to remove the drive.
-
-
-
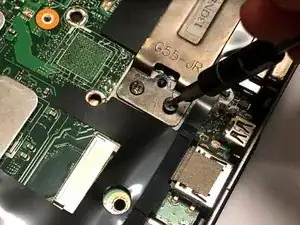
In this step, remove the nine 4.2 mm screws that hold the motherboard to the laptop itself using the Phillips #0 screwdriver.
-
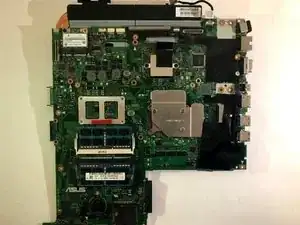
Take the motherboard gently from the laptop.
-
-
-
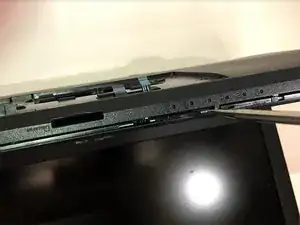
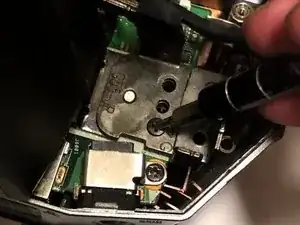
On the right side of the computer there should be a panel that is connecting the monitor to the computer. Use a Phillips #0 screwdriver to remove each screw.
-
-
-
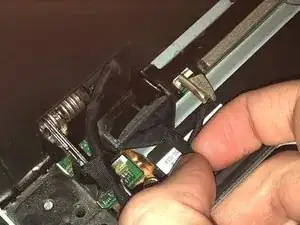
Before taking the motherboard out, make sure that all the screws were removed. Then, remove the motherboard from the body of the laptop gently.
-
To reassemble your device, follow these instructions in reverse order.
Ein Kommentar
Great post , I'm getting a second hand laptop like this. This really help. Thank you.
Lim Lim -
