Einleitung
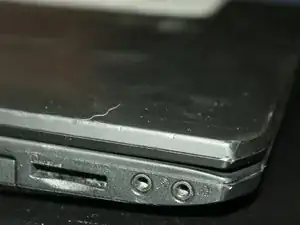
The Audio Jack can wear out over time or stop working completely. This guide will show you how to remove the Audio Jack on the side of the device.
Werkzeuge
-
-
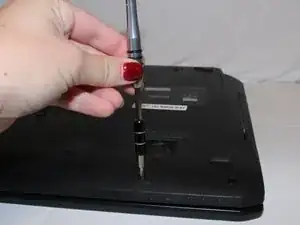
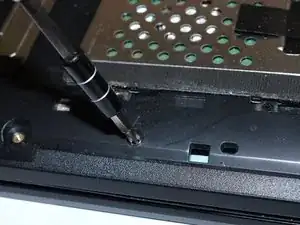
Remove the 5 (9 mm screws) around the outside edges of the back cover with the PH1 Phillips-head screwdriver.
-
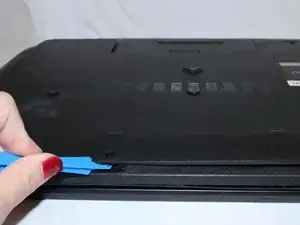
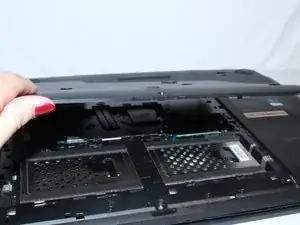
Lift off the back cover using the opening tool.
-
-
-
Remove the 10 (9 mm) screws marked 'A' using the PH1 Phillips-head screwdriver.
-
Remove the battery by pressing the slide release button.
-
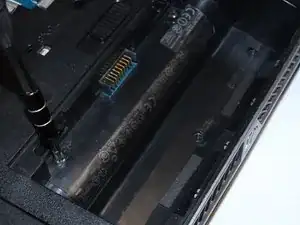
Remove 2 more (9 mm) 'A' marked screws within the battery compartment using the PH1 Phillips-head screwdriver.
-
-
-
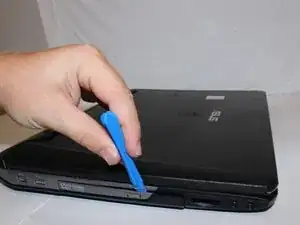
Remove the cover for the disc drive with the opening tool.
-
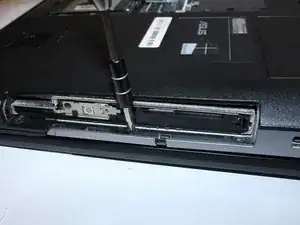
Remove the 6 (4 mm) 'B' marked screws with the PH1 Phillips-head screwdriver. (3 screws are in the battery compartment and 3 are under the disc drive cover)
-
-
-
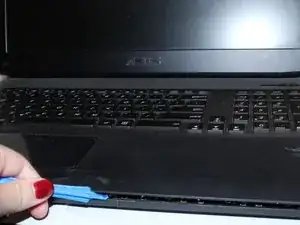
Pry open the keypad platform with the opening tool.
-
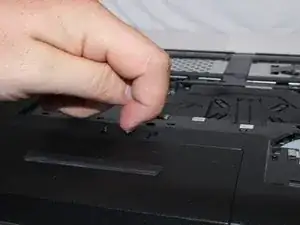
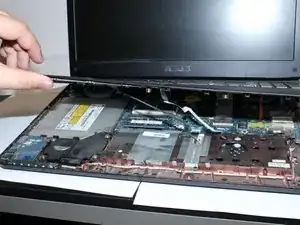
You will need to lift the keypad platform with your hands to get to the laptop's internal systems.
-
-
-
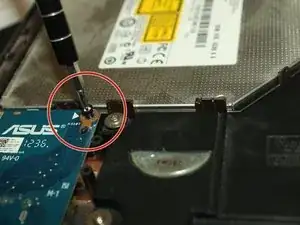
Take out 1 (5mm) screw, using the J0 Phillips head screwdriver.
-
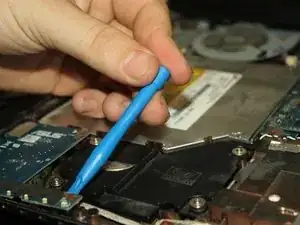
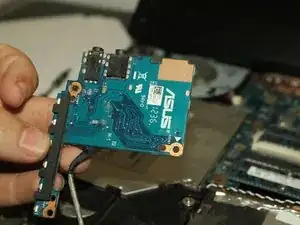
Use the opening tool to remove the audio-electrical board.
-
Lift out with your hands.
-
To reassemble your device, follow these instructions in reverse order.
