Einleitung

This guide outlines how to remove the hard drive in the Asus GL551JW-AH71. This guide also serves as a prerequisite for guides that require the removal of the back cover.

  1. OvSM2LE3qTtMyKow
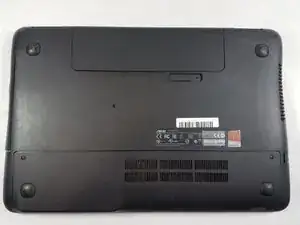
    • Close the device and lay it upside down.

    • Unplug the device and make sure the device is powered off before removing the battery.

  2. SDSsQLoJ1sEuiWUH
    SDSsQLoJ1sEuiWUH
    BWUxnmGqLYMRYDXW
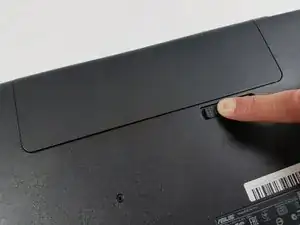
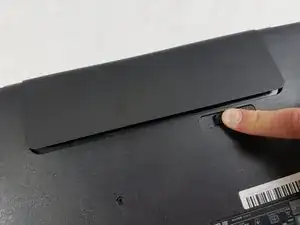
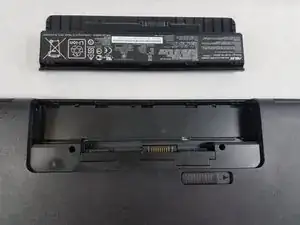
    • Move the battery eject button to the right. The battery will be ejected.

  3. LS1RJGadbtsdfVVP
    LS1RJGadbtsdfVVP
    FT2aibGdBChy11Ym
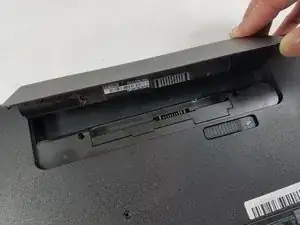
    • Grab the battery and remove it from the device.

  4. MigHmXRqv5TR16eb
    MigHmXRqv5TR16eb
    cFxqvrXUjdgoq1Tl
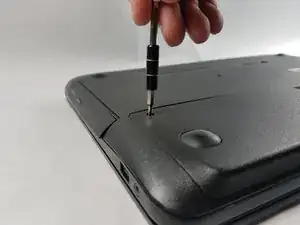
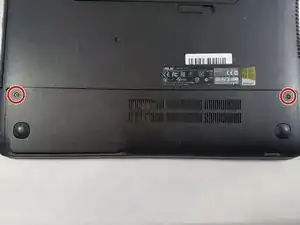
    • Use a Phillips #000 screwdriver to remove the two 16 mm screws on the access panel.

  5. VMMhYqVSOUYuO32M
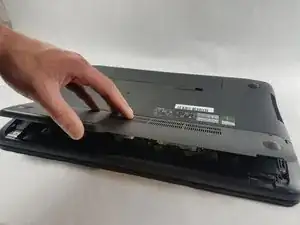
    • Remove the access panel by lifting it up.

  6. Yu4SNk4eRiWUVYNi
    Yu4SNk4eRiWUVYNi
    1w6uMBR44gYcLUKC
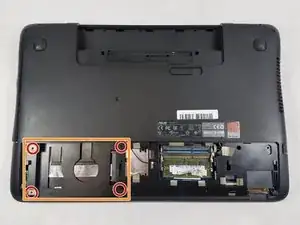
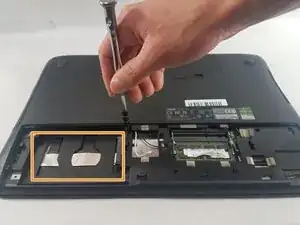
    • Using the Phillips #000 screwdriver, remove the four screws holding the hard drive in place.

    • The pictures in this step do not contain a a hard drive. The location where the hard drive would be located is indicated by the orange rectangle.

  7. Ta6NBWMuSV5PwDRx
    • Pull out hard drive.

Abschluss

To reassemble your device, follow these instructions in reverse order.
William Kelley

Mitglied seit: 20/03/19

1035 Reputation

0 Kommentare