Einleitung

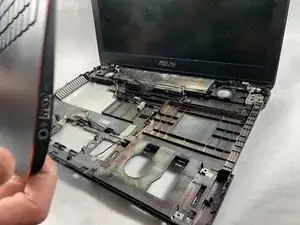
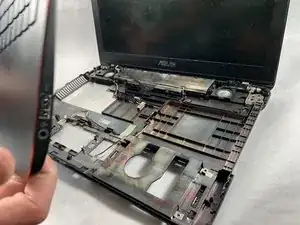
This guide outlines how to remove the upper assembly from the Asus GL551JW-AH71. This guide primarily serves as a prerequisite for guides that require the removal of the upper assembly to access the motherboard, fan and display cables.

  1. OvSM2LE3qTtMyKow
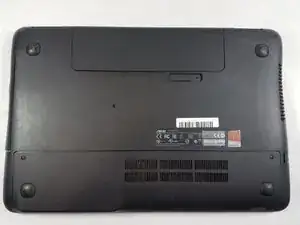
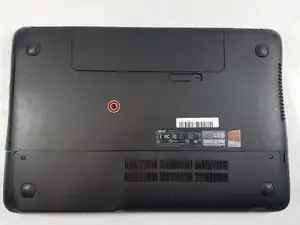
    • Close the device and lay it upside down.

    • Unplug the device and make sure the device is powered off before removing the battery.

  2. SDSsQLoJ1sEuiWUH
    SDSsQLoJ1sEuiWUH
    BWUxnmGqLYMRYDXW
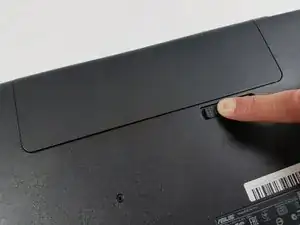
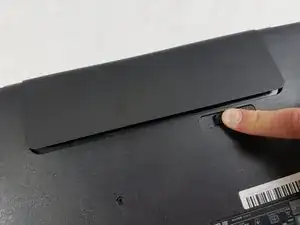
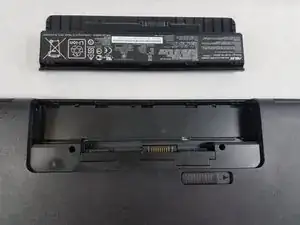
    • Move the battery eject button to the right. The battery will be ejected.

  3. LS1RJGadbtsdfVVP
    LS1RJGadbtsdfVVP
    FT2aibGdBChy11Ym
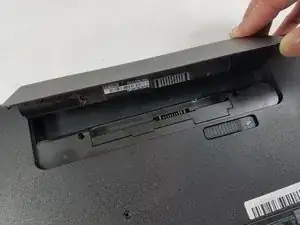
    • Grab the battery and remove it from the device.

  4. AVBXa5UJyburWKlZ
    AVBXa5UJyburWKlZ
    KMCkitwtu2ENeaTS
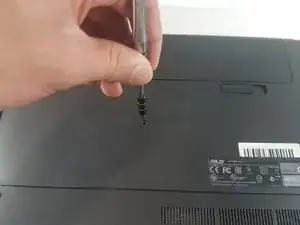
    • Use a Phillips #000 screwdriver to remove the single 10mm optical drive screw.

  5. OJiRnJwHmHT6Csjk
    OJiRnJwHmHT6Csjk
    PXXGD2D4M1QbyjHO
    f2JBImCjPaxhAklX
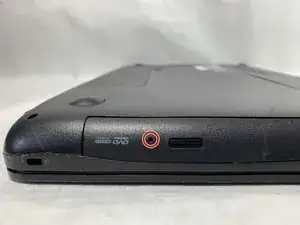
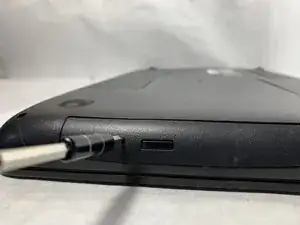
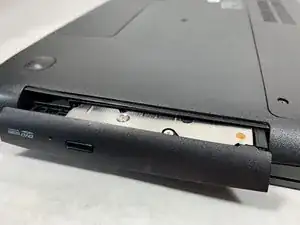
    • Insert a probe or paperclip gently into the eject pin hole to eject the optical drive tray.

  6. MifJEEmZopg62WIx
    MifJEEmZopg62WIx
    KjXeubhPnATSOkPP
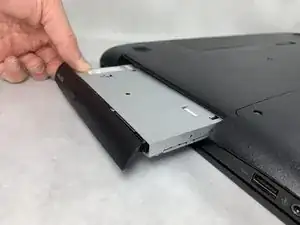
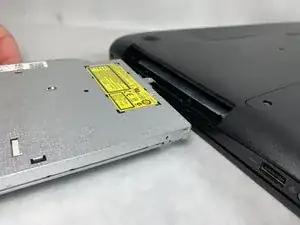
    • Gently grasp the optical drive assembly and slide it out of the laptop body.

  7. ocIswNQLBNLAkR2n
    ocIswNQLBNLAkR2n
    q4JYDeCEF3NGEula
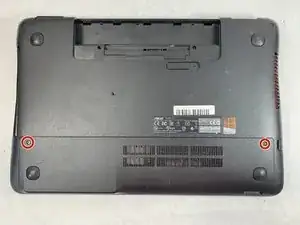
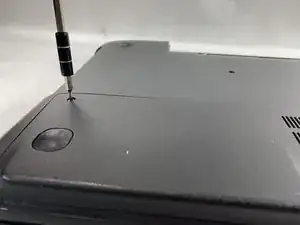
    • Using a Phillips #000 screwdriver, remove the two 11mm screws that hold the access panel in place.

  8. KwkaEDaZFoTdmOND
    KwkaEDaZFoTdmOND
    jAEVPhMRsM2EOmbS
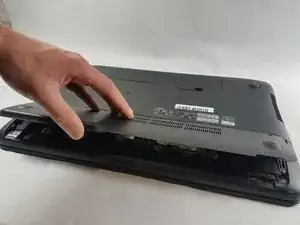
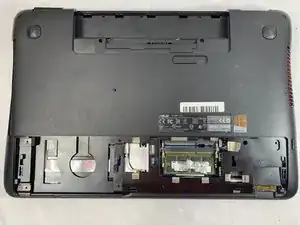
    • Carefully remove the access panel.

  9. y5aP2JRfAoHCHqLm
    y5aP2JRfAoHCHqLm
    OVdZMpAgBpPdDEIP
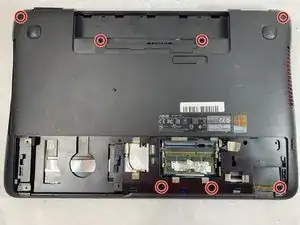
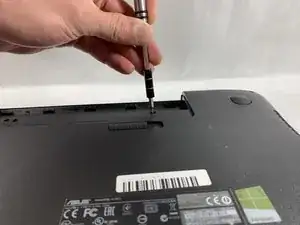
    • Using a Phillips #000 screwdriver, remove the seven 11mm screws holding lower case to the laptop.

  10. PxcHufwVEO6rnMYp
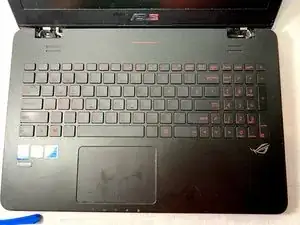
    • Turn the laptop over and open the screen.

  11. 1trQFbA2LVljFDuf
    1trQFbA2LVljFDuf
    RKDTLCvoUUcUTkk1
    VtRPaZYIHogla4eb
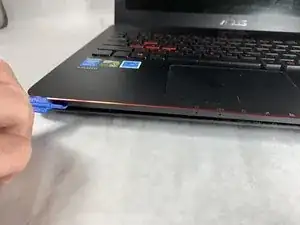
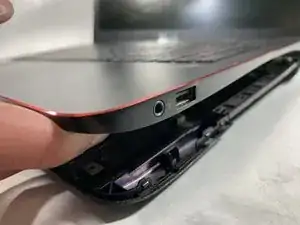
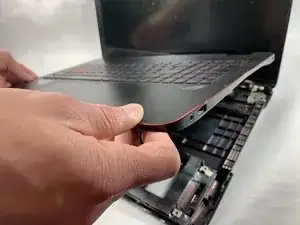
    • Gently pry open the case with an iFixit opening tool.

    • The upper and lower assembly are connected with a display cable that will be removed in the next step. Do not pull the parts apart more than a few inches.

  12. uDXoeltYmRX1BAeD
    uDXoeltYmRX1BAeD
    xJTGqXU1xYFNuSye
    CJsVcNaQULgUmWNi
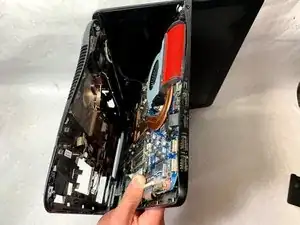
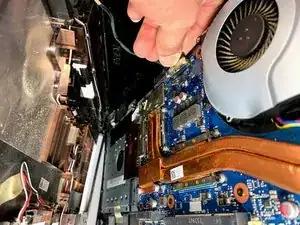
    • Flip the laptop on the right side while still holding the upper and lower assemblies close together.

    • Unplug the display connector from the motherboard.

    • Remove the upper assembly.

Abschluss

To reassemble your device, follow these instructions in reverse order.
William Kelley

Mitglied seit: 20/03/19

1035 Reputation

0 Kommentare