Einleitung

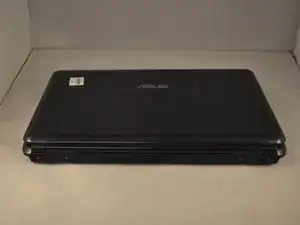
Fans can overheat and stop working. This guide will help you be able to remove and replace the fan inside the ASUS K50IJ.

  1. ammx3CTICFxHPAwQ
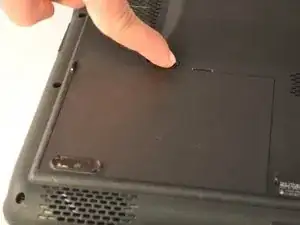
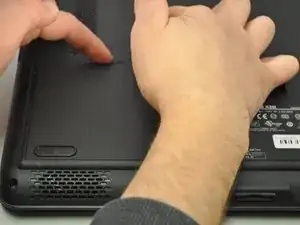
    • Slide the tab over to unlock the battery cover located on the bottom-left corner of the laptop.

  2. obDnTCRoFM5rCec2
    obDnTCRoFM5rCec2
    TAV2FDwR64OGsWbl
    GWpUcFeD6GJbEdQq
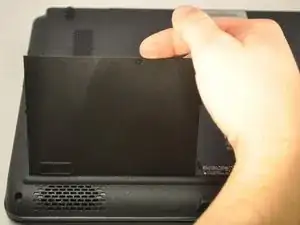
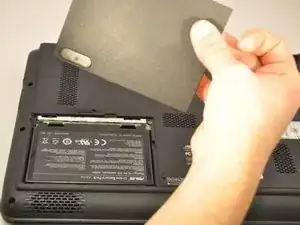
    • Lift the exposed lip and remove the battery cover.

  3. KMSkL52JwQyoZHM2
    KMSkL52JwQyoZHM2
    FdH1MPvWMDTbN4Z1
    PbIjIQ4fYxKZYQQN
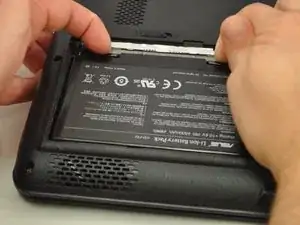
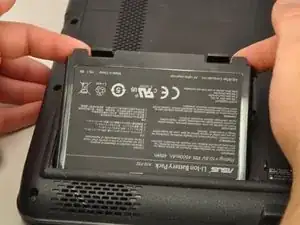
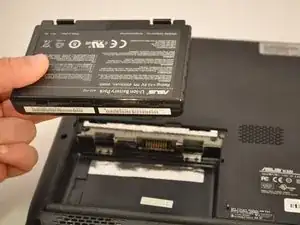
    • Press the tabs on the battery and lift them. The battery should come out easily.

  4. BPDIBlHO2coaRRxk
    BPDIBlHO2coaRRxk
    2JYPX4TVLtkPCJFt
    xkUqauJfZkkrK2ZJ
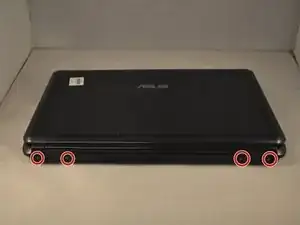
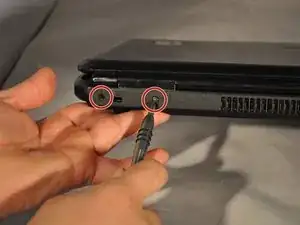
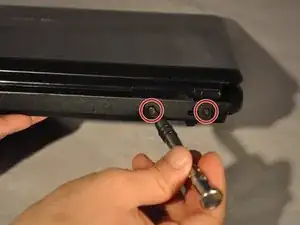
    • Using the PH1 screwdriver, remove the four 4 .75 mm screws that are located on the vent panel.

  5. ZfUNoVyl1QIOVIkq
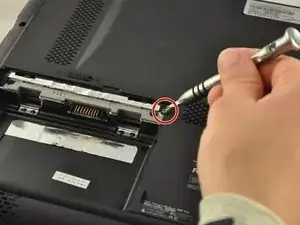
    • Remove the one .5 mm screw located in the top right corner of the battery compartment.

  6. MWoYJM6Comcl6vXJ
    MWoYJM6Comcl6vXJ
    lBqj4LMoDlOjOgkP
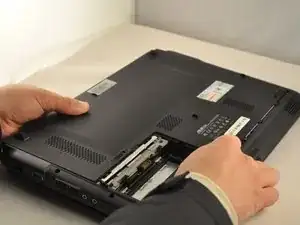
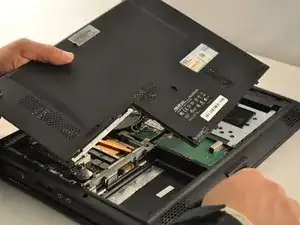
    • Remove the bottom panel by sliding it toward the hinges and lifting the back panel up.

  7. NJvvWCVkOjFPBPDj
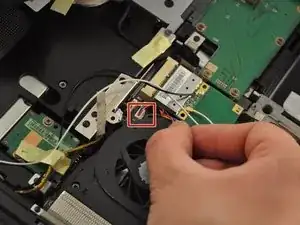
    • Unplug the wire cable attached to the fan by pulling it out .

  8. yIQOhM6GkAXFJLsF
    yIQOhM6GkAXFJLsF
    ddsaYjJOQi2KQLEC
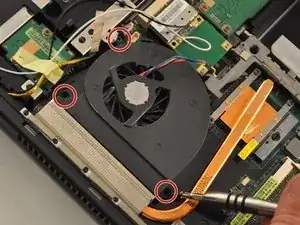
    • Using the PH1 screwdriver, remove the 3 .75mm screws labeled as 1, 2, and 3 on the fan. NOTE these screws have the labels "1", "2", and "3" next to them.

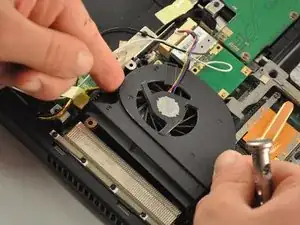
    • Lift the fan up with your fingers.

Abschluss

To reassemble your device, follow these instructions in reverse order.
Kyle Starbird

Mitglied seit: 27/09/17

147 Reputation

0 Kommentare