Einleitung
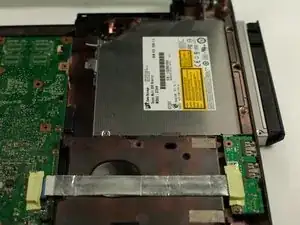
This guide will instruct you on how to properly remove the optical drive.
Werkzeuge
-
-
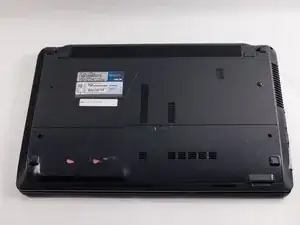
Place your laptop face down in front of you.
-
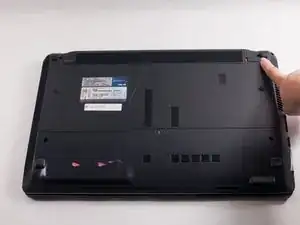
Slide the button in the top right corner to the right so that the orange marker is showing.
-
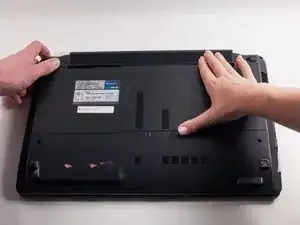
Press the spring loaded latch to release the battery from the computer.
-
-
-
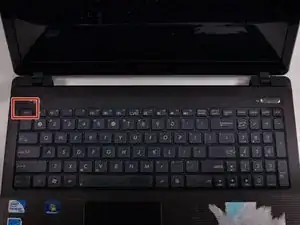
Insert the spudger into the indent near the "ESC" key.
-
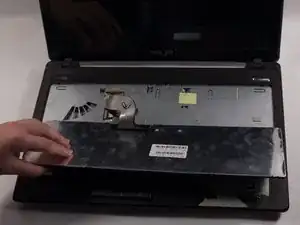
Firmly wiggle the spudger across the keyboard in between the space until you can remove the keyboard.
-
-
-
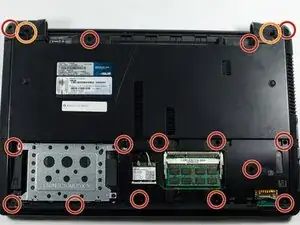
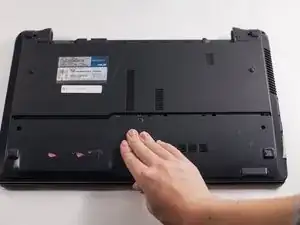
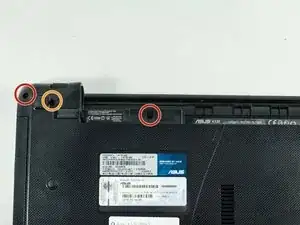
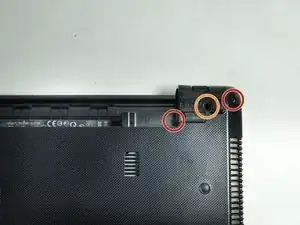
On the back of the laptop unscrew the eighteen 5mm Phillips #1 screws.
-
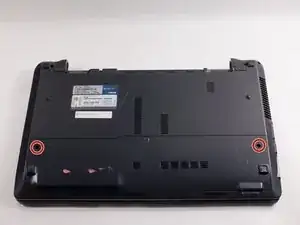
Unscrew the two 5mm Phillips #1 screws.
-
-
-
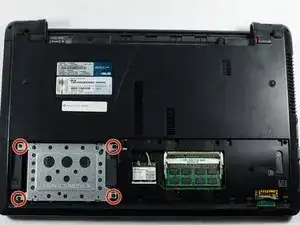
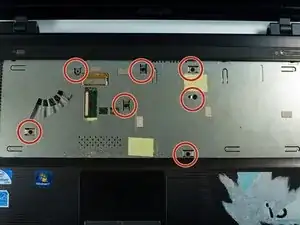
Unscrew the four highlighted 5mm Phillips #1 screws, and remove the hard drive.
-
Unscrew the 3mm Phillips #1 screw.
-
-
-
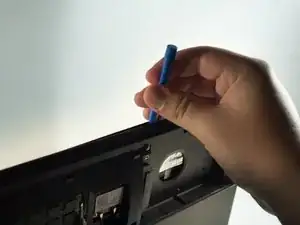
Using the plastic opening tool, firmly pry apart the two sections of plastic.
-
Firmly shimmy the opening tool around the laptop prying the two sections of plastic apart.
-
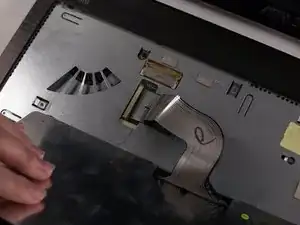
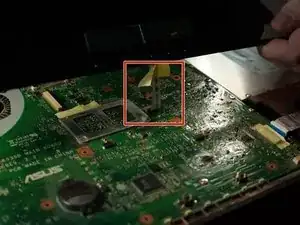
Disconnect the highlighted ribbon cable, by pulling up on the black tab and gently pulling the cable out of its port.
-
-
-
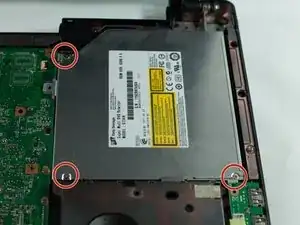
Unscrew the three 3mm Phillips #0 screws.
-
Slide the optical drive to the right.
-
Remove the optical drive.
-
To reassemble your device, follow these instructions in reverse order.
