Einleitung

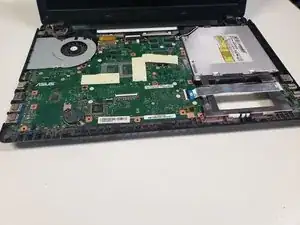
If a computer's fan is faulty, there will likely be overheating error messages occurring. If overheating does occur, the CPU could be damaged.

    • Power off the device completely

    • Flip the device over to its back cover.

    • Use the switches to release the battery from its adapter.

  1. 4daYpsKUIAYpea2R
    4daYpsKUIAYpea2R
    gQoFWQSSvoSTEXqv
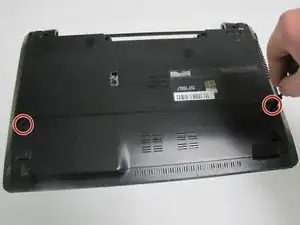
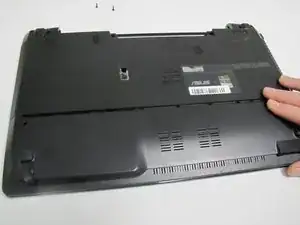
    • Use a Phillips #0 screwdriver to remove the two 1.5 mm screws in the smaller portion of the bottom cover.

    • After removing the screws, remove the smaller cover.

  2. DOZcYOnQPVRjWdVY
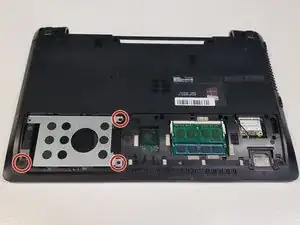
    • Use a Phillips #0 screwdriver to remove the 1.5 mm screws that hold down the hard drive.

    The bottom left screw does not hold down the drive bay. Unsrew that screw in step 5.

    Daniel -

  3. qQM5fPhSKZmOxAmN
    qQM5fPhSKZmOxAmN
    WvWRKVpLQ2HOhgGn
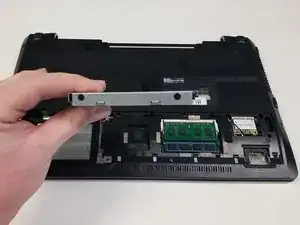
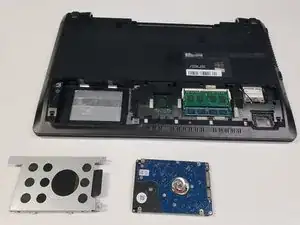
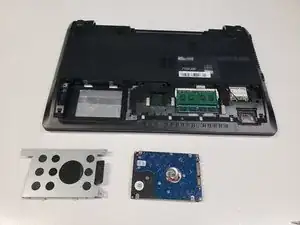
    • Remove the hard drive from the slot.

    • Remove the hard drive from its shell.

  4. XVeNhLOaBqAVCHVo
    XVeNhLOaBqAVCHVo
    mw5gYyjST2RNB2PO
    2BKWn63srYC3XUME
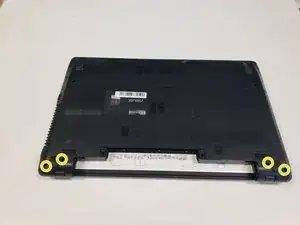
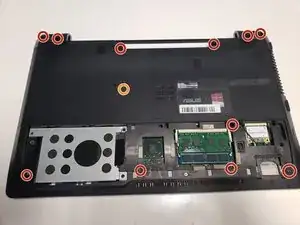
    • Remove all 12 screws from the bottom cover with a Phillips #0 screwdriver.

    • The four screws nearest the display hinges are longer.

    • The single screw in the middle of the bottom cover is shorter than the rest.

    You should also unscrew the bottom silver screw and unplug the wifi antennas.

    https://i.imgur.com/vRrlRkv.png

    Daniel -

    You need to remove the plastic cover covering the middle screw marked in orange.

    Daniel -

  5. WJGqNcaqmFJkTfae
    WJGqNcaqmFJkTfae
    LbMkDtkgWnZ1mmfH
    k6PTeTljvKTxwDY3
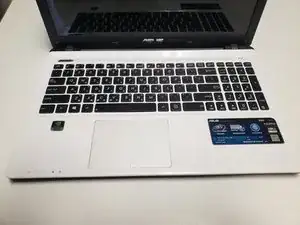
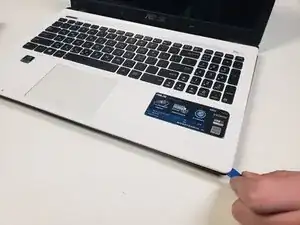
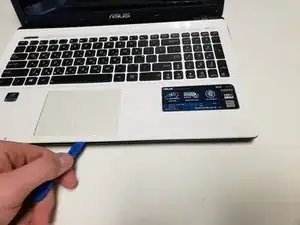
    • After the screws are removed, Orientate the device so that the keyboard is shown.

    • Using the Plastic Pry tool separate the keyboard panel from the rest of the laptop.

  6. 6CvW1ue4t1qcHdFF
    6CvW1ue4t1qcHdFF
    Z2IvqKSCJfNA2Ajc
    • Before the keyboard panel can be fully removed, detach the three cords that connect to the keyboard.

    • Lift up on the black tab and the cord will fall out.

  7. CnkKdCgqllhbdHjU
    CnkKdCgqllhbdHjU
    AJBLlYLMx5pxwj1H
    PrUwxAJAmCwRtND3
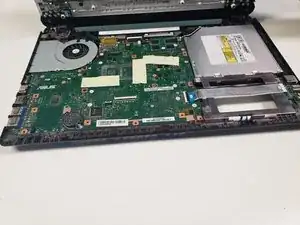
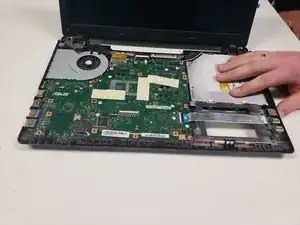
    • Remove the optical dive by sliding it outward.

  8. yMTi1vXagKVv22BL
    yMTi1vXagKVv22BL
    1HwrwBMFVKHIGSDW
    uVpHCuAHcUeOihip
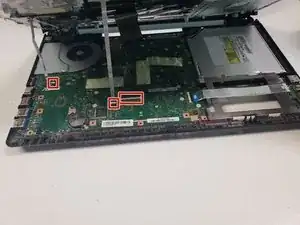
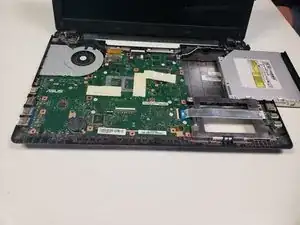
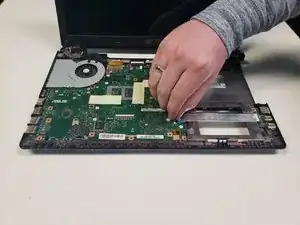
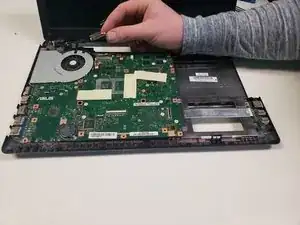
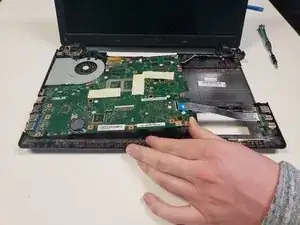
    • Now remove the two wires shown by pulling away from the motherboard.

  9. XEuit1dYVARAkdG2
    XEuit1dYVARAkdG2
    MpluRHQCalWMTmjP
    g1XDnWMKCGa6cUjP
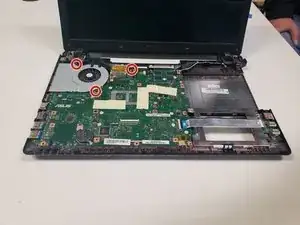
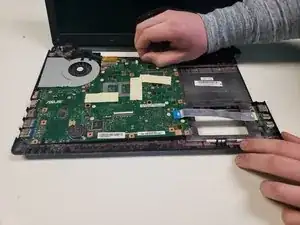
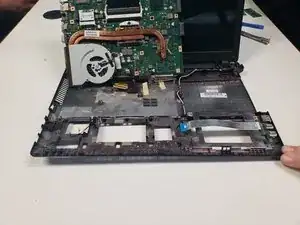
    • Remove the three screws holding the motherboard and fan in place using the Phillips #0 bit.

    • The top left screw shown in the first picture is easily broken

  10. eLJIpMb1TxHBYn5Q
    eLJIpMb1TxHBYn5Q
    OYwPLtofmvfIQNjN
    wtSOMwffUgIlI2Es
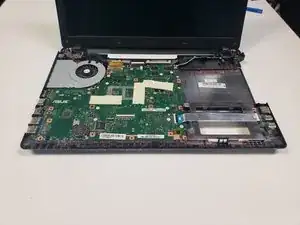
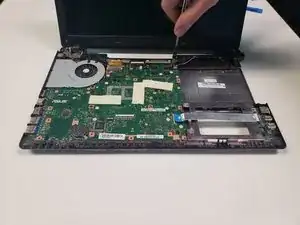
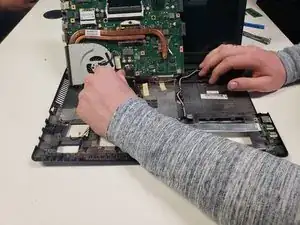
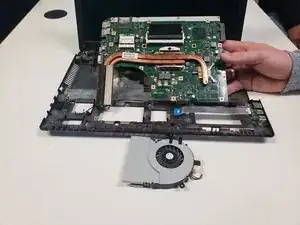
    • lift up on the entire motherboard and unplug the bottom wires connected to the fan.

  11. SkaZxRfGqA5Lx6JY
    SkaZxRfGqA5Lx6JY
    6FlQmXcmF43ByEU5
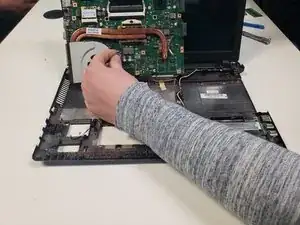
    • After all cords have been removed, the fan can be removed as well.

Abschluss

To reassemble your device, follow these instructions in reverse order.
Charter Mitchell

Mitglied seit: 21/09/18

327 Reputation

2 Kommentare

At step 5, you should also unscrew the bottom silver screw and unplug the wifi antennas.

https://i.imgur.com/vRrlRkv.png

Daniel -

At step 3, the bottom left screw does not hold down the drive bay. Unsrew that screw in step 5.

Daniel -