Einleitung
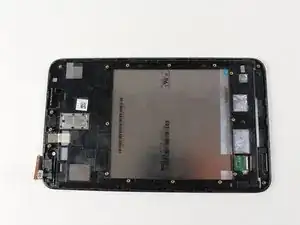
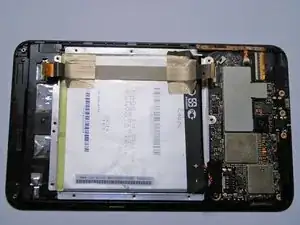
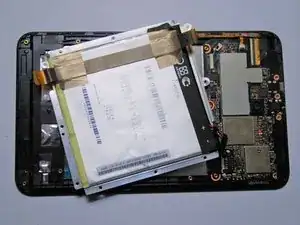
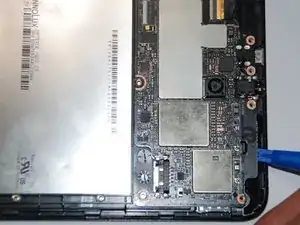
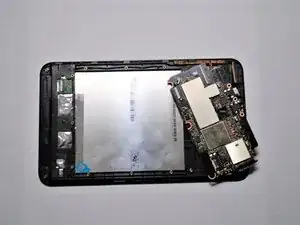
This guide will take you through the necessary steps to disassemble your Asus MeMO Pad 7 ME176C to replace the screen.
Werkzeuge
-
-
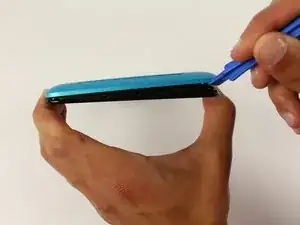
Insert plastic opening tool in between screen and back cover to create initial separation between the two.
-
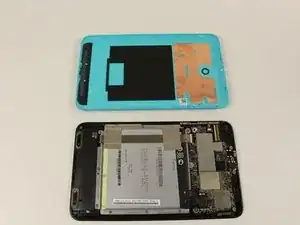
Then run plastic opening tool along end of screen to fully separate back cover from screen.
-
-
-
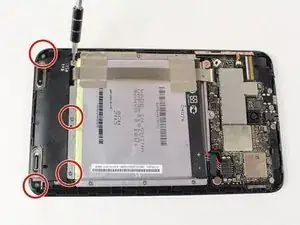
Remove screws (2.6mm) connecting speaker to hard frame with Phillips head screw driver (PH000).
-
-
-
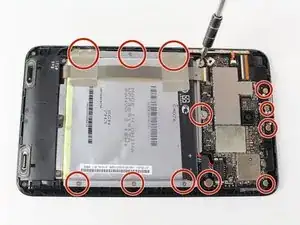
Remove the screws (2.6mm) connecting the motherboard and battery tray to the hard frame with Phillip's head screw driver (PH000).
-
-
-
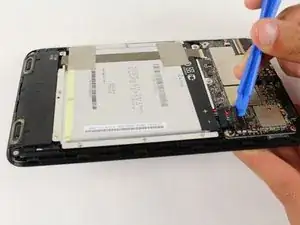
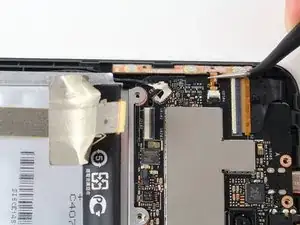
Remove the black bundle battery connector from the motherboard using plastic opening tools.
-
-
-
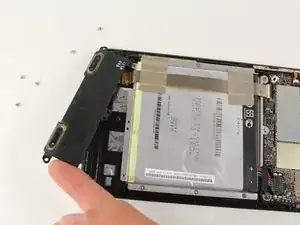
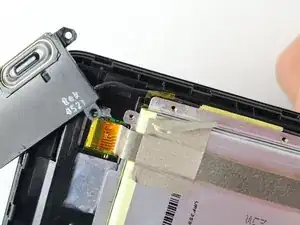
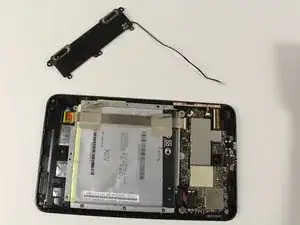
Remove speaker housing to expose ZIF connection underneath.
-
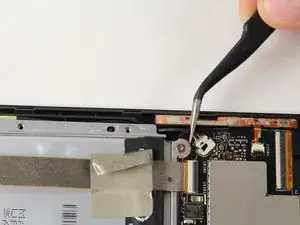
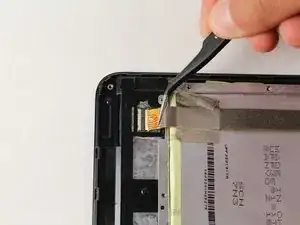
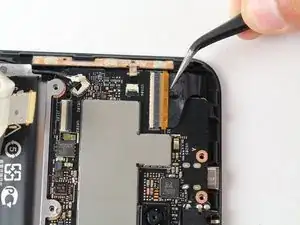
Then using metal tweezers disconnect the ZIF connector.
-
-
-
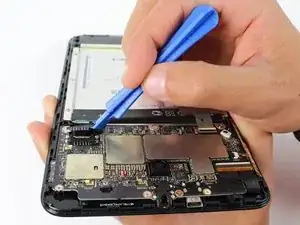
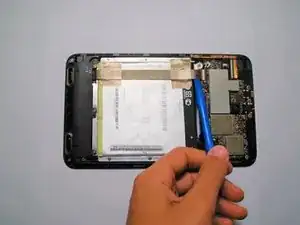
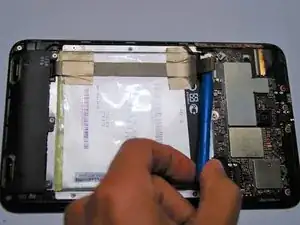
Remove motherboard from hard frame.
-
When removing the motherboard make sure all screws that attach motherboard to hardframe are removed and to release plastic tab as shown in image.
-
-
-
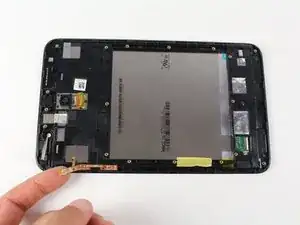
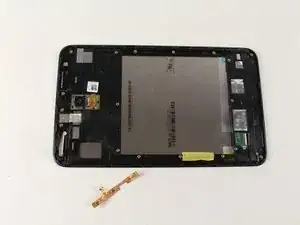
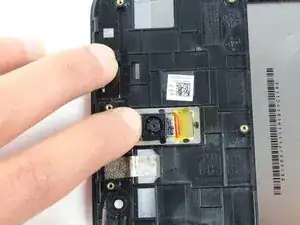
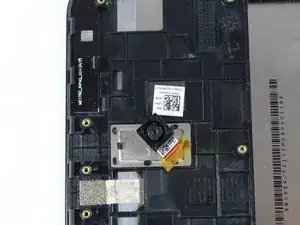
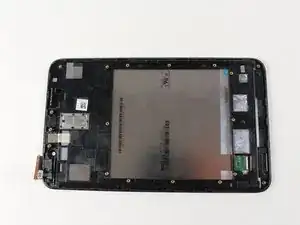
Apply slight pressure on camera to break adhesive to finish screen disassembly processes.
-
To reassemble your device, follow these instructions in reverse order.
