Einleitung
The replacement guide for the front facing camera is simple and straight forward. This requires a little more work than replacing simple items like the battery. Never the less, the replacement of the camera can be accomplished with a few simple steps.
Werkzeuge
Ersatzteile
-
-
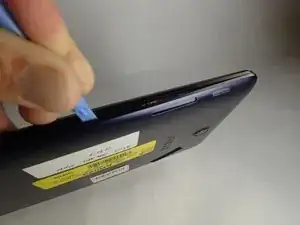
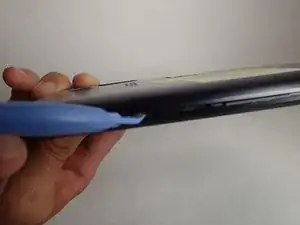
Carefully remove the back panel by using a plastic opening tool to remove the panel off the device.
-
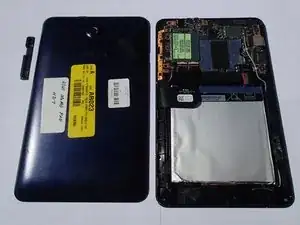
Pull the back panel away from the device.
-
-
-
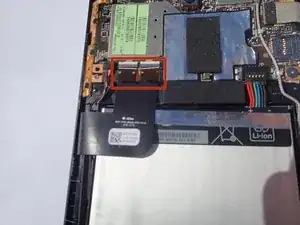
Unlock the ZIF connectors on the data cables.
-
Remove the cable from its slot by gently pulling downward on the tabs.
-
-
-
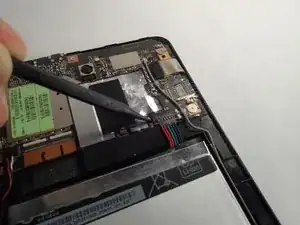
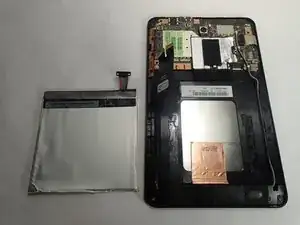
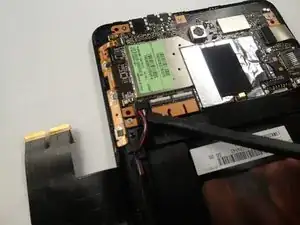
Locate the battery connector by following the wires that come from the top right of the battery. To disconnect the battery just lift up gently on the wires. Use a spudger or blue plastic opening tool to gently lift the wires if it is hard to get a grip.
-
-
-
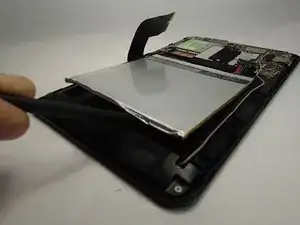
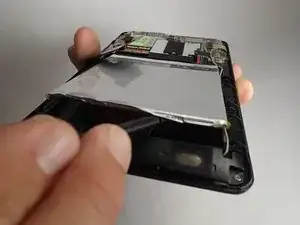
Using a spudger carefully pry the battery up. It is glued down so slight pressure may be needed.
-
-
-
Locate the speaker wires to the left side of the battery. Remove the connector by pulling up gently or prying with a tool if you can not get a good grip.
-
-
-
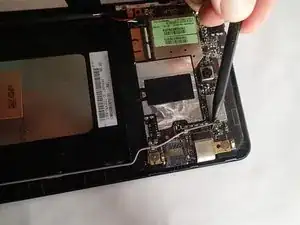
Pry the GPS Antenna cable straight up using a spudger or similar prying tool. It will be the grey wire that runs up the right side of the device coming from the speaker housing up to the motherboard.
-
-
-
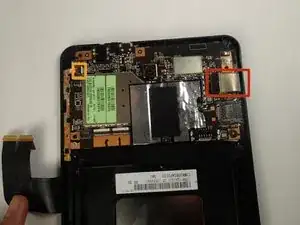
Remove the data ribbon for the motherboard which is located on the right side of the board. It has a flat top on the connector. Remove it by using a spudger to pry it straight up.
-
Locate the volume and power button connector on the left side of the mother board. Disconnect the ZIF connector by flipping the latch on the connector up and sliding the data cable directly out.
-
-
-
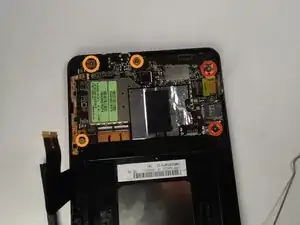
Unscrew two #000 Philips 1.5 mm screws on the right side of the motherboard.
-
Unscrew 3 #000 Philips 2 mm screws from the left and center of the board.
-
The board will now lift straight up.
-
-
-
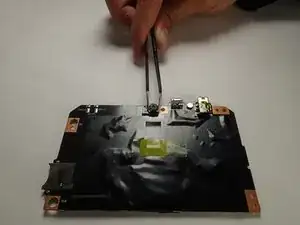
With the motherboard removed flip it to the side with the front facing camera.
-
Using a pair of tweezers grab the camera and pull straight up to remove it.
-
To reassemble your device, follow these instructions in reverse order.
Ein Kommentar
You forgot a couple very important steps. Before removing the motherboard, undo the clip that releases the power and volume button board. Also, there is a connector underneath the motherboard for the rear facing camera. Be careful not to break the connector or the ribbon cable. I can tell it's going to be tricky to reconnect it on reassembly.
Important: Remove SD card first!
Ola Eldøy -