Einleitung
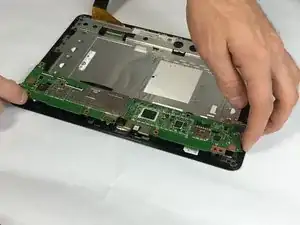
This replacement guide shows how to remove front and rear cameras for the Asus MeMo Pad ME102A.
Werkzeuge
-
-
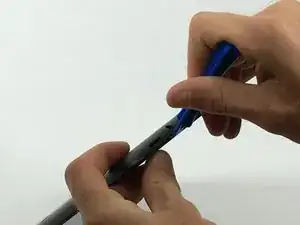
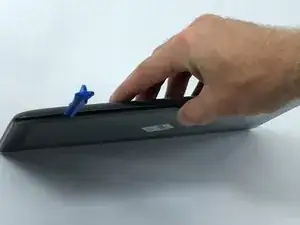
Insert the blue plastic opening tool into the seam between the back panel and the chassis.
-
-
-
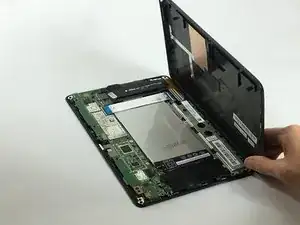
Slide the plastic opener around the tablet. There will be spots of resistance. These should gently pop open as the tool slides through the seam.
-
-
-
The right-hand speaker is labeled ME102A-R and is located by the battery plug. This is the first speaker removed in this guide, however if the left-hand speaker is the only one you need to replace please skip down to the left-hand speaker section.
-
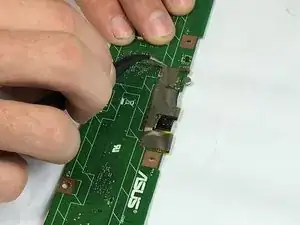
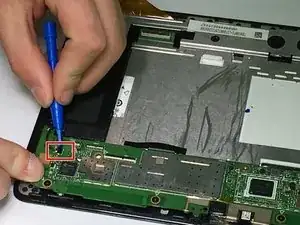
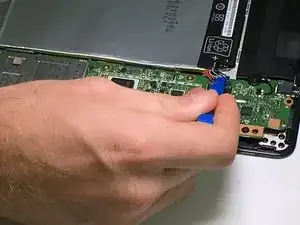
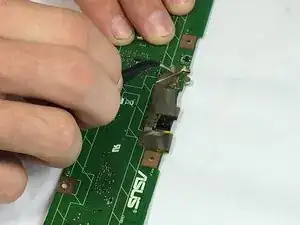
Unplug the speaker cable by gently pushing it parallel to the motherboard with the flat side of the blue plastic opening tool.
-
-
-
Lift the speaker up by the end opposing the steel latch and slide it out from under the steel latch. The speaker has now been removed.
-
-
-
The left-hand speaker is designated by the lettering ME102A-L and is located by the silver and blue ribbon cable running across the top of the battery.
-
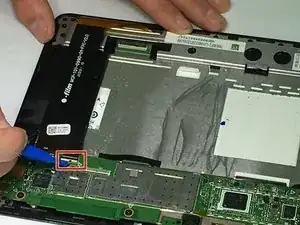
Remove the Ribbon cable labeled CN2 by gently prying up the white latch of the black and white plugs by using the small blue plastic opening tool.
-
Remove the Ribbon cable labeled CN1 by gently prying up the white latch of the black and white plugs by using the small blue plastic opening tool.
-
-
-
Unplug the speaker cable by gently pushing it parallel to the motherboard with the flat side of the blue plastic opening tool.
-
-
-
Lift the speaker up by the end opposing the steel latch and slide it out from under the steel latch. The speaker has now been removed.
-
-
-
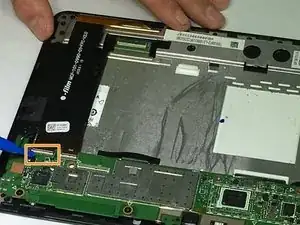
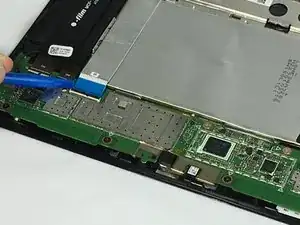
Use the blue plastic opening tool to lift open the black latch connecting the blue ribbon cable to the motherboard.
-
-
-
Using the blue plastic opening tool unplug the battery plug by gently pushing the plug out parallel to the motherboard.
-
-
-
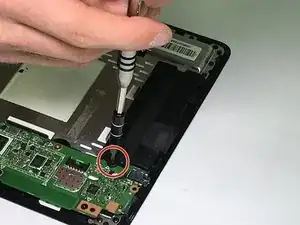
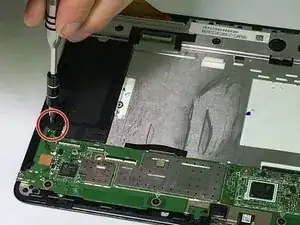
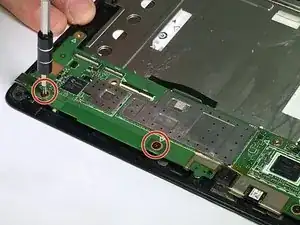
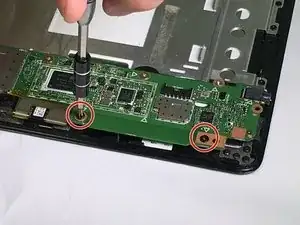
Using the PH00 screwdriver, remove the 4 black M2x4mm screws along the bottom of the motherboard.
-
-
-
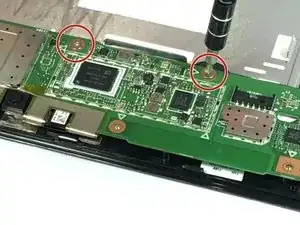
Using the PH00 screwdriver, remove the 2 silver M2x2mm screws along the top of the motherboard.
-
-
-
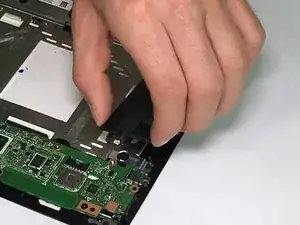
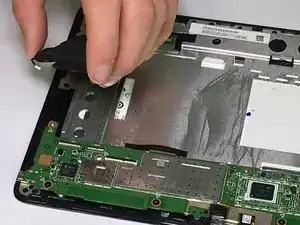
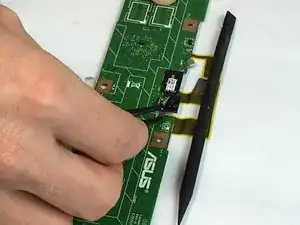
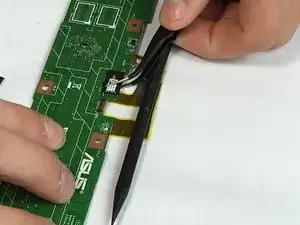
Use the tweezers to pull up the electrical tape around the front and rear cameras (ASUS lettering facing up). This can take a while as the tape is very sticky. Be careful not to damage the motherboard as it is fragile.
-
-
-
Carefully pull up on each camera to unplug them. They should move free with minimal force.
-
To reassemble your device, follow these instructions in reverse order.
