Einleitung
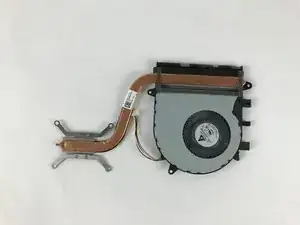
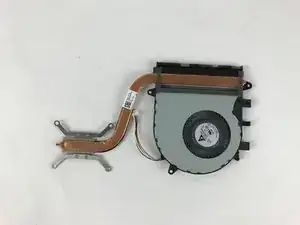
The heat sink would need to be replaced if the fan is broken. Prior to the removal of the heat sink, be sure to remove the screws in the order that they are numbered in. Also be sure to handle the heat sink with care as the copper wire is very sensitive.
Werkzeuge
-
-
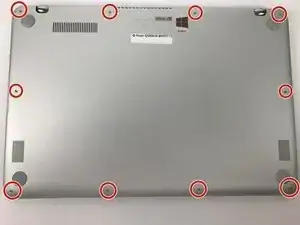
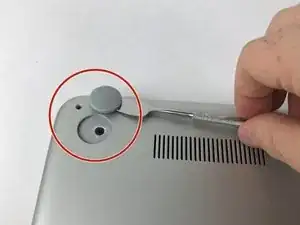
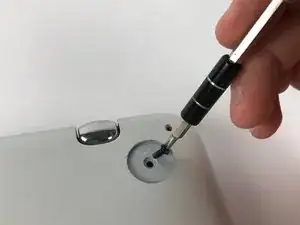
Use the Phillips #0 screwdriver to remove the two 4mm screws that are under the rubber pads.
-
-
-
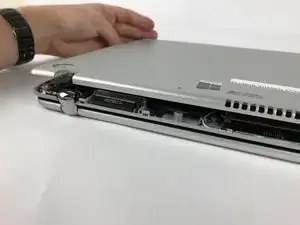
Insert any of the plastic opening tools into the seam to separate the back cover (it is recommended to start at the corner of the hinges). If you did it right, then the cover should pop off.
-
-
-
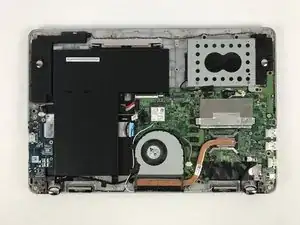
Once the back cover is removed, have the laptop facing upside down with the hinges facing nearest to you.
-
-
-
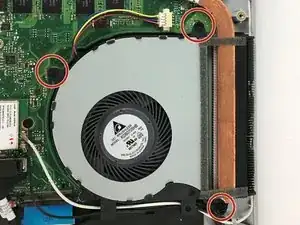
Using a Phillips #0 screwdriver, remove the three black 4mm screws located around the heat sink fan.
-
-
-
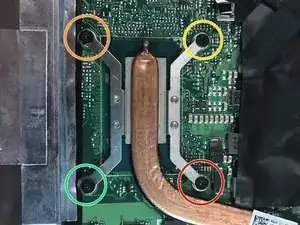
Using the same screwdriver, remove the four 4mm black screws around the copper lining
-
First remove the screw in the red circle.
-
Then remove the screw in the orange circle.
-
Next remove the screw in the yellow circle.
-
Finally, remove the screw in the green circle.
-
-
-
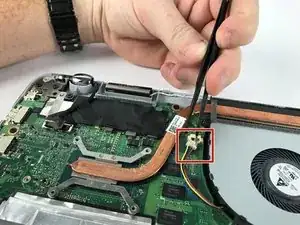
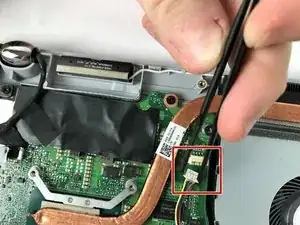
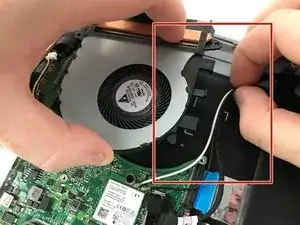
Use a pair of tweezers to pull and disconnect the cable located to the right of the heat sink fan.
-
To reassemble your device, follow these instructions in reverse order.
Ein Kommentar
Where did you buy the ''heat sink from.
Thank you very much for the walk through video, it helped me a lot.
Coastie228 -