Einleitung
Speakers would need to be removed if the user wanted to upgrade their current speakers or if the current speakers are not functioning properly. Before thinking about removing the speakers, check the settings to make sure the volume is on as the volume may have been too low.
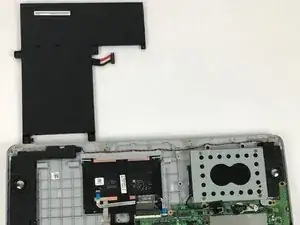
The battery must be removed prior to the speakers. When removing the speakers, handle them as well as the wire stringing them together with care.
Werkzeuge
Ersatzteile
-
-
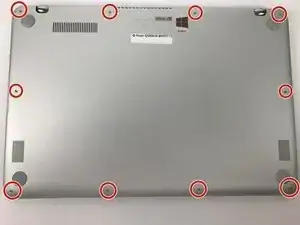
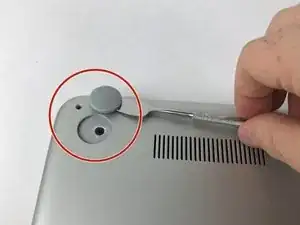
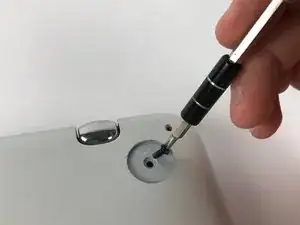
Use the Phillips #0 screwdriver to remove the two 4mm screws that are under the rubber pads.
-
-
-
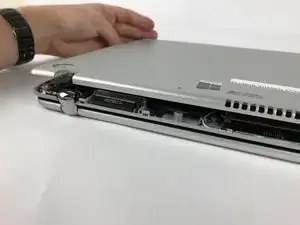
Insert any of the plastic opening tools into the seam to separate the back cover (it is recommended to start at the corner of the hinges). If you did it right, then the cover should pop off.
-
-
-
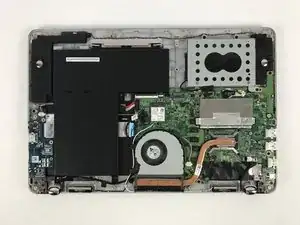
Once the back cover is removed, have the laptop facing upside down with the hinges facing toward you.
-
-
-
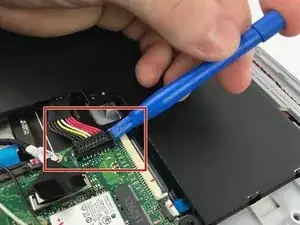
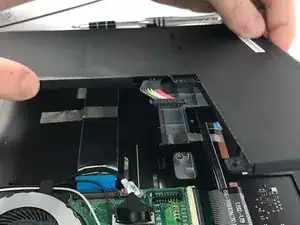
Use the small plastic opening tool to remove the ZIF Connector on the right side of the battery.
-
-
-
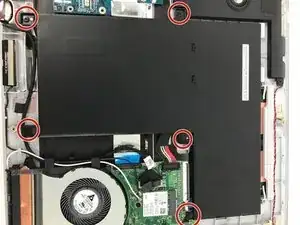
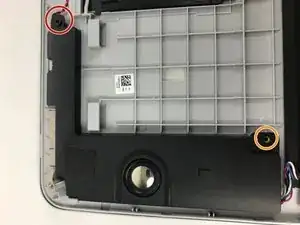
We will start with the left speaker. The left speaker is the one with the letter “L” on it. Use the Phillips #0 screwdriver to remove the two 4mm screws around the left speaker.
-
This is the screw that is shared with the battery. This screw will be removed once the battery is removed.
-
-
-
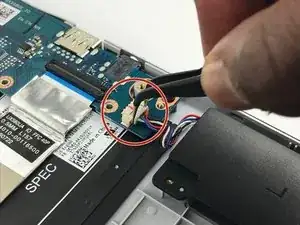
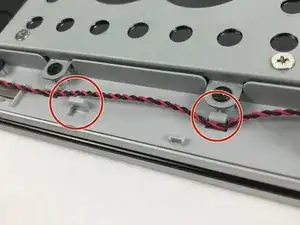
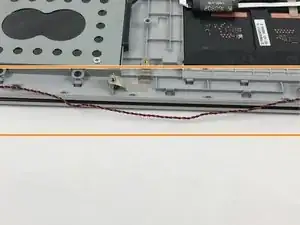
Unhook the red and black twisted wire from the tabs that are between the two speakers. This prevents damage to the wires as the speakers are removed.
-
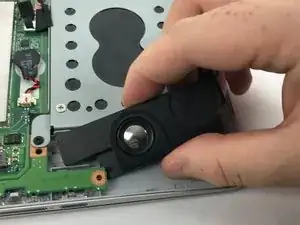
Remove the Left (L) speaker.
-
-
-
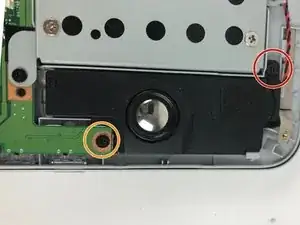
Now for the right speaker, use the Phillips #0 screwdriver to remove the two 4mm screws around the speaker.
-
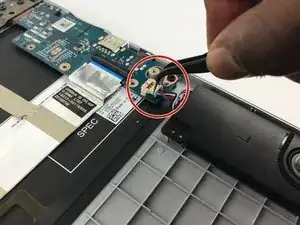
This screw is shared with the mother board, this screw will need to be removed however the mother board does not need to be removed before the speaker.
-
To reassemble your device, follow these instructions in reverse order.


Thank you very much for the walk through video, it helped me a lot.
Coastie228 -