Einleitung
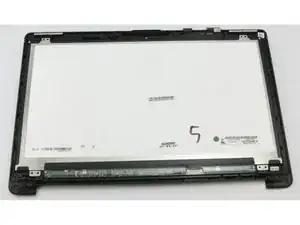
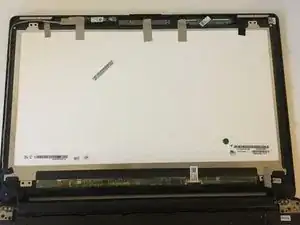
This guide will provide a step-by-step demonstration of how to remove a Asus Q552UB-BHI7T12 screen.
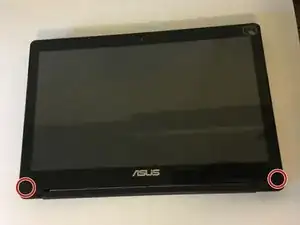
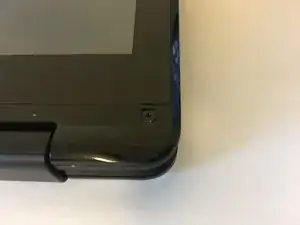
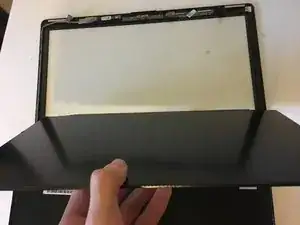
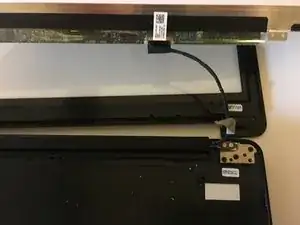
The process of removing the screen has multiple steps as demonstrated in the images below. In order to replace the screen, you will require both a Phillip's head screwdriver and an opening tool. This guide can also be used in reverse to model putting the screen back onto the laptop.
Before using this guide, remember to visit the Asus troubleshooting page to ensure that removing the screen is the appropriate solution to your system issues.
Werkzeuge
-
-
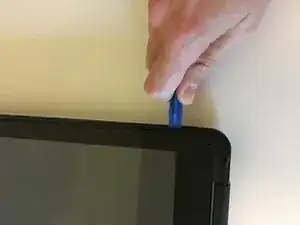
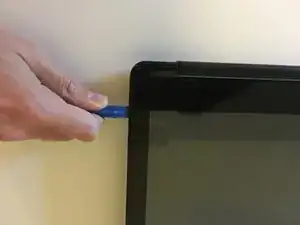
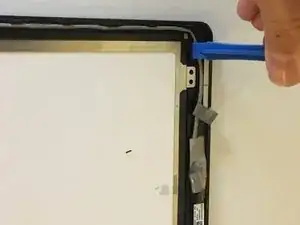
Wedge an opening tool between the two halves of the screen.
-
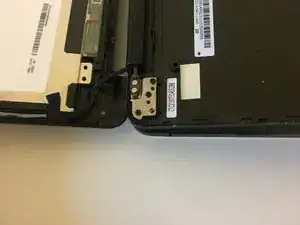
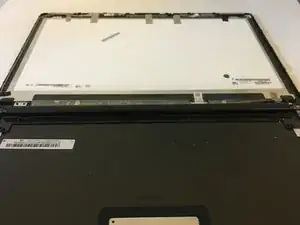
Keep the two latches together and go completely around the screen to release all the latches.
-
Follow these instructions in reverse order to reassemble your device.
2 Kommentare
Can you show the connection on motherboard for LCD cable?
Does anyone know where I can get this same model replacement?
