Einleitung
Ersatzteile
-
-
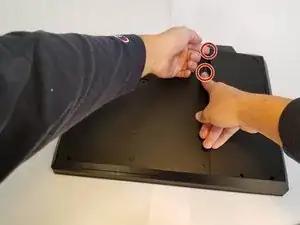
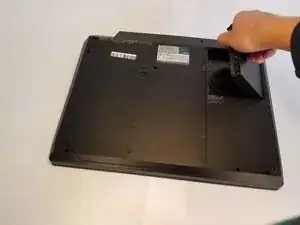
With your right hand, push the latch completely up to where you can see the battery pop slightly up. Pick and pull at the tab with your left hand.
-
-
-
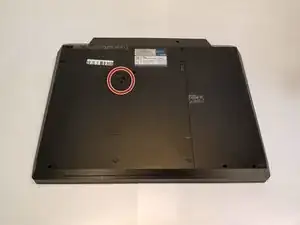
Remove the large flathead screw holding the back cover in place.
-
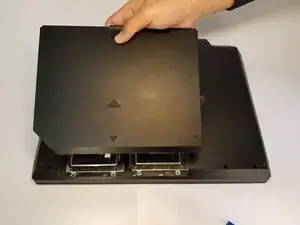
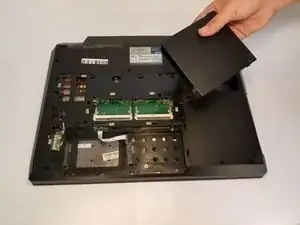
Pull the cover off by prying it open starting from the top center and moving outwards.
-
-
-
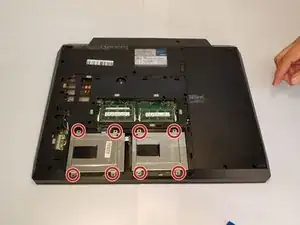
Remove the eight short screws holding in the two metal covers near the bottom.
-
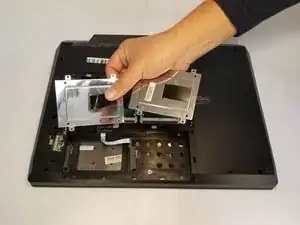
Remove the two metal covers.
-
-
-
Remove the battery to access the screws under it.
-
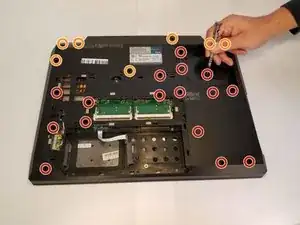
Remove these 16 screws with a regular Phillips head screw-driver.
-
These Phillips head screws will require a longer bit or an extension.
-
-
-
Flip the device back over.
-
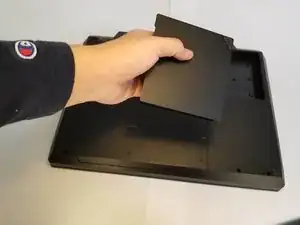
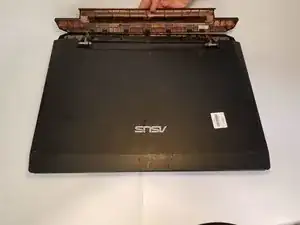
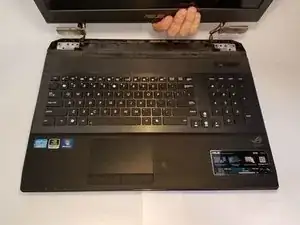
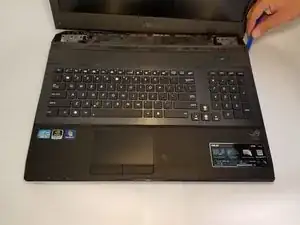
Pull off the plastic cover behind the screen.
-
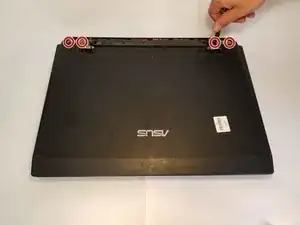
Remove the four Phillips head screws holding the screen in place.
-
To reassemble your device, follow these instructions in reverse order.
“With your right hand, push the latch completely up to where you can see the battery pop slightly up. Pick and pull at the tab with your left hand.” Lots of wordiness.
Coreyai -