Einleitung
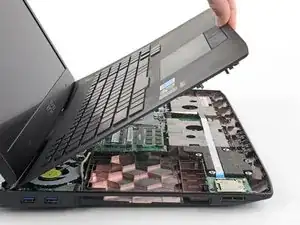
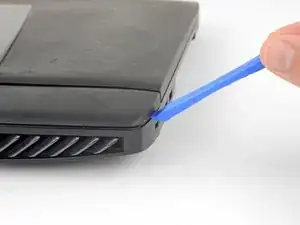
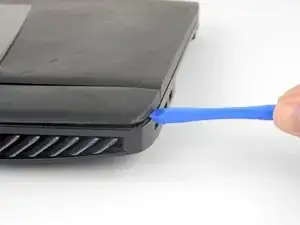
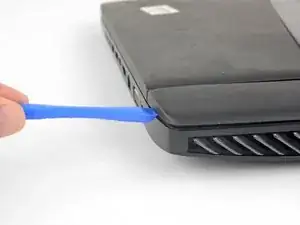
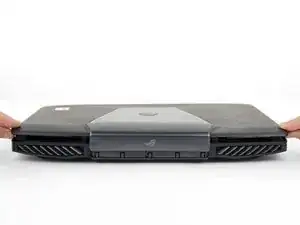
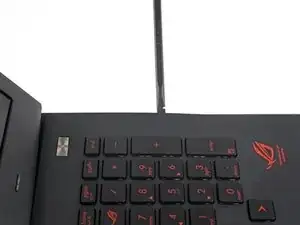
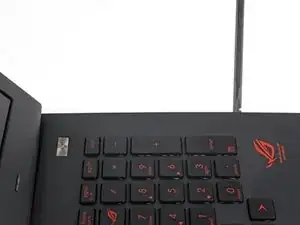
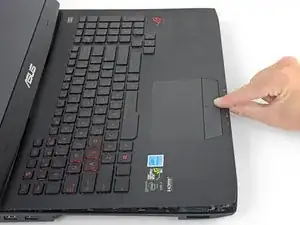
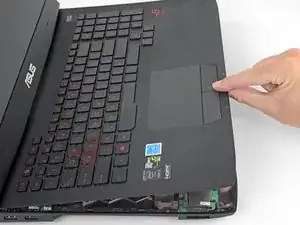
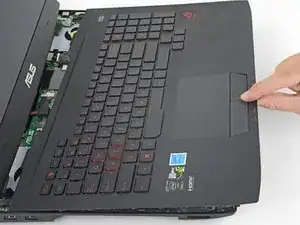
Use this guide to remove or replace the upper case assembly on an Asus ROG G751JL. This assembly includes the keyboard and trackpad.
Werkzeuge
-
-
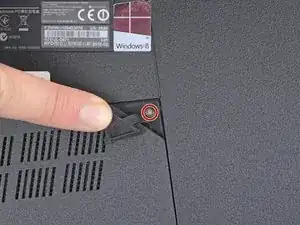
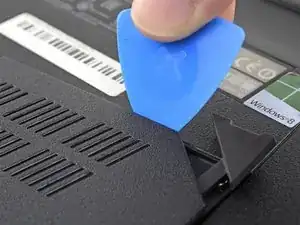
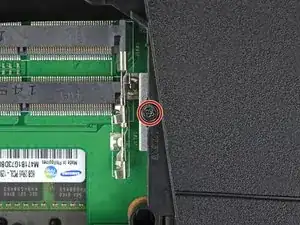
Use an opening tool to pry up the small rubber cover on the upper right corner of the RAM access door.
-
-
-
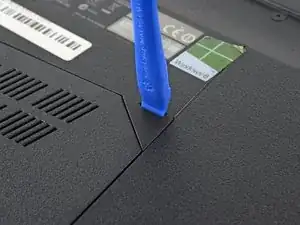
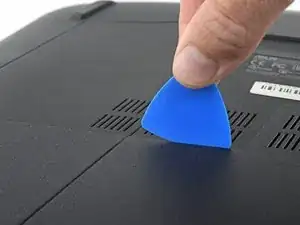
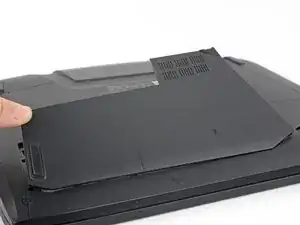
Insert the point of an opening pick in the seam near the top right corner of the RAM access door and gently pry the door up slightly.
-
The door is held in place by small clips around its edges. Pry until you feel the nearest clips release.
-
-
-
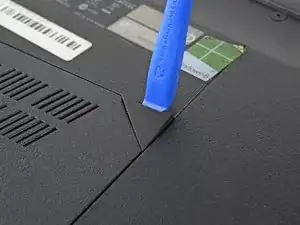
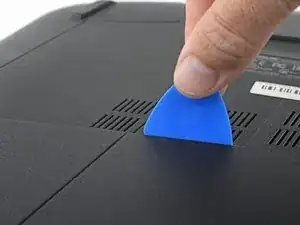
Insert the wide edge of an opening pick into a new part of the seam between the door and the computer.
-
Pry the door up to release the clips closest to the pick.
-
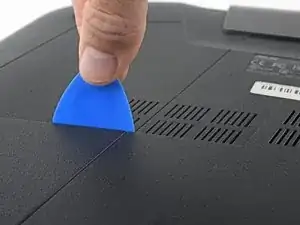
Continue to slide the pick along the seam all the way around the door, prying as you go, until all the clips holding the door down have been released.
-
-
-
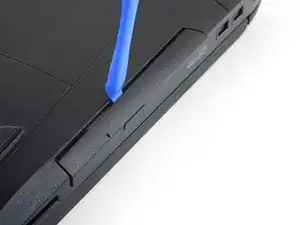
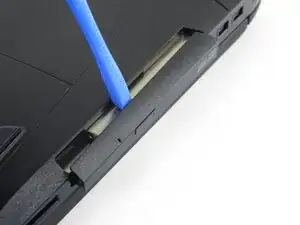
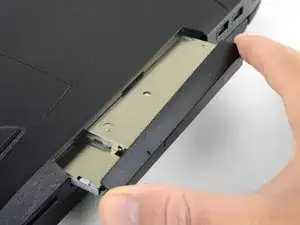
Insert an opening tool into the gap between the optical drive and the laptop.
-
Pry the optical drive straight out of the laptop.
-
Remove the optical drive.
-
-
-
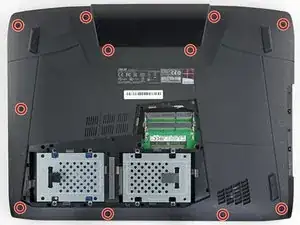
Use the point of a spudger to pry out eleven rubber plugs covering the screws on the bottom of the laptop.
-
-
-
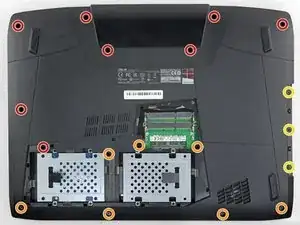
Remove 18 Phillips #00 screws of the following lengths:
-
Eight 8.8 mm screws
-
Seven 5.2 mm screws
-
Three screws
-
-
-
Flip the laptop right-side up.
-
Use an opening pick to pry the left and right edges of the battery cover away from the laptop enough that you can grip the cover with your fingers.
-
-
-
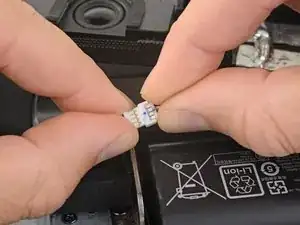
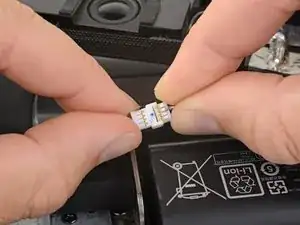
Pull the speaker connectors straight away from each other to disconnect the speaker cable.
-
-
-
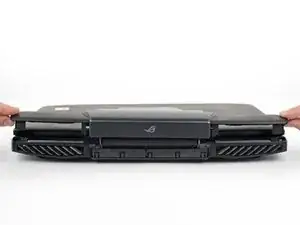
Open the laptop's display to a 90° angle.
-
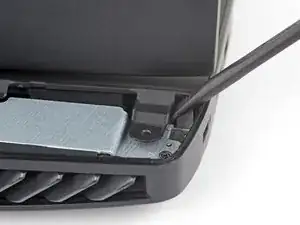
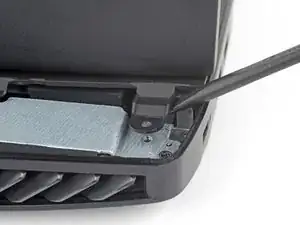
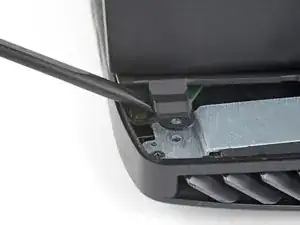
Use a spudger to pry against one of the screw tabs on the back of the upper case assembly.
-
Repeat this procedure with the other tab.
-
-
-
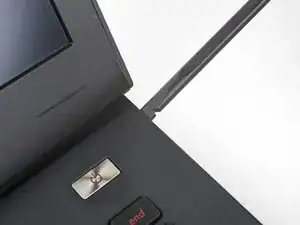
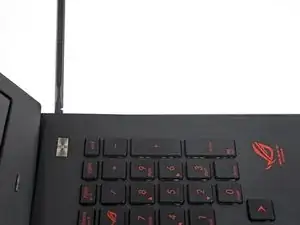
Insert the flat end of a spudger in the gap between the laptop and the upper case assembly, near the display.
-
If there's not a big enough gap, repeat the previous step until you have space to insert the spudger.
-
-
-
Slide the spudger along each edge of the upper case assembly, prying and releasing clips as you go.
-
-
-
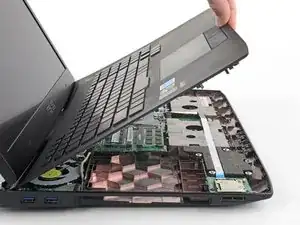
When all the clips securing the upper case assembly have been released, lift the assembly slightly and slide it down, away from the display, about an inch.
-
-
-
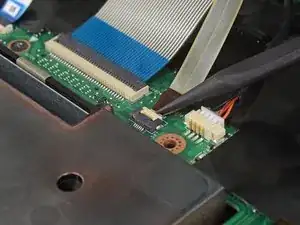
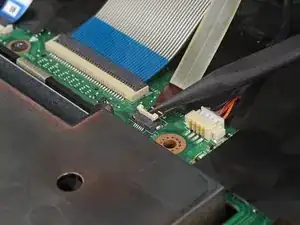
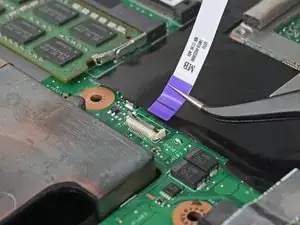
Use the tip of a spudger to flip up the small locking flap of the keyboard backlight cable ZIF connector.
-
Gently pull the cable out of its socket.
-
-
-
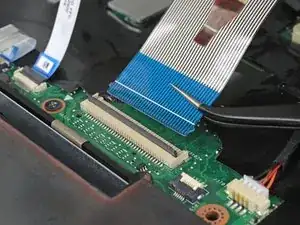
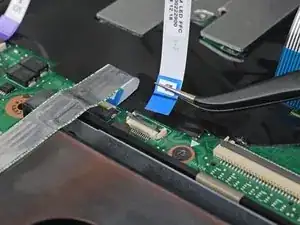
Repeat the previous step for the keyboard, trackpad buttons, and trackpad cables held in place by ZIF connectors.
-
To reassemble your device, follow the above steps in reverse order.
Take your e-waste to an R2 or e-Stewards certified recycler.
Repair didn’t go as planned? Check out our Answers community for troubleshooting help.
