Einleitung

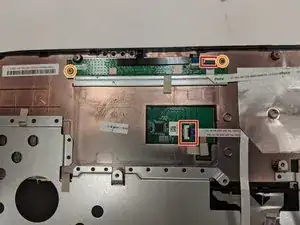
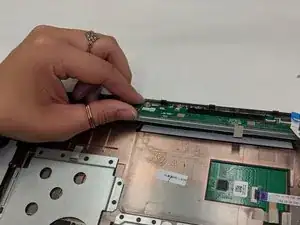
This guide will show you how to replace the left and right buttons on your  Asus ROG G751JL-DS71 track pad. This is important for usability of the laptop.

  1. xTD3SKDejhXYIGJT
    xTD3SKDejhXYIGJT
    TJpOhSuCiHLAioeV
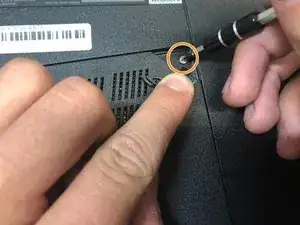
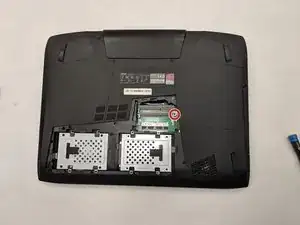
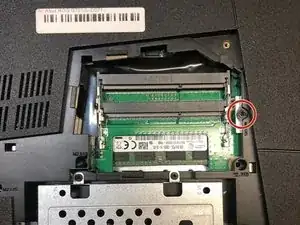
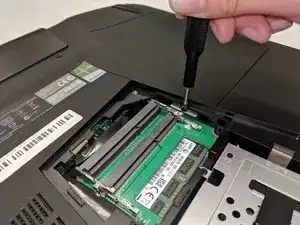
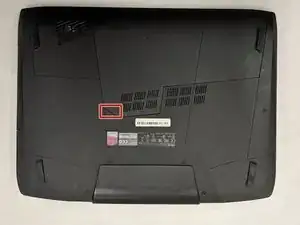
    • Lift the rubber cover found on the bottom of the laptop.

    • Remove the 5.2 mm screw with a Phillips 1 Screwdriver.

  2. yuVKVIPZdBQLrFdc
    yuVKVIPZdBQLrFdc
    cRcOUWGMsStlwwTD
    pGhNh4GpSMVsRciu
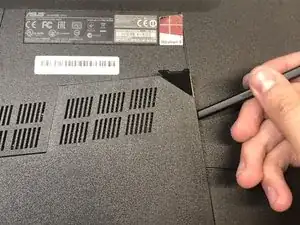
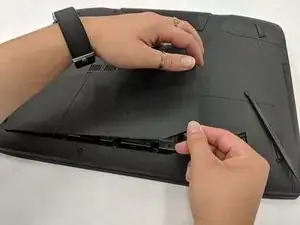
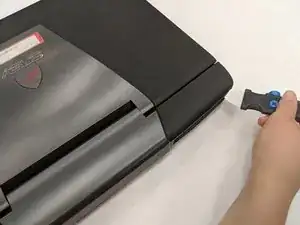
    • Use the standard spudger to remove the back center panel.

  3. GSLMgyQhxT1XHK31
    GSLMgyQhxT1XHK31
    KhEOUXPGOv12v2mD
    2HUoqElqV4ALZhcF
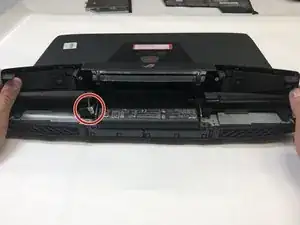
    • Use a Phillips 1 Screwdriver to remove the 5 mm screw that is located underneath the back panel.

  4. cDBCoetdPoIp1v11
    cDBCoetdPoIp1v11
    ZdIXloKRki4li6kS
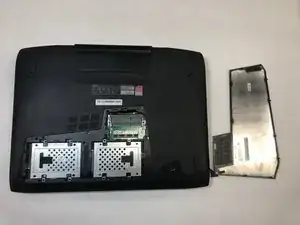
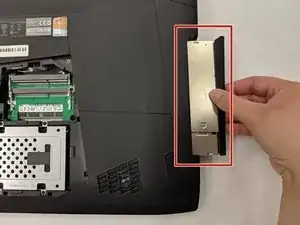
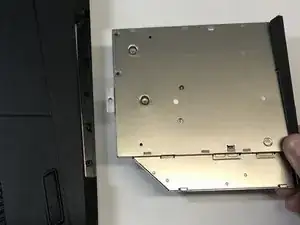
    • Pull out the optical drive found on the side of the laptop.

  5. aW3vRHaclOBD6sTx
    aW3vRHaclOBD6sTx
    JUVdXPZDBU4fnIXg
    1ZYPvGnVLaOZvHHl
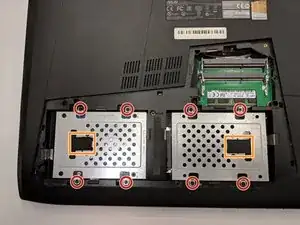
    • Remove the screws holding the hard drives in place using a Phillips 1 screwdriver.

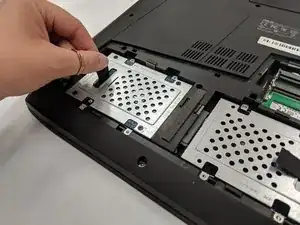
    • Using the small flaps, remove the hard drives by hand.

  6. bXrNxvGM61ZhRcD6
    bXrNxvGM61ZhRcD6
    2GYQIqh4o1QNQ2DJ
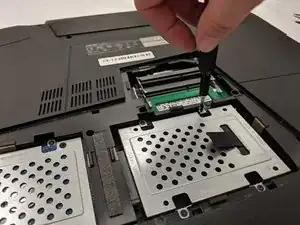
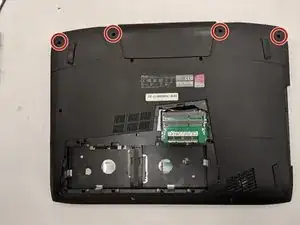
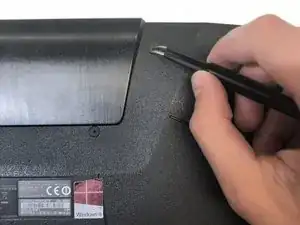
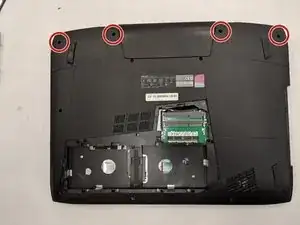
    • Use a pair of tweezers to remove the top four rubber stoppers found on the bottom of the laptop.

  7. A2LsxlMNrv31YKG1
    A2LsxlMNrv31YKG1
    y4b6UgT2SjUupiQK
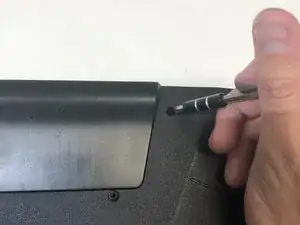
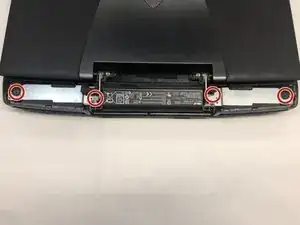
    • Use a Phillips 1 Screwdriver to remove the top four 8.5 mm screws.

  8. g5MxwUSBpXL3yVdL
    g5MxwUSBpXL3yVdL
    LcKg4HtcJLuEMEfI
    TTjIAP1L5EPIMKZj
    • Use a metal spudger to carefully pry the top back panel off.

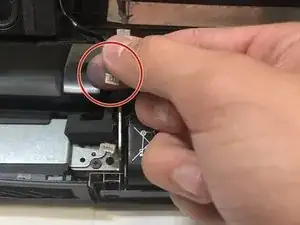
    • While removing the top back panel, be careful not to break the four pin connector located underneath.

    • Disconnect the four-pin connector and remove the top back panel from the computer.

  9. BOCjACcqpcsDtRUY
    • Use a Phillips 1 Screwdriver to remove the four 6.8 mm screws underneath the back panel.

  10. aRBh6vwFoCihmRhN
    • Use a Phillips 1 Screwdriver to remove the ten 5.2 mm screws holding the main panel in place.

  11. 2FeJhgaXuJQEe6O1
    2FeJhgaXuJQEe6O1
    ENt1ulDDqPrvdWKg
    PNiAUNZXKJSlebgX
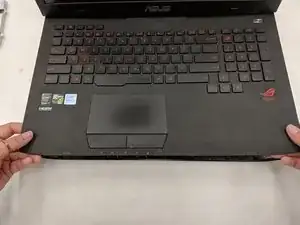
    • Use a metal spudger to pry the keyboard from the base of the laptop.

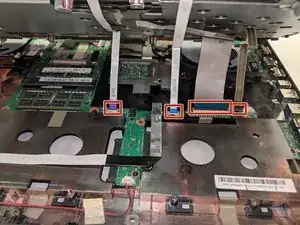
    • Lift the keyboard carefully so as to not tear or break the four ribbon connectors underneath the keyboard.

  12. OMLiQGXboNrjZGPJ
    OMLiQGXboNrjZGPJ
    FsrLclIG5yWdSWff
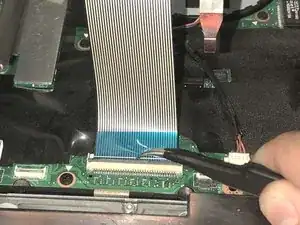
    • Use a pair of tweezers to undo each of the four ribbon connectors.

    • The keyboard is now completely disconnected from the laptop and you can remove it.

  13. xcBFWvKeElvWKETW
    xcBFWvKeElvWKETW
    rHiwoZptxoNaEF1N
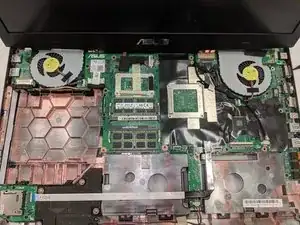
    • Use a pair of tweezers to undo each of the two ribbon connectors.

    • Use a Phillips 1 Screwdriver to remove the four 6.8 mm screws underneath the back panel.

    • The Left and right button is now completely disconnected from the laptop and you can remove it.

Abschluss

To reassemble your device, follow these instructions in reverse order.
D'Artagnan Scott Engle

Mitglied seit: 01/04/19

297 Reputation

0 Kommentare