Einleitung
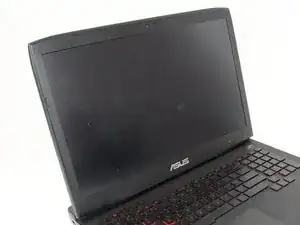
This guide demonstrates the step-by-step removal of the Asus ROG G751JL-DS71 screen. Before proceeding, unplug your device from its power source.
Werkzeuge
-
-
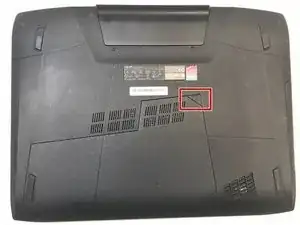
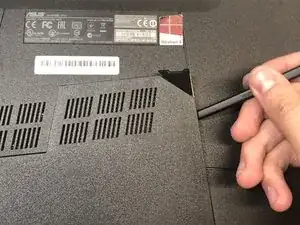
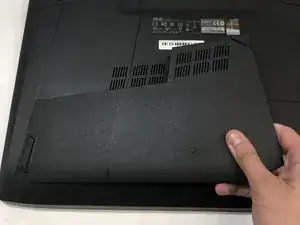
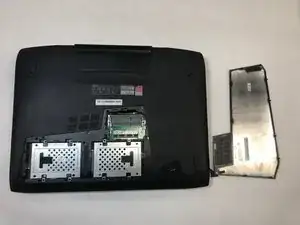
Lift the rubber cover found on the bottom of the laptop.
-
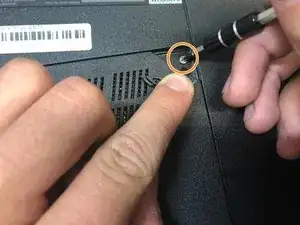
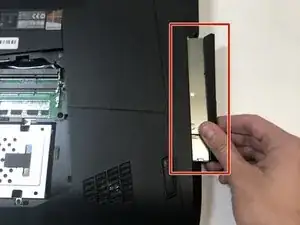
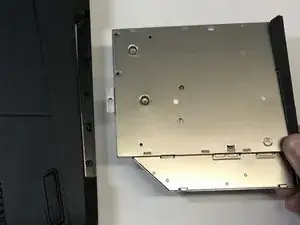
Remove the 5.2 mm screw with a Phillips 1 Screwdriver.
-
-
-
Use a Phillips 1 Screwdriver to remove the 5 mm screw that is located underneath the back panel.
-
-
-
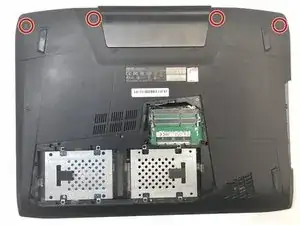
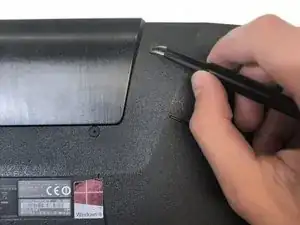
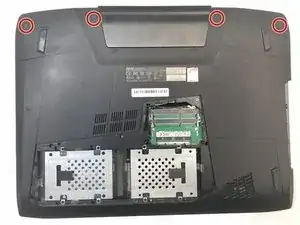
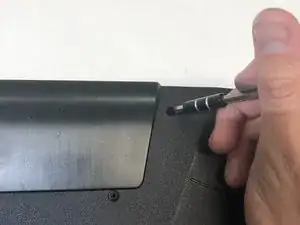
Use a pair of tweezers to remove the top four rubber stoppers found on the bottom of the laptop.
-
-
-
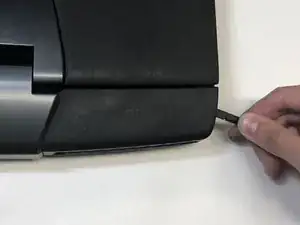
Use a nylon spudger to carefully pry the top back panel off.
-
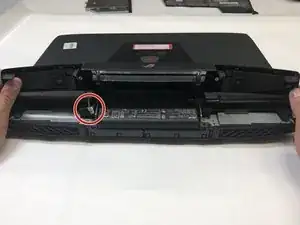
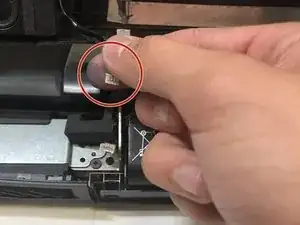
Disconnect the four-pin connector and remove the top back panel from the computer.
-
-
-
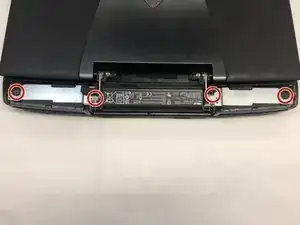
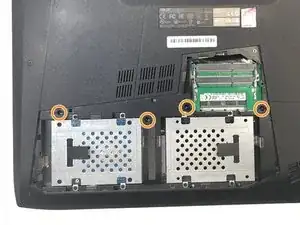
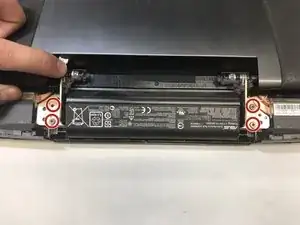
Use a Phillips 1 Screwdriver to remove the four 6.8 mm screws underneath the back panel.
-
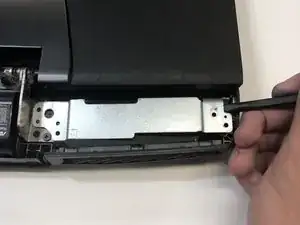
Lift away the metal housings from each side of the laptop.
-
-
-
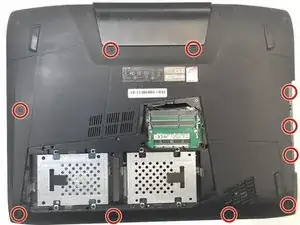
Use a Phillips 1 Screwdriver to remove the ten 5.2 mm screws holding the main panel in place.
-
Use a Phillips 1 Screwdriver to remove the four 5.2 mm screws underneath the center panel.
-
-
-
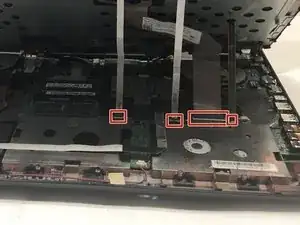
Use a pair of tweezers to undo each of the four ribbon connectors.
-
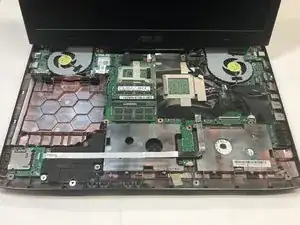
The keyboard is now completely disconnected from the laptop and you can remove it.
-
-
-
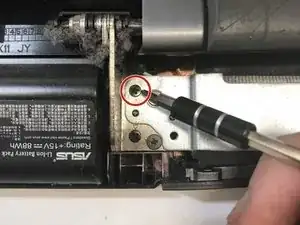
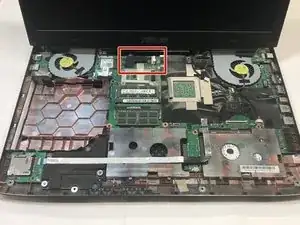
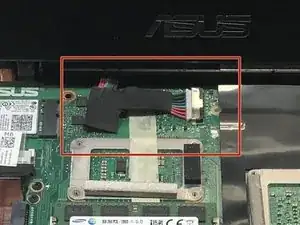
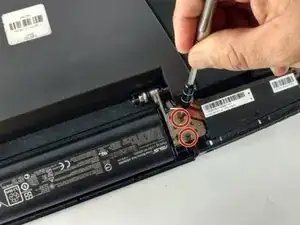
Use a Phillips 1 Screwdriver to remove the final four remaining 6.8 mm screws located underneath the back panel.
-
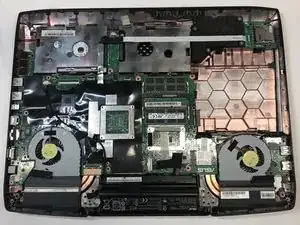
The monitor is now free to be completely lifted off the laptop.
-
To reassemble your device, follow these instructions in reverse order.
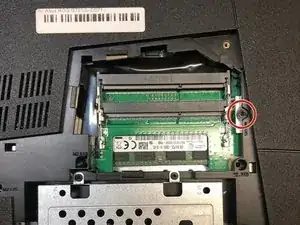
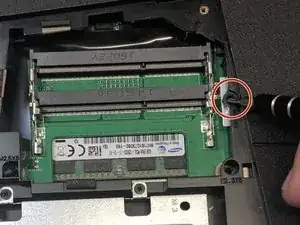

The screw doesn't come out completely.
Steve Menard -