Einleitung

This guide will explain the step-by-step process for replacing your RAM. Replacing the RAM could be necessary if you're laptop is not turning on.

  1. NxroU1TUlR4Y3XW4
    NxroU1TUlR4Y3XW4
    is2e5PrQgImD2SMh
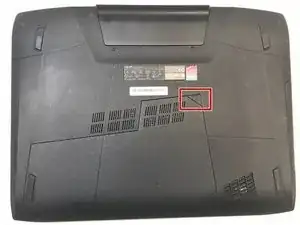
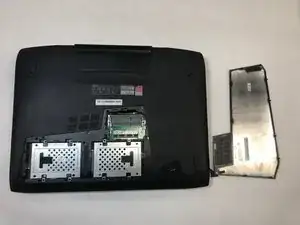
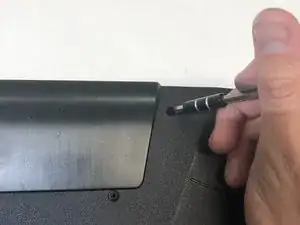
    • Lift the rubber cover found on the bottom of the laptop.

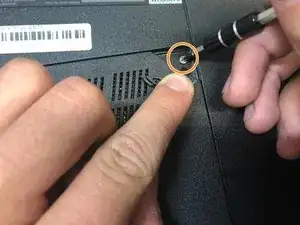
    • Remove the 5.2 mm screw with a Phillips 1 Screwdriver.

    The screw doesn't come out completely.

    Steve Menard -

  2. bmFS4qdhsQ1NskJM
    bmFS4qdhsQ1NskJM
    KeMZOcIPSAXBfH15
    ELmPVbwHotQf2lYD
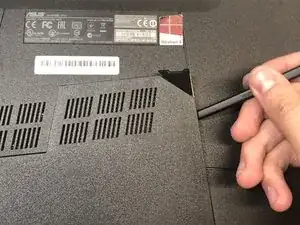
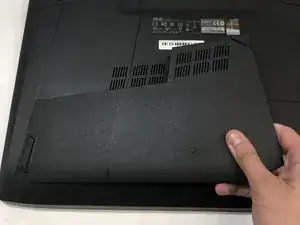
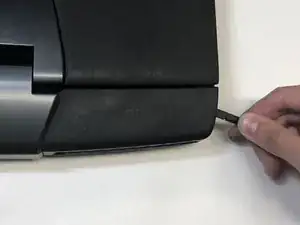
    • Use the nylon spudger to remove the back center panel.

    Pull up on the rubber cover to aid the spudger.

    Steve Menard -

  3. 1xCaVkQkCAuuBnsp
    1xCaVkQkCAuuBnsp
    aDOcBKdjtAYmAaWp
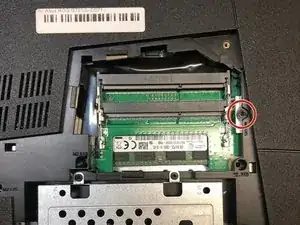
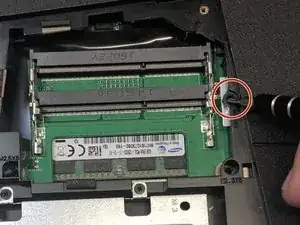
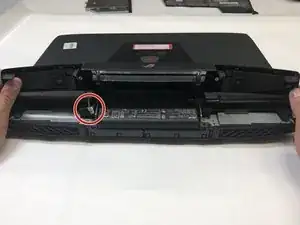
    • Use a Phillips 1 Screwdriver to remove the 5 mm screw that is located underneath the back panel.

    Why is it necessary to remove the CD Drive?

    Judi Pillsbury -

  4. Oq2QHkODeeFXDWcx
    Oq2QHkODeeFXDWcx
    kqU4c4FhWJKelGRh
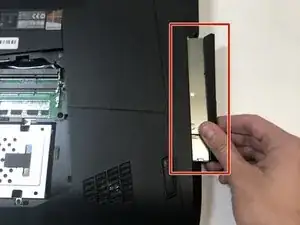
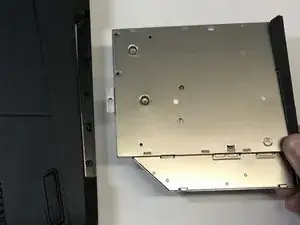
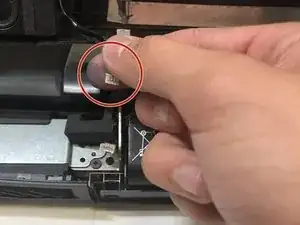
    • Pull out the optical drive found on the side of the laptop.

  5. wUwoLEoKnNHaHbOd
    wUwoLEoKnNHaHbOd
    WXDxyfGZLAnEOqLn
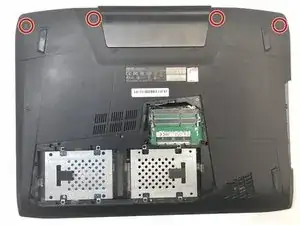
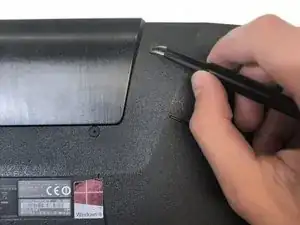
    • Use a pair of tweezers to remove the top four rubber stoppers found on the bottom of the laptop.

  6. shXxjROn2uTyyTCW
    shXxjROn2uTyyTCW
    luMdsauV3wRqSrJb
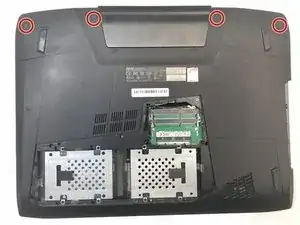
    • Use a Phillips 1 Screwdriver to remove the top four 8.5 mm screws.

  7. UUpIuEkPXXglBuxV
    UUpIuEkPXXglBuxV
    GeS1hLSVjaudaq4R
    oFVvjZDloSH1ZmR1
    • Use a nylon spudger to carefully pry the top back panel off.

    • While removing the top back panel, be careful not to break the four pin connector located underneath.

    • Disconnect the four-pin connector and remove the top back panel from the computer.

  8. gDyorlIkdFkpGlnL
    gDyorlIkdFkpGlnL
    HPZfAgGGVAkQn6CC
    vDYToiAsbJWcFAJ3
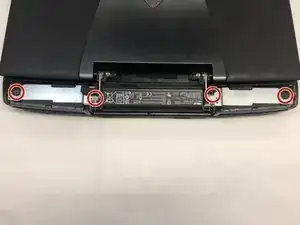
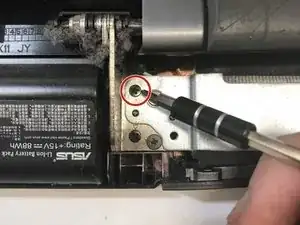
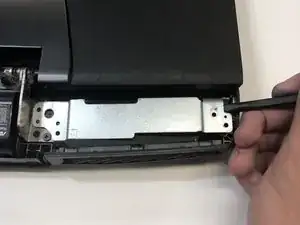
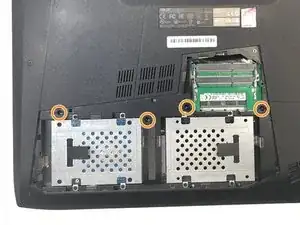
    • Use a Phillips 1 Screwdriver to remove the four 6.8 mm screws underneath the back panel.

    • Lift away the metal housings from each side of the laptop.

    There are 3 screws to remove on the left side as the rear of the laptop is facing you.

    Steve Menard -

  9. TXeaALBhDnVTsUKI
    TXeaALBhDnVTsUKI
    xMprn4ALVlvR2JWq
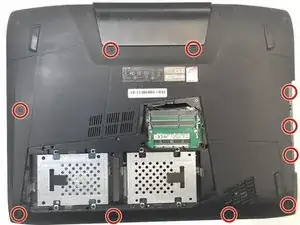
    • Use a Phillips 1 Screwdriver to remove the ten 5.2 mm screws holding the main panel in place.

    • Use a Phillips 1 Screwdriver to remove the four 5.2 mm screws underneath the center panel.

  10. mQnppBZfwepcoAIJ
    mQnppBZfwepcoAIJ
    fWaSqBTqcIynfIIY
    4LrWGuaInsL6hyqC
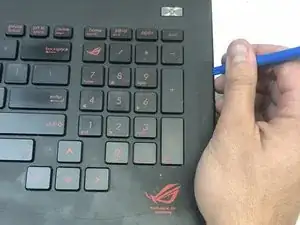
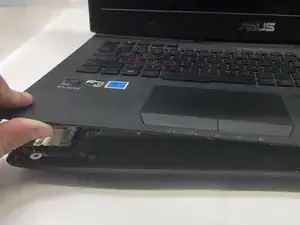
    • Use a plastic opening tool to pry the keyboard from the base of the laptop.

    • Lift the keyboard carefully so as to not tear or break the four ribbon connectors underneath the keyboard.

  11. 5KgZX6NacAkBDmdF
    5KgZX6NacAkBDmdF
    HuLJWCfnkLZYaCNe
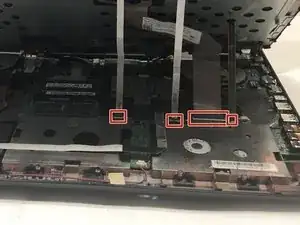
    • Use a pair of tweezers to undo each of the four ribbon connectors.

    • The keyboard is now completely disconnected from the laptop and you can remove it.

    ON STEP 11

    Do not just pull the ribbons out! locate the grey bar on the connectors and lift them gently from the ribbon side upward, they will open and the ribbons will come away easily, replace the ribbons by putting them in place and clicking down the grey bars to lock them in.

    Off Duty Pastor -

    Crud!! I didn't see your comment in time, Pastor! I am not accustomed to ribbon connectors. I found out too late, after severing one, that they each have “clips” locking them in place. This battery replacement just became complicated.

    Steve Menard -

    This is the keyboard panel removal. What about removing the keyboard from the keyboard panel?

    tech cowboy -

  12. 5BJwG3rtRrg63XI2
    5BJwG3rtRrg63XI2
    n1HnOmZbOeN5sQeD
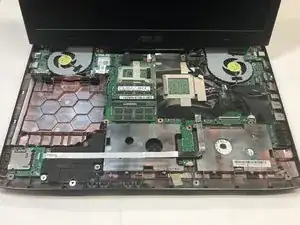
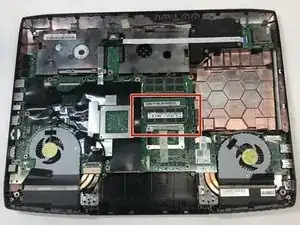
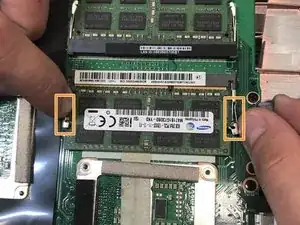
    • First locate the RAM.

    • Then pull the tabs located on the left and right of the RAM outwards to release the RAM.

    • You can now remove the RAM and replace it.

Abschluss

To reassemble your device, follow these instructions in reverse order.
Gwennie Kidd

Mitglied seit: 23/01/18

147 Reputation

0 Kommentare