Einleitung
If your Asus ROG G752V has lost its ability to hold a charge, you most likely have a dead/faulty battery which would require replacement.
A functional battery provides power to your laptop. Eventually, the laptop battery will rapidly drain after going through a repeated amount of charge cycles. If you notice that your charged battery is draining more quickly than usual, consider calibrating your battery to determine an accurate charging capacity. If you continue to notice significant drops in battery percentage, you should replace your battery.
A punctured battery can cause a dangerous fire. If your battery is swollen, take appropriate precautions.
Before you begin to use this guide, make sure to power off your Asus ROG G752V completely and disconnect from any external power source.
Werkzeuge
Ersatzteile
-
-
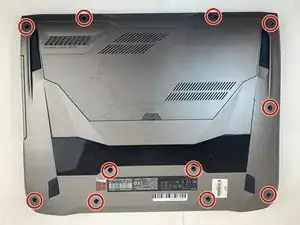
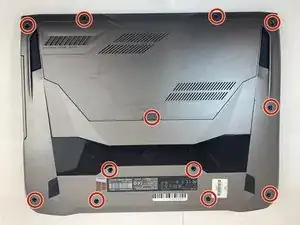
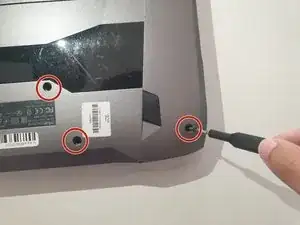
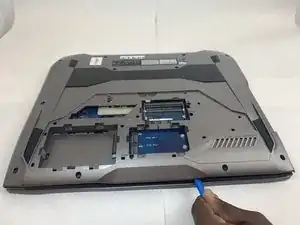
Using the Phillips #0 screwdriver, unscrew all twelve 5.2 mm screws on the back of the laptop.
-
-
-
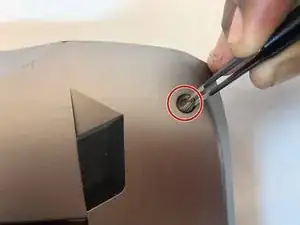
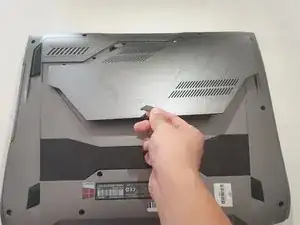
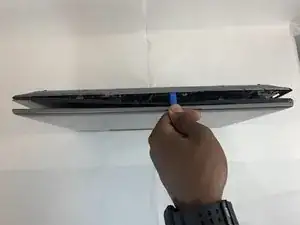
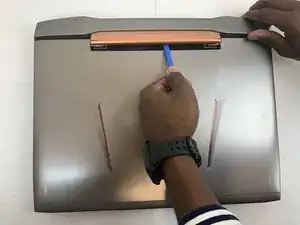
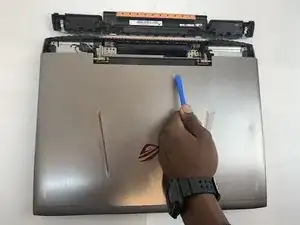
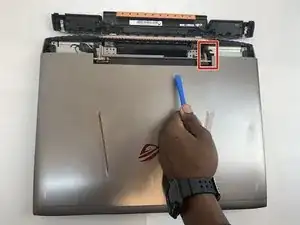
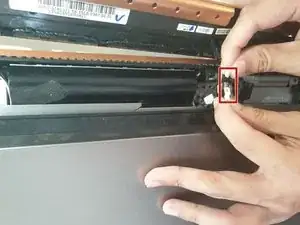
Remove the hinge on the back of the laptop cover using the iFixit Opening Tool. The piece should pop off.
-
-
-
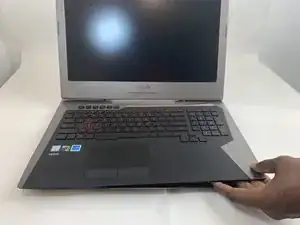
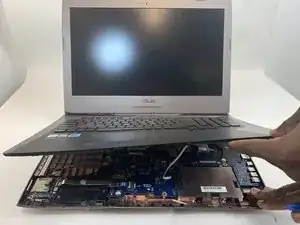
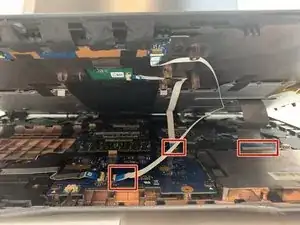
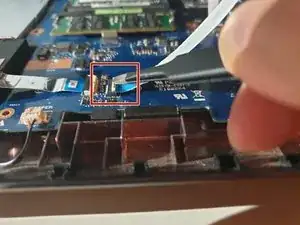
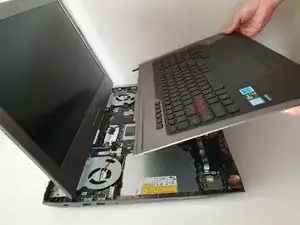
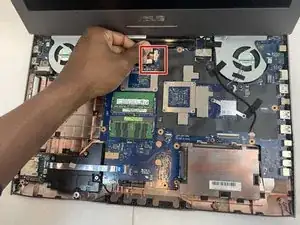
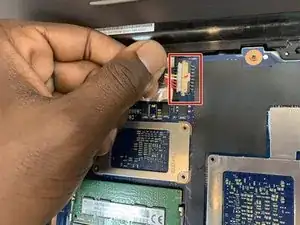
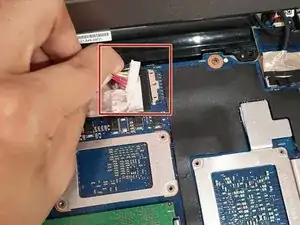
Once the cables are detached, lift the keyboard about 2 inches up and remove it from the rest of the body.
-
-
-
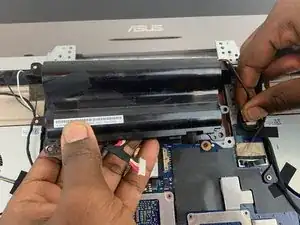
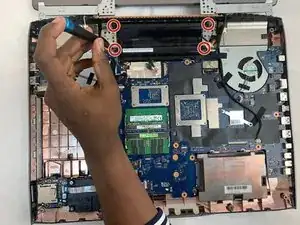
Disconnect the battery cable from its motherboard socket by gently pulling it towards the left of the socket.
-
-
-
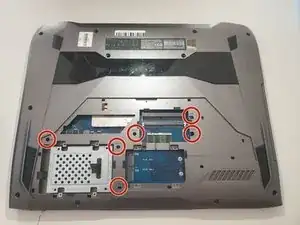
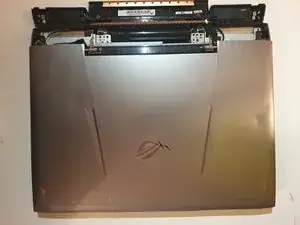
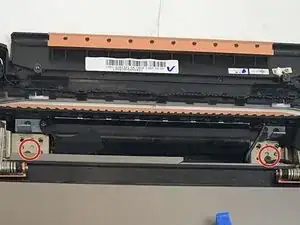
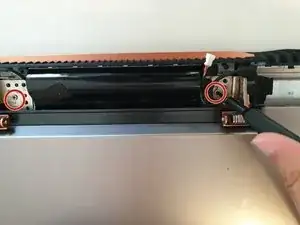
Remove two 5.8 mm screws holding the screen and the laptop located at the hinge.
-
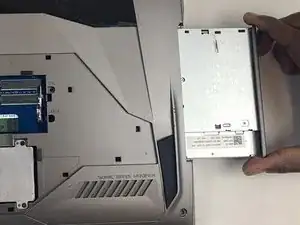
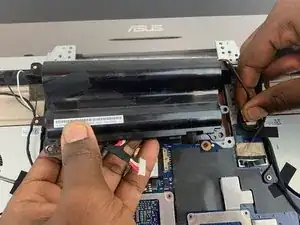
Remove the screen.
-
To reassemble your device, follow these instructions in reverse order.
For optimal performance, after completing this guide, calibrate your newly installed battery.
Take your e-waste to an R2 or e-Stewards certified recycler.
Repair didn’t go as planned? Try some basic troubleshooting, or ask our Answers community for help.
8 Kommentare
There is 2 connection. What is the smaller connection for? Thanks.
God, alot of people looked at my team’s project. Sorry it’s a piece of crap.
I had to do it for my tech writing class, got a solid B on it.
Jeong -
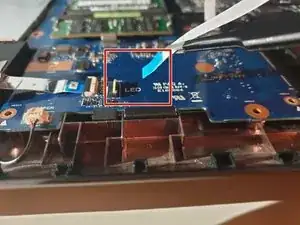
Thanks for this write up, excellent job. As Mickey mentioned, there is a second connection, from the side of the existing battery. This is actually part of an LED strip that is secured to the battery with an adhesive strip. Some models have this glowing back panel. I used a filet knife to pop the LED panel off the old battery and then tack it on the new one.
Rich C -
