Einleitung
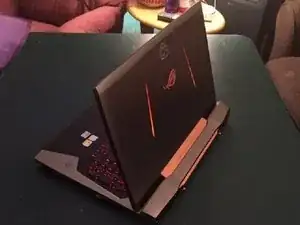
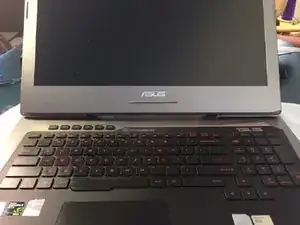
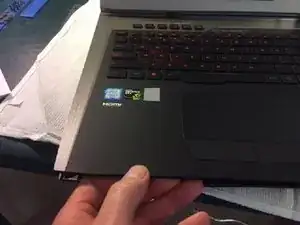
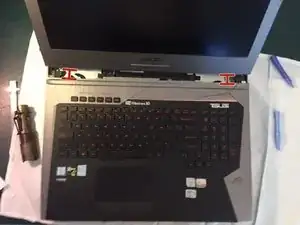
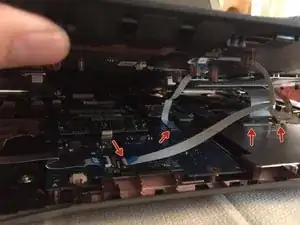
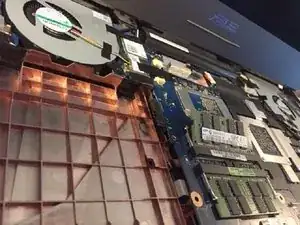
You will be removing the back compartment cover, removing the back panel, taking out the optical drive, disconnecting ribbon cables, disconnecting the battery wires, removing the keyboard, removing the back hinge cover and replacing the RAM.
Werkzeuge
-
-
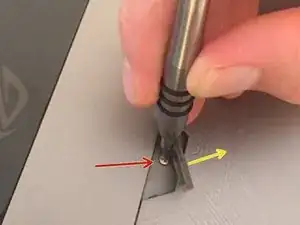
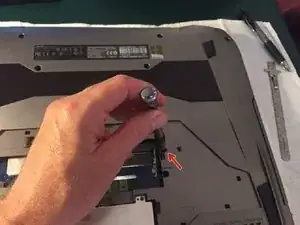
Lift up rubber tab and unscrew screw, it will stay attached to cover.
-
Pull on tab to pull of cover.
-
-
-
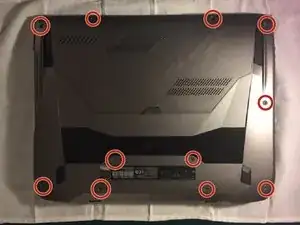
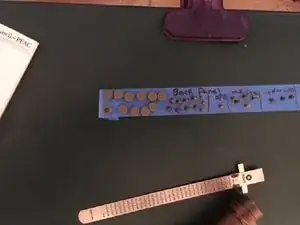
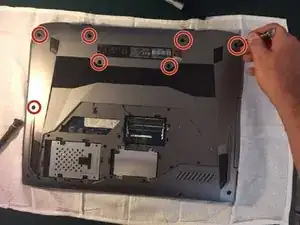
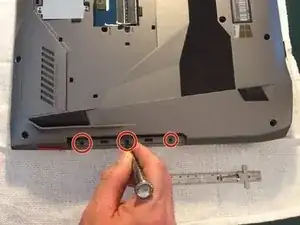
Remove 4, 1/4cm screws from bottom row.
-
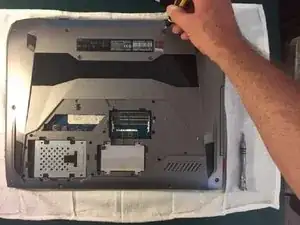
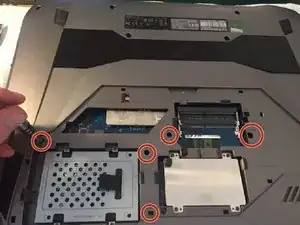
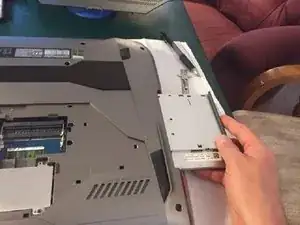
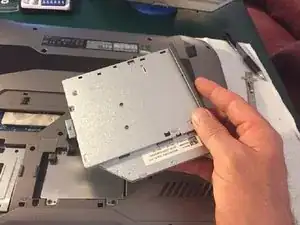
Remove 3, 1/3cm screws from under where you pulled out optical drive.
-
-
-
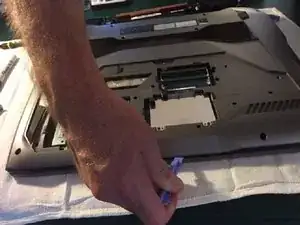
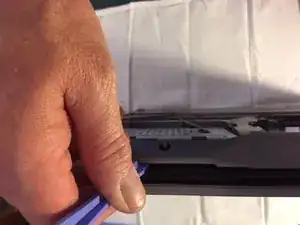
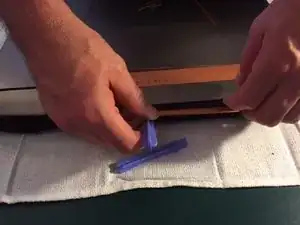
Start by using plastic tool by prying open the front center.
-
Stand it up if needed.
-
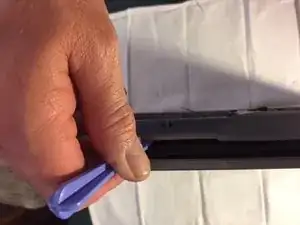
Work your way to the ends.
-
-
-
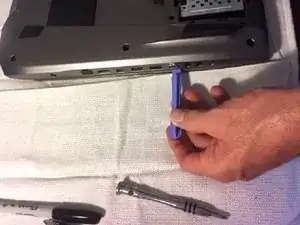
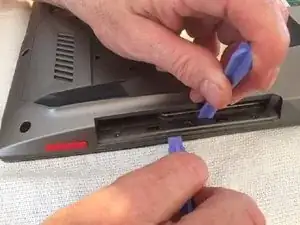
Start by prying the opposite side of the optical drive.
-
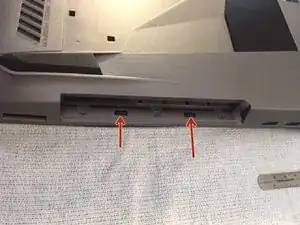
There are 2 small tabs that are locked where you pulled the optical drive out, you must unlock them.
-
Unlocking the 2 tabs using two plastic tools. Then continue prying open side.
-
-
-
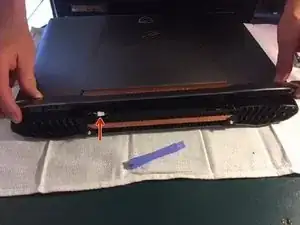
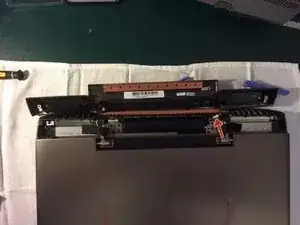
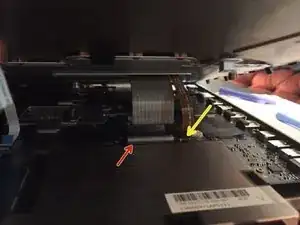
Pry open the hinge cover with plastic tool. Careful there is a speaker wire attached so open carefully.
-
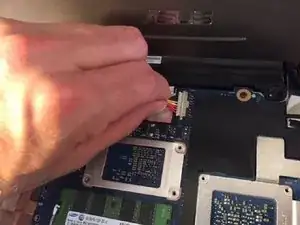
Disconnect speaker wire.
-
-
-
Once hinge cover is removed and back panel has been pried then turn laptop over and open monitor to extend past 90*.
-
Lift up a little and pull keyboard out about an inch but no more because there are ribbon cables attached underneath .
-
-
-
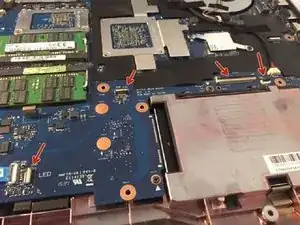
Slowly lift up keyboard to see the 4 ribbon cables and carefully pry up tabs where cables are connected.
-
-
-
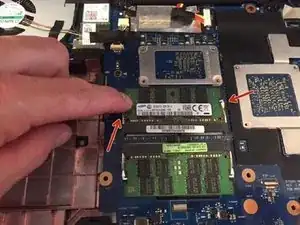
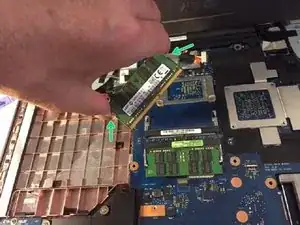
Notice to tabs on each side of RAM, pry them to the side.
-
When both tabs are pried to the side the RAM should pop up.
-
By grabbing the RAM on the sides, remove RAM.
-
To reassemble your device, follow these instructions in reverse order.
3 Kommentare
Thanks for this guide! I purchased some RAM and an SSD and wanted to upgrade my laptop. The instructions were clear, and I was able to follow along to max out my laptop’s RAM at 64GB. All I needed was a size #0 phillips head, and a couple of spudgers.
I’m glad it could help!
Thanks for the feedback.
any suggestion on cable removal wish I could get a picture to enlarge seems to be the only worry area for me
any instructions on how to remove the cable I see what look like tabs or is there some kind of release
