Einleitung
Should the trackpad in your Asus ROG Strix GL702VM-BHI7N09 gaming laptop fail, this replacement guide is just for you! The trackpad is required for navigation and use of the computer.
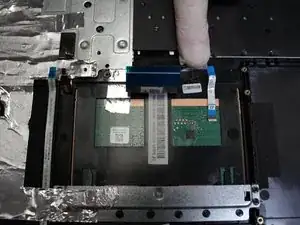
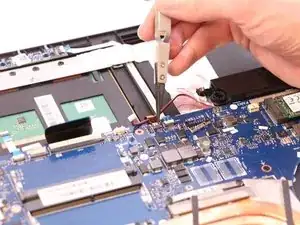
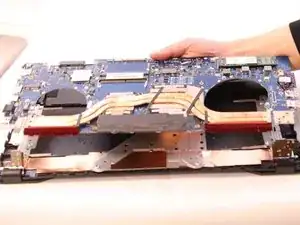
Note that although this guide has you remove the motherboard and display before removing the trackpad, this is not absolutely necessary to replace the trackpad. Instead you can disconnect the cables as shown in Step 14 to remove the trackpad with the rest of the computer still intact.
Werkzeuge
-
-
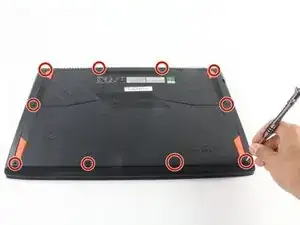
Flip the laptop over to the back panel, with the serial numbers facing up.
-
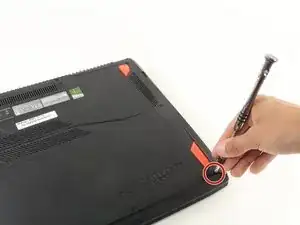
Using a Phillips #1 screwdriver, remove the ten 12 mm screws from the back panel.
-
-
-
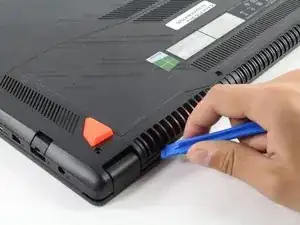
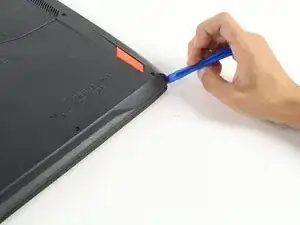
Wedge the sharp edge of the plastic opening tool into the seam between the back panel and the rest of the laptop, then gently pry the panel up.
-
Continue breaking the seals by sliding the plastic opening tool around the entire laptop under the seam until the back panel is free.
-
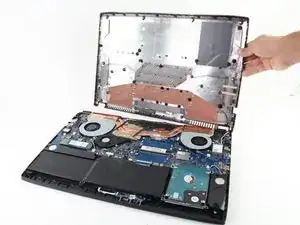
Once you have broken all the seals, carefully lift the panel off.
-
-
-
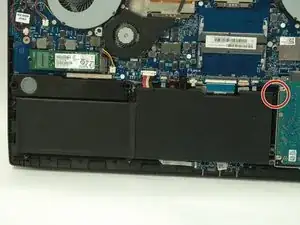
Unscrew the 3.8 mm Phillips #1 screw on the top right hand corner of the battery.
-
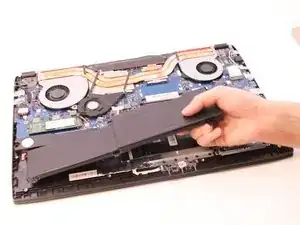
Lift battery from laptop frame.
-
-
-
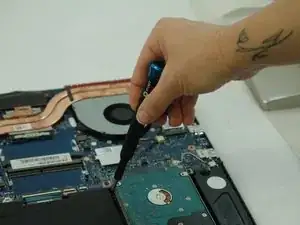
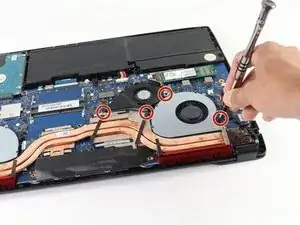
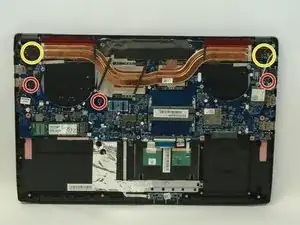
Using a Phillips #1 screwdriver, remove the four indicated 4 mm screws that hold the black fan and the silver one adjacent to it.
-
-
-
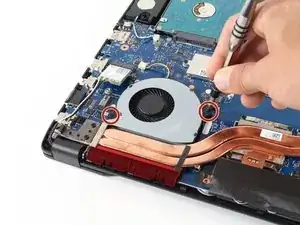
Using a Phillips #1 screwdriver, remove the two indicated 4 mm screws from the other gray fan.
-
-
-
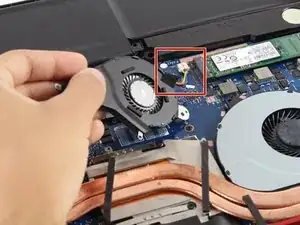
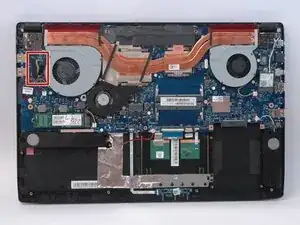
Unplug the white connector by gently pulling it towards the center of the computer.
-
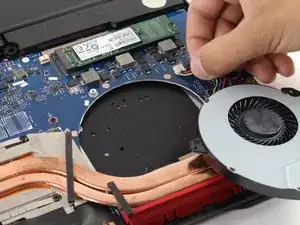
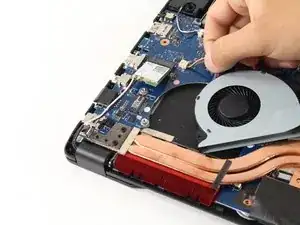
Lift the fan out of the body of the laptop to remove it.
-
-
-
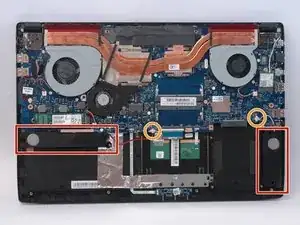
Disconnect the speakers connectors located in each of the bottom corners.
-
Gently pull the wire up from the motherboard.
-
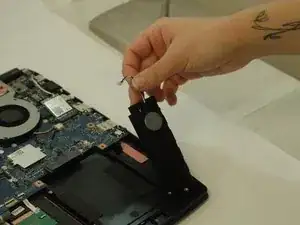
Once the wire is disconnected, pull the speaker out.
-
-
-
Remove each of the 4.7 mm Phillips #1 screws marked by a white arrow on the motherboard.
-
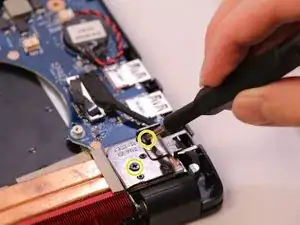
Remove the 6.7 mm Phillips #1 screws from the metal latches on the hinge-side corners.
-
-
-
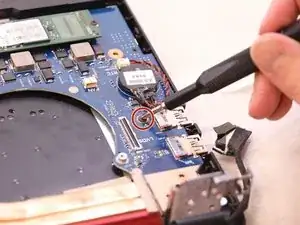
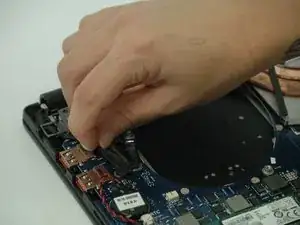
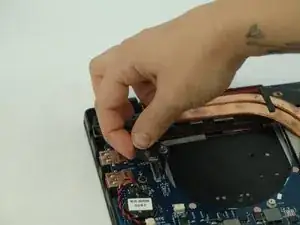
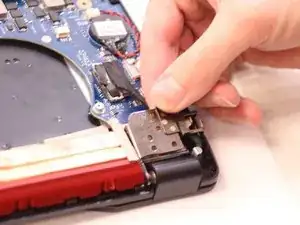
Gently pull on black connecting wire to disconnect the monitor screen from the motherboard.
-
-
-
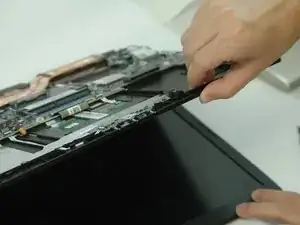
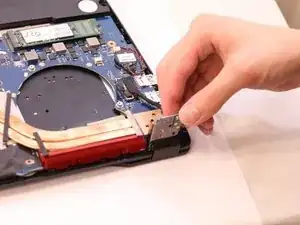
Lift the metal latches on both sides.
-
This can be easily done by opening the laptop after the metal latch screws have been removed.
-
-
-
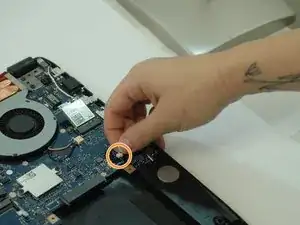
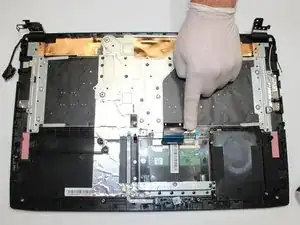
Ensure the ribbon cables on the trackpad are disconnected.
-
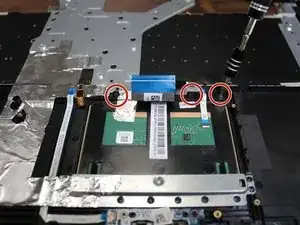
Using a Phillips #1 screwdriver, remove the three 4mm retaining screws.
-
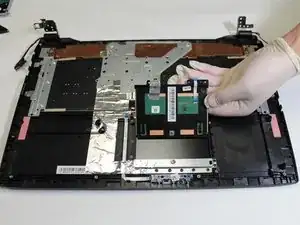
Gently lift and slide the track pad out of the mount.
-
To reassemble your device, follow these instructions in reverse order.
