Einleitung

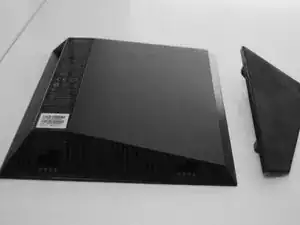
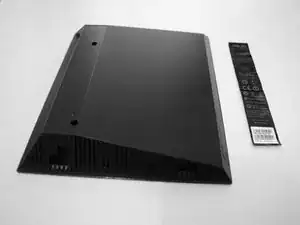
The Asus RT-N56U Wireless Router was released in Early 2011. It featured both 2.4GHz and 5GHz wireless networking, 2 USB 2.0 Ports, 4 Ethernet Ports, and a thin & stylish design!
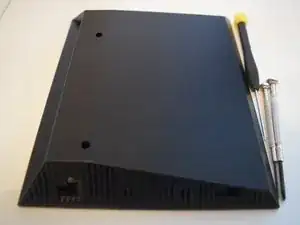
  1. tOtcnNCjIHIbpnS1
    tOtcnNCjIHIbpnS1
    woDXRBJpyaQW2jU1
    TWiUHDSApHdZxsjr
    • If the stand is slotted into the bottom, flip the router upside down with the front facing towards you and gently pull right to remove it before continuing.

  2. NiFOHXIbEMPYmM54
    NiFOHXIbEMPYmM54
    ZQVyykMMHXeJOIuo
    iTcQcgAmYvsBxwC1
    • Work carefully to peel the sticker on the back of the router off.

    • Try your very hardest to not rip the sticker, as it identifes the router's model, default settings, serial number and more!

  3. HTTvATnwrR1mrSlw
    HTTvATnwrR1mrSlw
    GmwoaPh6Mc3wS4eW
    l1l4jL5ho4HbUTSa
    • Unscrew the 2 Phillips screws securing the front casing on the router.

    • Don't lose a screw, like I did!

  4. PYA3RtFuj2yEQn6O
    PYA3RtFuj2yEQn6O
    3ZQMeGE4rAteecJk
    XNSVEh45yEVtJxGi
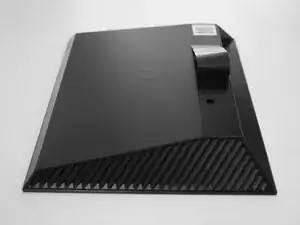
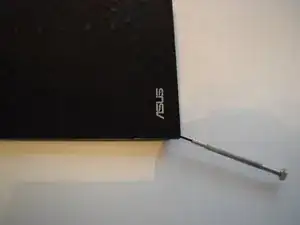
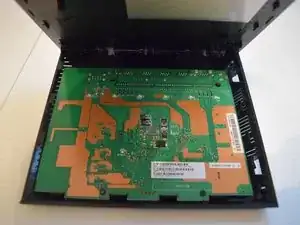
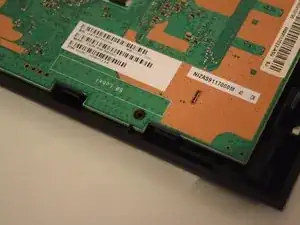
    • Remove the adhesive and clips also securing the front casing and lift gently, opening it like a book from the side holding the Asus logo, to remove it.

    • Be careful when doing so. I do not recommend using metal tools like I am. Do not dig into the case too far!

  5. tkWpBo2cRRDKKqBK
    tkWpBo2cRRDKKqBK
    CRcULkvmV6COhKbi
    5lDESiIAvBx3AbrK
    • Remove the 2 Phillips screws securing the board to the casing.

    • On my router, one of the screws was completely stripped from the factory, I had to break the piece of plastic holding the stripped screw into the casing

  6. lxWFRhbo4cmEOsKk
    lxWFRhbo4cmEOsKk
    dQAQqpeqUpVPGl2s
    iRCjEMMxOnhiAXAA
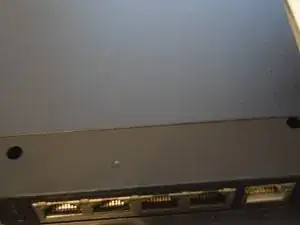
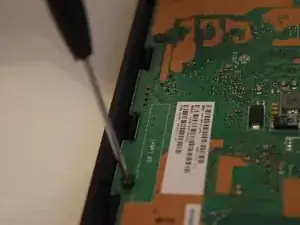
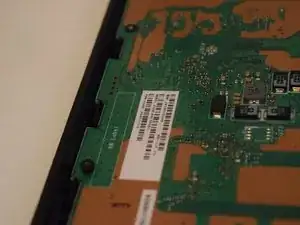
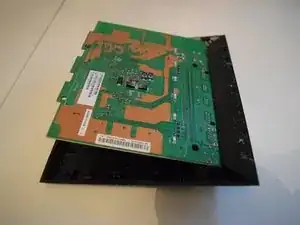
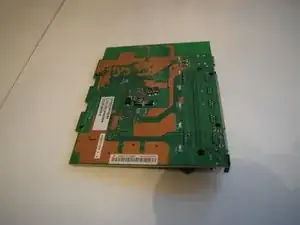
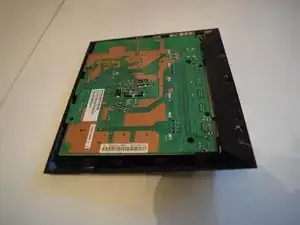
    • Lift the board from the side without the ports to about a 20° angle, then start pushing the ports in and gently pull up a bit more and more till you have a 90° angle, then you can lift it out free!

Abschluss

To reassemble your device, follow these instructions in reverse order.

afixer

Mitglied seit: 14/04/23

26 Reputation

0 Kommentare