Einleitung
This guide shows you how to replace the detachable keyboard of your Asus Transformer Book T100TAF. If some of your keyboard keys are not responding to your inputs, replacing your keyboard will fix that. When doing so, it is especially important to treat the fragile ribbon cables with care when removing them from their clips, as important information about key presses is transferred through these cables.
Werkzeuge
-
-
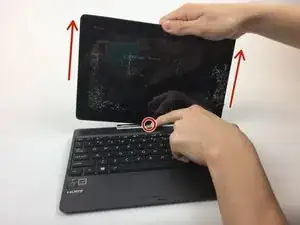
Detach the keyboard from the screen by depressing the silver button on the hinge and pulling upwards on the tablet.
-
-
-
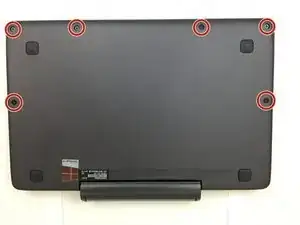
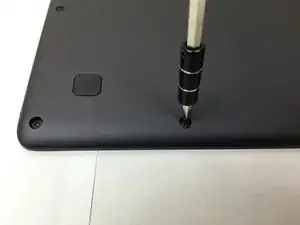
Remove the six 4 mm Phillips screws on the underside of the device. Do this using a Philips head screw driver.
-
-
-
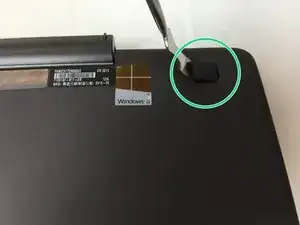
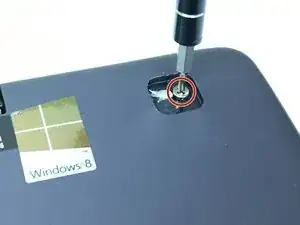
Use a metal spudger to pry up the rubber pads covering the two upper silver screws.
-
Remove the two 5.5mm Phillips head screws with the PH00 screwdriver.
-
-
-
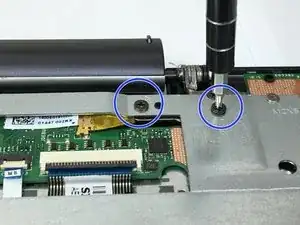
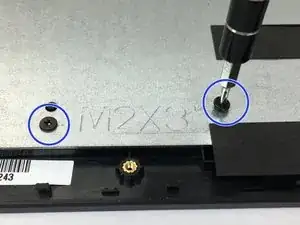
Remove the back cover and unscrew all the screws from the metal, inside pane. Include four black M2.5X4 Phillips head screws along the top, four black M2X3 Phillips head screws along the bottom.
-
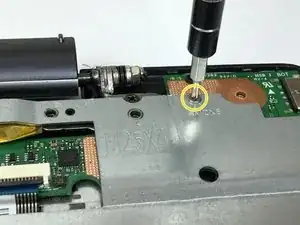
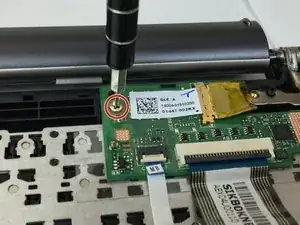
Remove the one silver M2X5 Phillips screw in the top right corner.
-
-
-
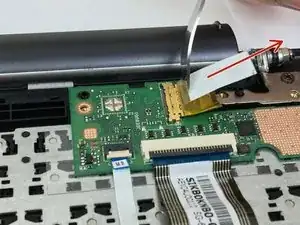
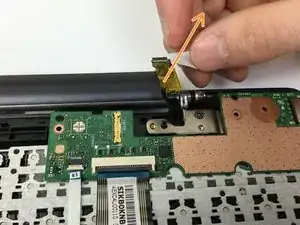
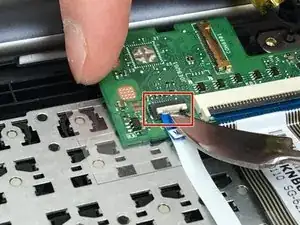
Flip up the tab on the white ribbon cable labeled “MB” using the metal spudger and then pull the white ribbon cable away from the motherboard.
-
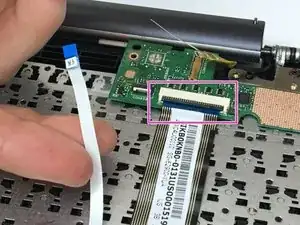
Carefully flip up the black tab on the ZIF connector and pull the black striped ribbon cable away from the motherboard.
-
-
-
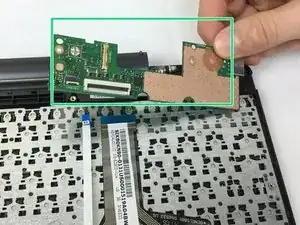
Gently remove the motherboard from the keyboard. Do this by pulling up on Green motherboard with even pressure applied to all sides.
-
-
-
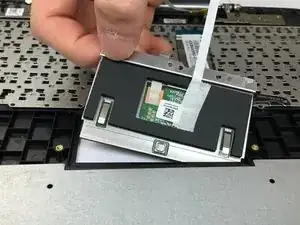
Unscrew the three black 2mm Phillips head screws from the track pad.
-
Lift the track pad away from the device by pulling from the top edge.
-
-
-
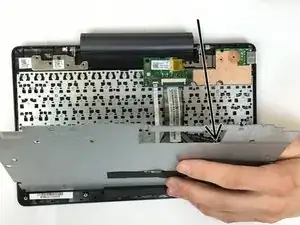
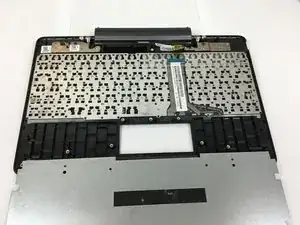
Check that all connections are removed from the keyboard. Take time and thoroughly analyze the components.
-
To reassemble your device, follow these instructions in reverse order.
Ein Kommentar
Très facile. Merci. Et le fait d'avoir pu démonter mon clavier et souffler la poussière à l'intérieur à fait en sorte que les touches qui ne fonctionnaient plus ont recommencé à le faire. Merci encore.


Highlight the specific button being pressed.
Fady Labib -