Einleitung
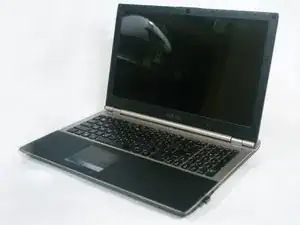
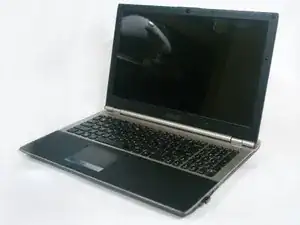
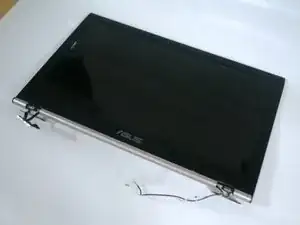
Laptops are great, but sometimes things go wrong. This guide will teach you how to replace the screen on an Asus U56E laptop, and keep it working for years to come.
Werkzeuge
Ersatzteile
-
-
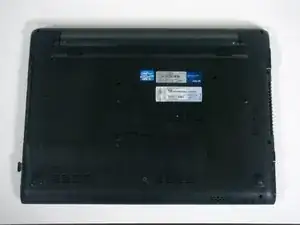
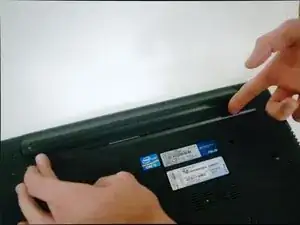
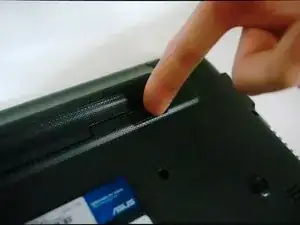
Slide the two battery lock switches toward each other.
-
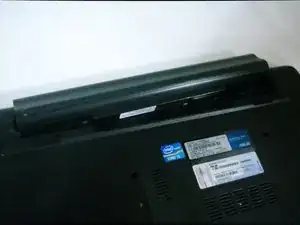
Lift the battery to remove it from the laptop.
-
-
-
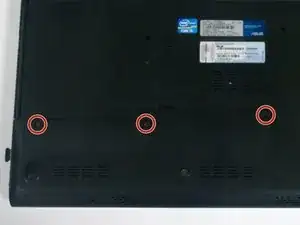
Remove the 3 Phillips #00 screws holding on the back cover of the laptop.
-
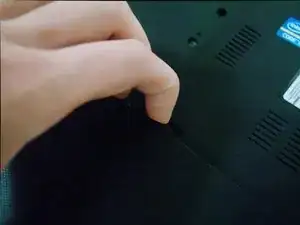
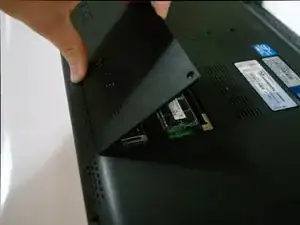
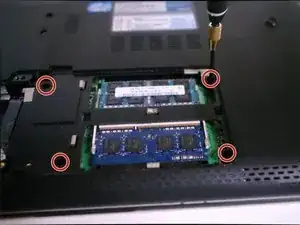
Lift the cover, exposing the laptop hard drive and RAM.
-
-
-
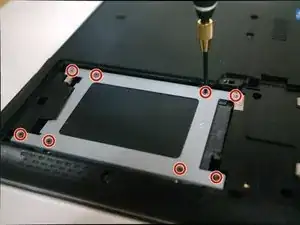
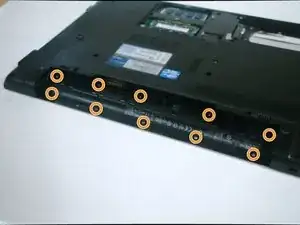
Remove the eight small screws holding the hard drive in.
-
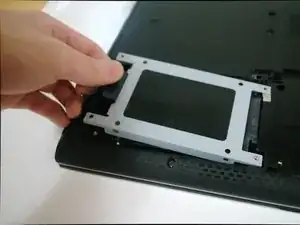
The hard drive cover can now be removed by lifting the tab on the left.
-
-
-
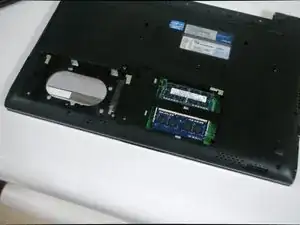
Gently slide the hard drive left toward the edge of the laptop, then lift up to remove it.
-
-
-
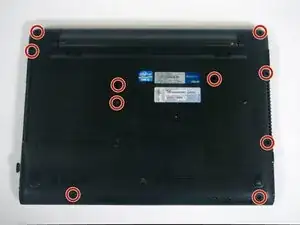
Remove the 10 Phillips #00 screws from the bottom of the laptop.
-
Remove 10 Phillips #000 screws from under the battery.
-
-
-
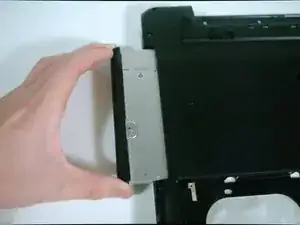
Slide the optical drive out of the laptop.
-
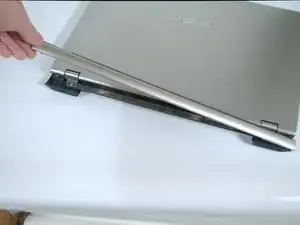
Gently lift the rear plastic hinge cover to separate it from the laptop.
-
-
-
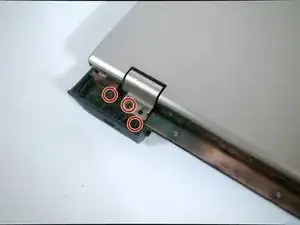
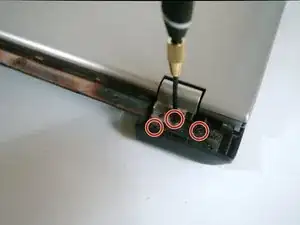
Remove the 3 Phillips #000 screws from each side of the hinge (six screws in total).
-
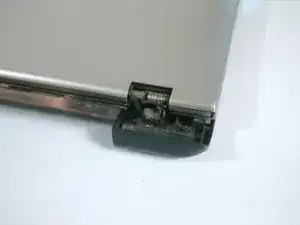
Gently lift the thin plastic cover from each side, exposing the laptop hinge.
-
-
-
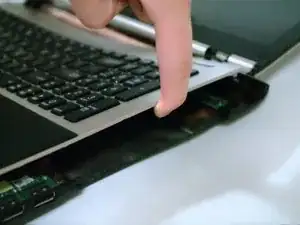
Gently lift around the perimeter of keyboard to separate it from the laptop body.
-
It may help to use a Plastic Opening Tool.
-
-
-
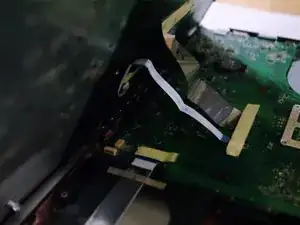
Pull the display connector straight up to remove it from the motherboard.
-
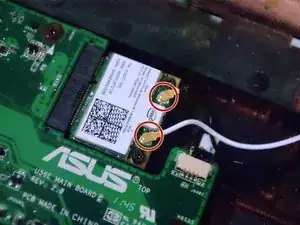
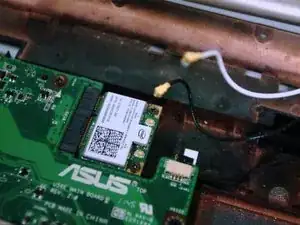
Carefully detach the white and black WiFi antennas from the wireless adapter.
-
To reassemble your device, follow these instructions in reverse order.
