Einleitung
Werkzeuge
-
-
Place the computer upside down.
-
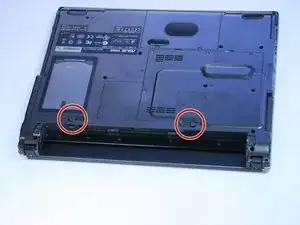
Using your thumbs, slide both latches away from each other (towards the outside).
-
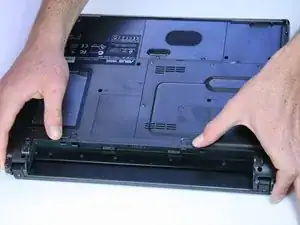
Push the battery out with your fingers.
-
-
-
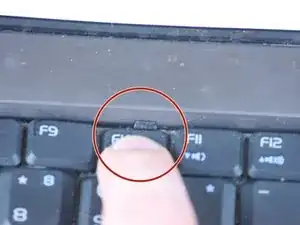
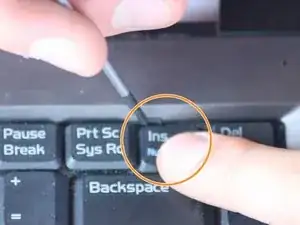
Locate the four tabs above the F1, F10, INSERT, and between the F5 and F6 keys.
-
Starting with the tab above the F1 key, press the tabs inward using your fingernail or spudger. Continue this process for the rest of the tabs.
-
-
-
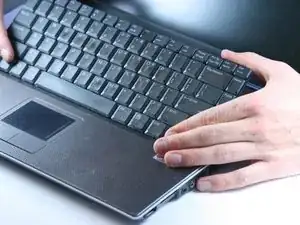
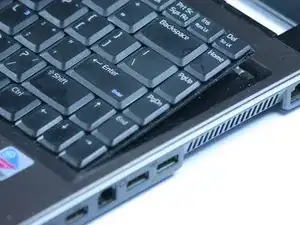
Pull the keyboard up from the top at a 45 degree angle. Place it upside down on the touchpad.
-
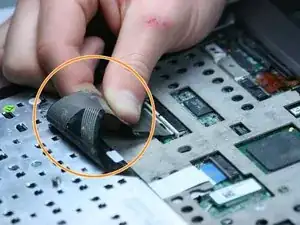
Pull the wide ribbon cable laterally from its socket on the motherboard to free the keyboard.
-
Abschluss
To reassemble your device, follow these instructions in reverse order.
