Einleitung
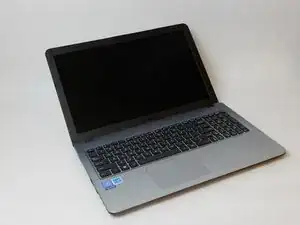
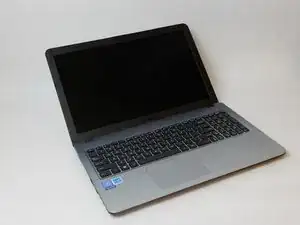
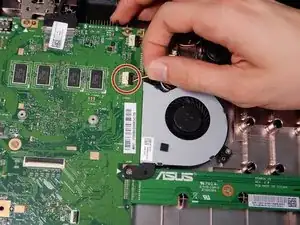
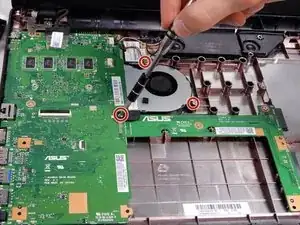
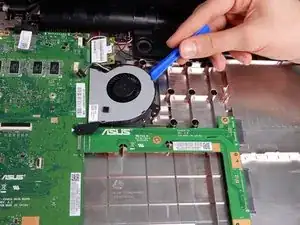
In this guide you will learn how to remove and replace your Asus Vivobook X540SA-BPD0602V's fan. If your computer is overheating, and continues to do so after cleaning, the fan has to be replaced. If left as is other components within the device can be damaged due to heat exposure.
Werkzeuge
-
-
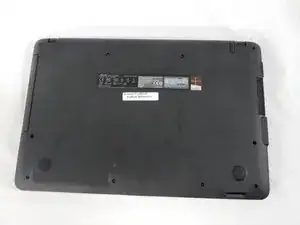
Power down the laptop using the device's power button in top right corner of the keyboard. Ensure that the device's power cord is disconnected.
-
-
-
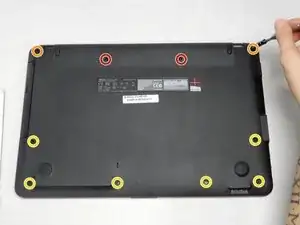
Using a Phillips #1 screwdriver, remove the ten screws from the back panel.
-
Remove the two battery screws (15.6 mm)
-
Two top corner screws (12.5 mm)
-
Six case screws (9.7mm)
-
-
-
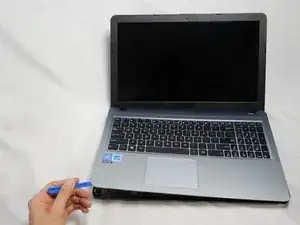
Using the blue plastic opening tool, wedge and loosen the seal all the way around the edges. Carefully lift up the keyboard panel.
-
-
-
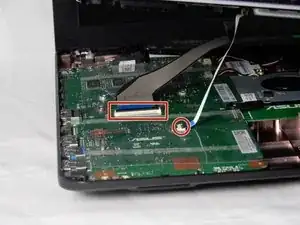
Observe where the ribbons connect to the motherboard, there are two connections. Each connection has a black clamp. To remove the ribbon, lift the black clamp up to disconnect it.
-
-
-
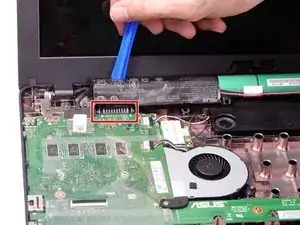
Very carefully, remove the batteries with the blue plastic iFixit opening tool. Focus removing the battery near the highlighted area.
-
-
-
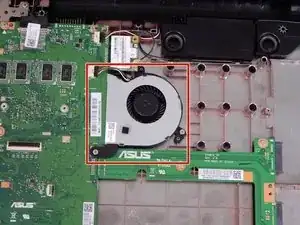
The fan is located near the upper left hand corner of the device, connected to the motherboard and right beneath the wireless card.
-
-
-
Using the J00 screw bit in the iFixit tool kit, remove the three screws securing the fan to the case. One screw connected to the bottom case (4cm), one connected to the motherboard (4cm), and one screw connected to the Wireless Card (5cm).
-
To reassemble your device, follow these instructions in reverse order.
