Einleitung

If your screen is cracked, broken, scratched, or otherwise in need of replacing, this guide will show you how to disassemble your computer, and replace the screen with a new one.

  1. BhI3kSYiXfNMAKel
    BhI3kSYiXfNMAKel
    n1J4vh3UNKDiMr6I
    ooUpnAlXHDE3ESmZ
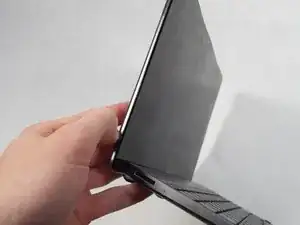
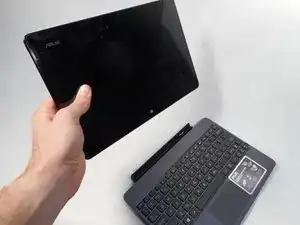
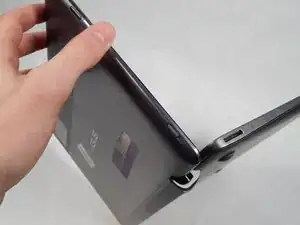
    • Make sure the tablet is turned off.

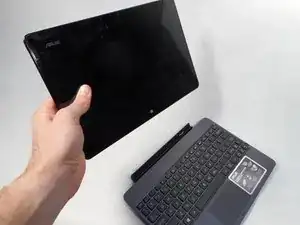
    • Remove the tablet from the attached keyboard.

    • To remove the keyboard, simply depress the switch on the left side of the screen and pull the tablet portion off.

  2. xd5gu2LLi1TSZagE
    xd5gu2LLi1TSZagE
    EeXHwgatQtSTEpeJ
    B125dpE3EZUSPfCg
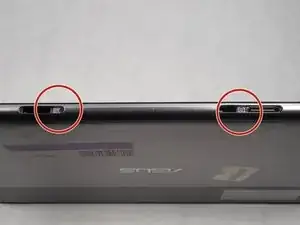
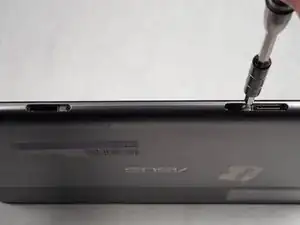
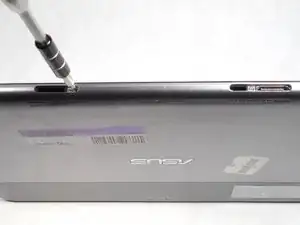
    • Rotate the device 180°, and remove the two 1.59 mm screws at the bottom of the device.

    • Use the Phillips screwdriver size #000 to remove the two 1.59 mm screws.

    Revise fragment (statement about the screw driver).

    Brian Blackburne -

  3. eY5txuequISSGEmP
    eY5txuequISSGEmP
    FxPrPfIFiG4yRYM1
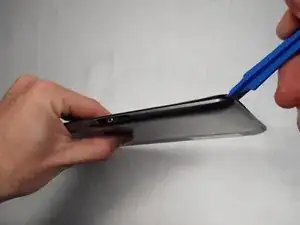
    • Use the plastic opening tool to help detach the screen from the back panel.

    • Insert the plastic opening tool into the bottom right corner and gently start to pry off the screen.

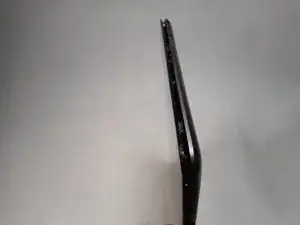
    • Once the screen begins to separate from the body of the device, start working the tool around the outer edges until the entire screen becomes detached.

  4. eIbkev2BW4HTMefB
    eIbkev2BW4HTMefB
    qfxSHmIdHNP5oLVv
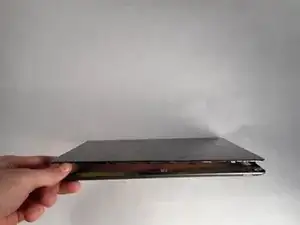
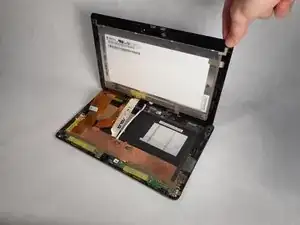
    • Now that the screen is completely detached, lay the back panel flat on a smooth surface.

    • Lift the screen to view the inside of the tablet.

    Missing punctuation (comma).

    Brian Blackburne -

  5. opDxKTEYHBG2bRL1
    opDxKTEYHBG2bRL1
    yPxHWBJJwcQT33Pj
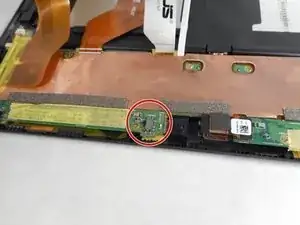
    • Before disconnecting the display cables, refer to the image to turn off the switch labeled DIP; this switch is used to de-energize the system.

    • The battery is connected to the motherboard. To avoid any short circuiting of the device, you must place the switch labeled DIP to OFF.

    Watch these comma splices.

    Brian Blackburne -

  6. qUcTMuDPnDijOrYC
    qUcTMuDPnDijOrYC
    X2EKUCD1b6bmyo5l
    VAXWbQ33S3IWwfjZ
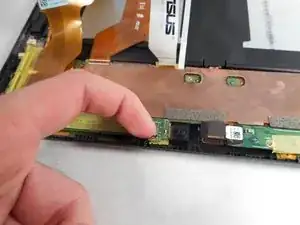
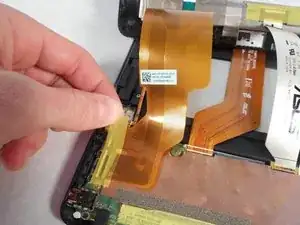
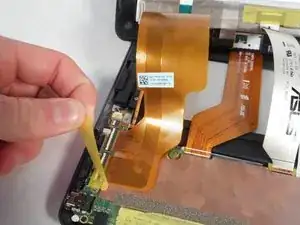
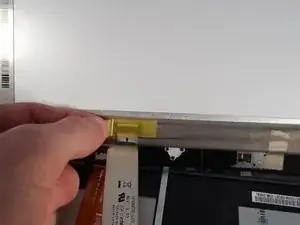
    • Remove the yellow tape covering the end of the cables.

  7. jNSMPX1QyOCjI5Mp
    jNSMPX1QyOCjI5Mp
    Jv4NYKuKOjSTFgxi
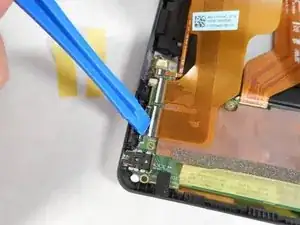
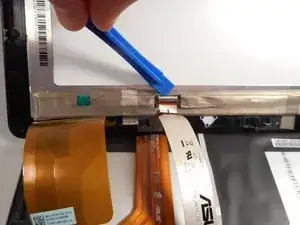
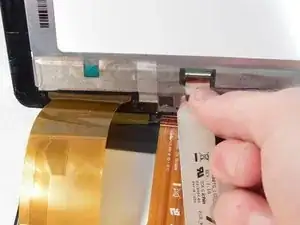
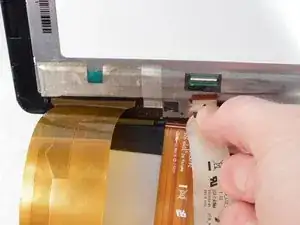
    • After lifting the yellow tape, you should be able to see a white strip. The white strip is actually a lever.

    • Use the plastic opening tool to push in the levers.

  8. Td1XXeSsBqh2kQkL
    Td1XXeSsBqh2kQkL
    LUOGZgDPUKLCXFHh
    6BRewiQIBVLX1ZLp
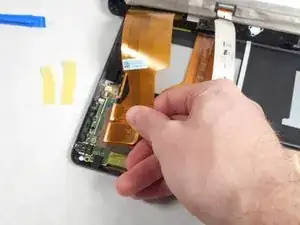
    • With all three white levers pushed in, gently pull on each display cable until the cable disconnects.

  9. UZTS3hOTCitFBVFs
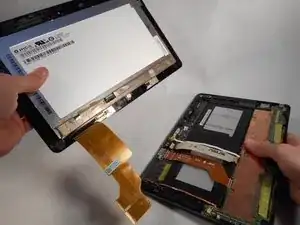
    • Lift the screen upwards to remove.

Abschluss

Congratulations! You have now successfully removed the screen from your device. To attach your new screen and reassemble your device follow these instructions in reverse order.
Brittany

Mitglied seit: 13/10/15

490 Reputation

0 Kommentare