Einleitung

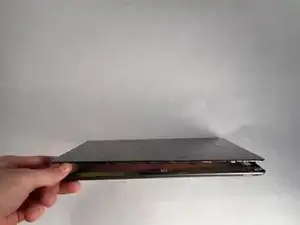
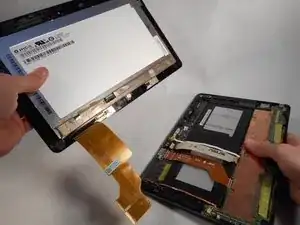
If your Asus Vivo Tab is not charging and you have ruled out the charger then this guide is for you. This guide will instruct you on how to remove and replace the charging port inside the tablet portion of your Asus Vivo tab.

  1. ZsPJXjayj5bEWBKu
    ZsPJXjayj5bEWBKu
    A3QhqZQnnX1TQC5Y
    t5fFcNN6XRGnkWu1
    • Make sure the tablet is turned off.

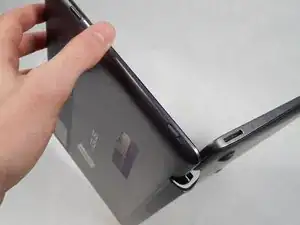
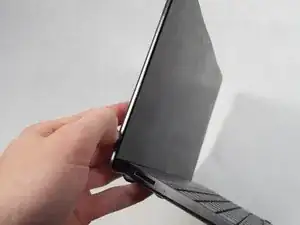
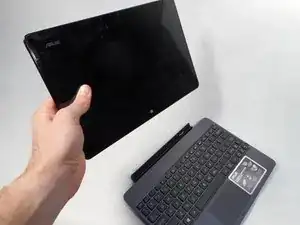
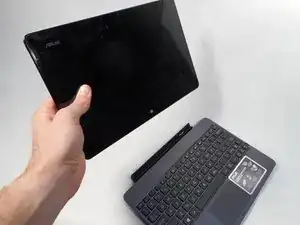
    • Remove the tablet from the attached keyboard.

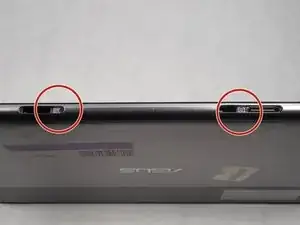
    • To remove the keyboard, simply depress the switch on the left side of the screen and pull the tablet portion off.

  2. M2cOKWlYHLUtmqE6
    M2cOKWlYHLUtmqE6
    aEUUPcfMxooJYtSL
    cOrHtiUQtedLhMZJ
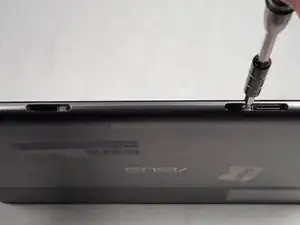
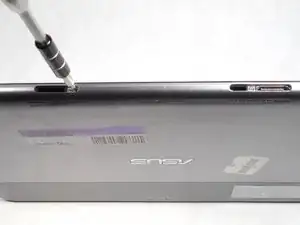
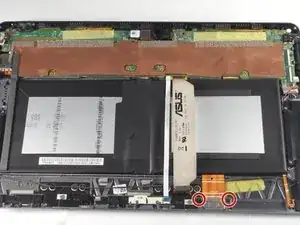
    • Rotate the device 180°, and remove the two 1.59 mm screws at the bottom of the device.

    • Use the Phillips screwdriver size PH000 to remove the two 1.59 mm screws.

  3. ZPbqLCClEFRupD1B
    ZPbqLCClEFRupD1B
    dJPEMrOgT1DCsCoe
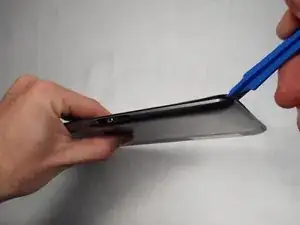
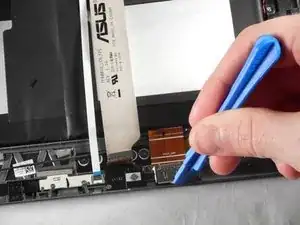
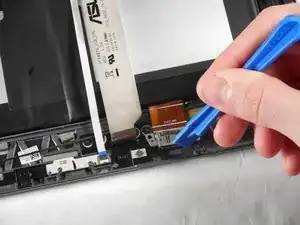
    • Use the plastic opening tool to help detach the screen from the back panel.

    • Insert the plastic opening tool into the bottom right corner and gently start to pry off the screen.

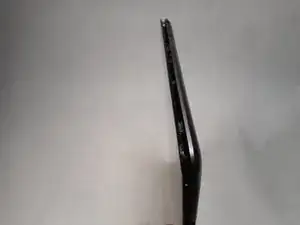
    • Once the screen begins to separate from the body of the device, start working the tool around the outer edges until the entire screen becomes detached.

  4. aIclOuGbNOl14NCt
    aIclOuGbNOl14NCt
    h2ULXVXDyhtBlrBF
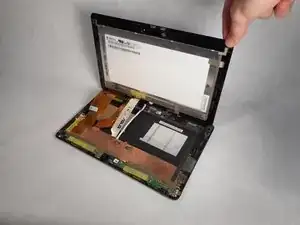
    • Now that the screen is completely detached, lay the back panel flat on a smooth surface.

    • Lift the screen to view the inside of the tablet.

  5. GuprMFp4e6p1LaGp
    GuprMFp4e6p1LaGp
    MHHQNtnJm61NOBop
    • Before disconnecting the display cables, turn off the switch labeled DIP; this switch is used to de-energize the system.

    • The battery is connected to the motherboard. To avoid any short circuiting of the device, you must place the switch labeled DIP to OFF.

  6. lmQUpuUZ2WZvJHSd
    lmQUpuUZ2WZvJHSd
    s1iZwkCNhsmrUNtw
    yGlwphAUVJAWwFec
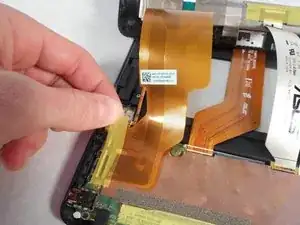
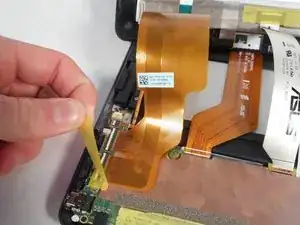
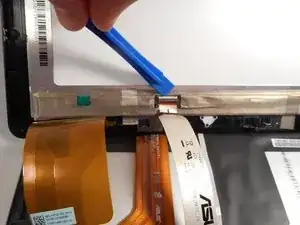
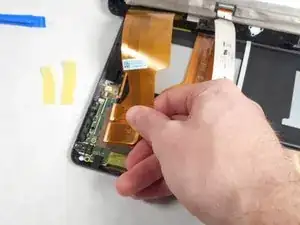
    • Remove the yellow tape covering the end of the cables.

  7. y5RajDhfCqfyfMUN
    y5RajDhfCqfyfMUN
    hh1PPOdWAbgyAEAy
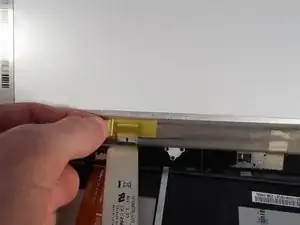
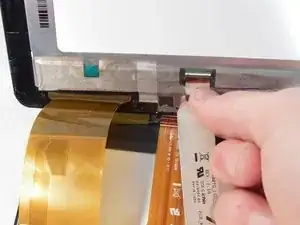
    • After lifting the yellow tape, you should be able to see a white strip. The white strip is actually a lever.

    • Use the plastic opening tool to push in the levers.

  8. tgG6gkDVD2sjZF1b
    tgG6gkDVD2sjZF1b
    BZPBYQxIkBIJPbkX
    GrOEelLVm5KPHemS
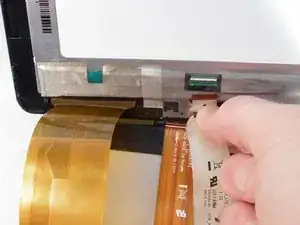
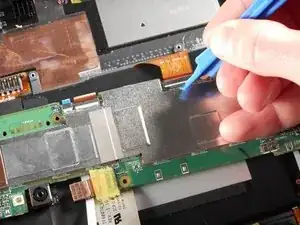
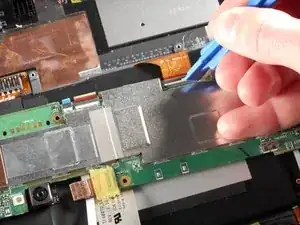
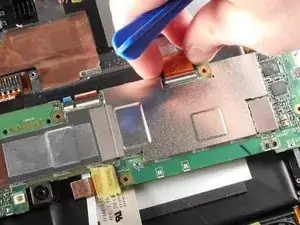
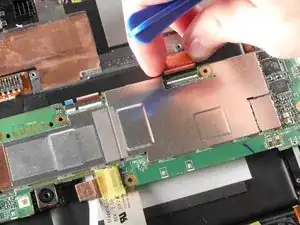
    • With all three white levers pushed in, gently pull on each display cable until the cable disconnects.

  9. XkMTdF4YXAyjcTq3
    • Lift the screen upwards to remove.

  10. vhDftRsjO5EoNIRg
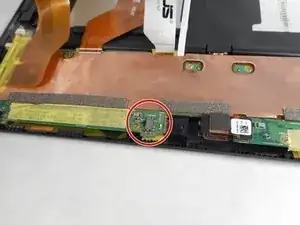
    • Rotate the tablet clockwise, so the charging port is turned towards you.

    • Remove the two 0.79 mm #00 screws from the charging port with the Philips #00 Screwdriver.

  11. wpWZUEy6khjwpRnd
    wpWZUEy6khjwpRnd
    exQtnf1N6aRVWuLh
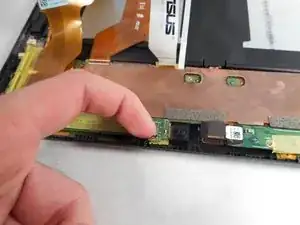
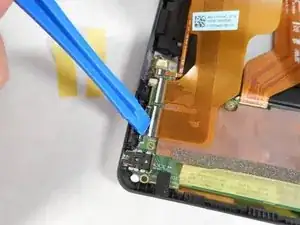
    • Place the plastic opening tool behind the charging port, closest to the outer edge of the device.

    • Gently pry the charging port away from the frame.

  12. fDYuBoYsCUiObAhc
    fDYuBoYsCUiObAhc
    w2XTKXXSEwPEONlB
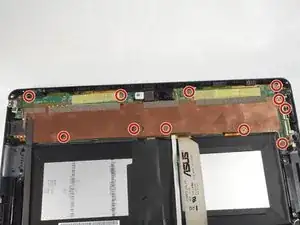
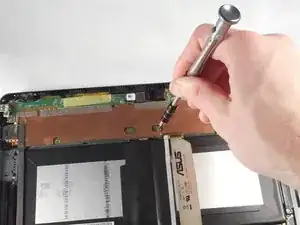
    • Remove the eleven 0.79 mm #000 screws around the motherboard with the Phillips #000 screwdriver.

  13. EGFJUXhYuFkh5YvB
    EGFJUXhYuFkh5YvB
    bpKBrRBIBFW4IWtb
    GZoLlPsT324dIZJY
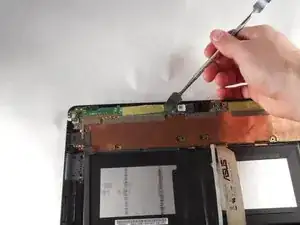
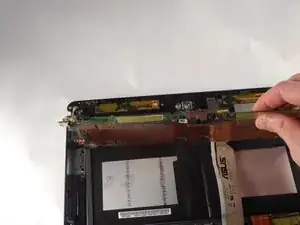
    • Use the nylon or metal spudger to help pry the motherboard from the back panel.

    • Once the mother board is relieved from the glue, use your hand to lift the motherboard up and to the opposite end of the back panel.

  14. cCgnD6PZR3Hiinfn
    cCgnD6PZR3Hiinfn
    igiZfpocajb5ajj2
    • Flip up the white lever with the plastic opening tool to release the connection.

  15. FOsRJSjPOXKEBj6J
    FOsRJSjPOXKEBj6J
    uLYDfOeOcsNM4pdx
    • Gently remove the charging port ribbon piece from the motherboard. It should come out easily using your fingers.

  16. DVXmToTH2fXjtS2K
    DVXmToTH2fXjtS2K
    vVH5hUUrSDctEH2u
    tdgPTlkBD4xR1urG
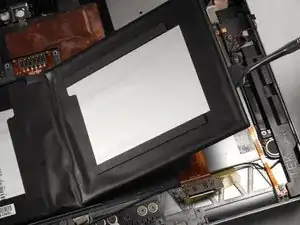
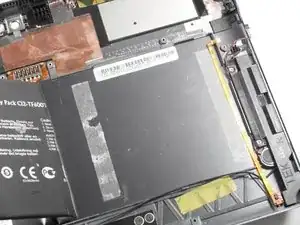
    • Use the nylon or metal spudger to pry the battery from the back panel.

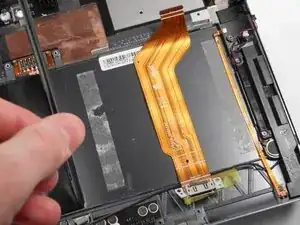
    • Flip the right side of the battery up to expose the charging port cable.

  17. mKcHdTPLmMVLJqbQ
    mKcHdTPLmMVLJqbQ
    EBQfpBRHoR3klhhm
    • Remove the charging port and replace it.

Abschluss

To reassemble your device, follow these instructions in reverse order.
Joseph C Reneau

Mitglied seit: 15/10/15

276 Reputation

0 Kommentare