Einleitung

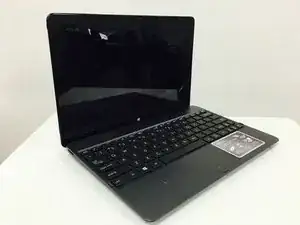
Is there no sound coming from your device? Have you checked all of your sound settings and still have had no success at resolving your sound problems? If you said yes to both questions you are in the right place. This guide will show you how to remove and replace the speaker in your Asus Vivo RT TF600T.

  1. cJXmLyQrQY6bJdTB
    cJXmLyQrQY6bJdTB
    GgWXhVUZAZujK5bk
    CEGFQIcuCQC3TMtC
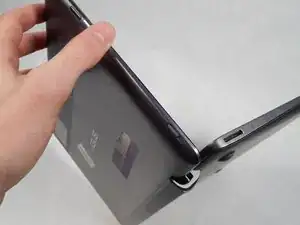
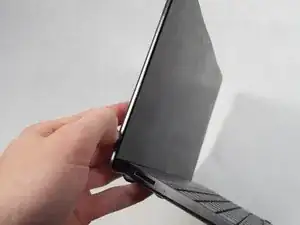
    • Make sure the tablet is turned off.

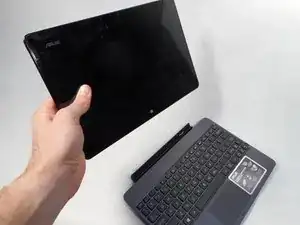
    • Remove the tablet from the attached keyboard.

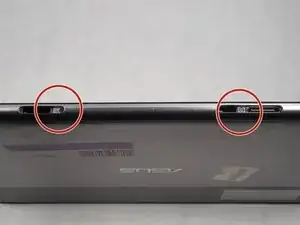
    • To remove the keyboard, simply depress the switch on the left side of the screen and pull the tablet portion off.

  2. vQX4RReFvPkEhNKK
    vQX4RReFvPkEhNKK
    vsDs2TSGlxn2VMEC
    fvGHuqioQSb2nvGX
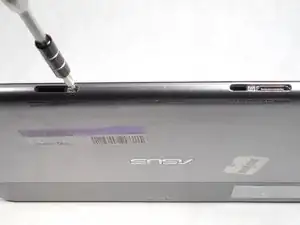
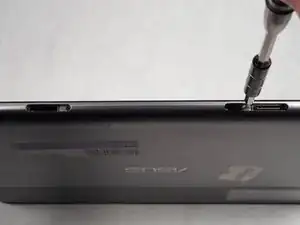
    • Rotate the device 180°, and remove the two 1.59 mm #000 screws at the bottom of the device.

    • Use the Phillips screwdriver size PH000 to remove the two 1.59 mm #000 screws.

  3. 1NIWOEBDnu6B4TV4
    1NIWOEBDnu6B4TV4
    DCEf43MVsWJfBJ4v
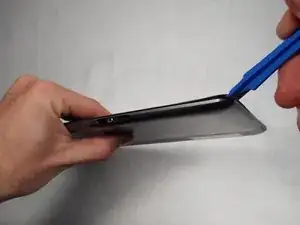
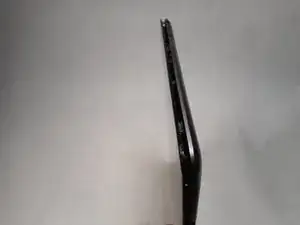
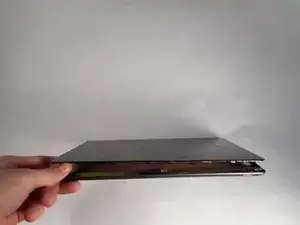
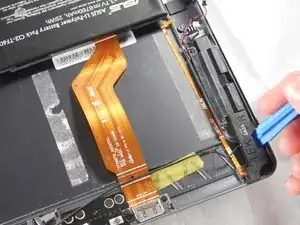
    • Use the plastic opening tool to help detach the screen from the back panel.

    • Insert the plastic opening tool into the bottom right corner and gently start to pry off the screen.

    • Once the screen begins to separate from the body of the device, start working the tool around the outer edges until the entire screen becomes detached.

  4. yi1R1xZWrT4xs4Pt
    yi1R1xZWrT4xs4Pt
    6aTVAGRcEj5C4GHu
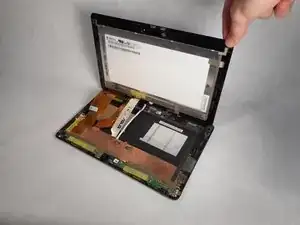
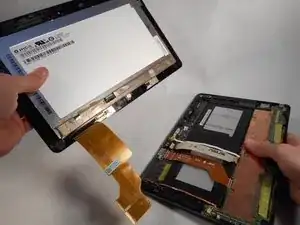
    • Now that the screen is completely detached, lay the back panel flat on a smooth surface.

    • Lift the screen to view the inside of the tablet.

  5. wdl2h1ICFkN6LjRg
    wdl2h1ICFkN6LjRg
    dxOU1H5uQOyXPSLM
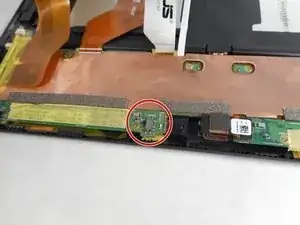
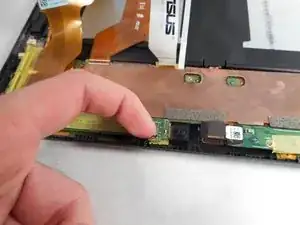
    • Before disconnecting the display cables, turn off the switch labeled DIP; this switch is used to de-energize the system.

    • The battery is connected to the motherboard. To avoid any short circuiting of the device, you must place the switch labeled DIP to OFF.

  6. DE5qOuaFs6d1e1aH
    DE5qOuaFs6d1e1aH
    3vkbQHEMIIYykHCQ
    BErScrMKSUmFYWLB
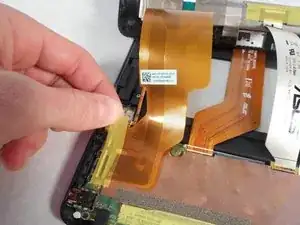
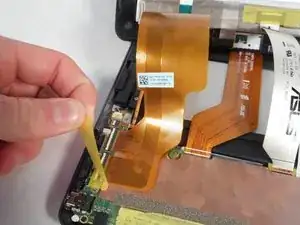
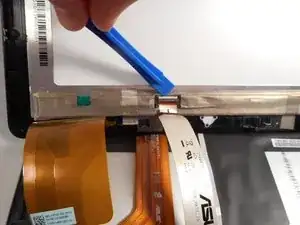
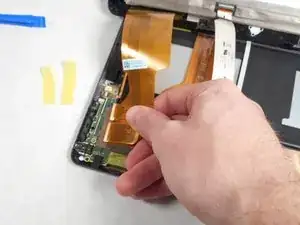
    • Remove the yellow tape covering the end of the cables.

  7. LNM53sUCAEU2GPNk
    LNM53sUCAEU2GPNk
    3IiDBrTF1EmwRxlT
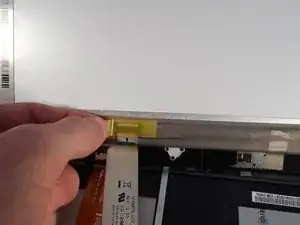
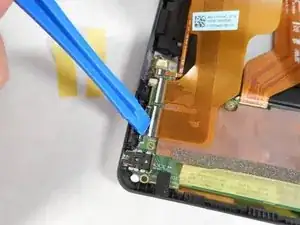
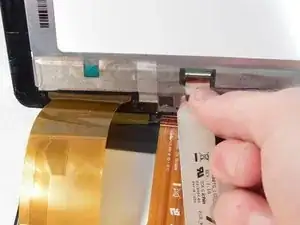
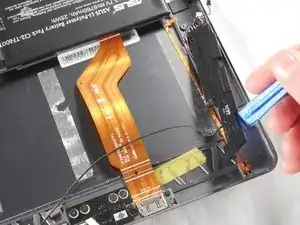
    • After lifting the yellow tape, you should be able to see a white strip. The white strip is actually a lever.

    • Use the plastic opening tool to push in the levers.

  8. IcgnRSY3ync4mn3H
    IcgnRSY3ync4mn3H
    Bh3yNR2mWPdSvFTR
    ReOBvLJAnttHblsX
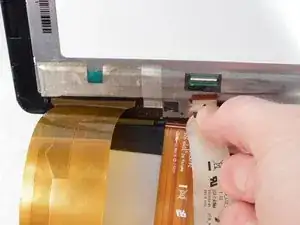
    • With all three white levers pushed in, gently pull on each display cable until the cable disconnects.

  9. 3ijtuqTYSfPdeVta
    • Lift the screen upwards to remove.

  10. TmvX4TCVrUEkSgAG
    TmvX4TCVrUEkSgAG
    DiV6XDf5hWEvsYjY
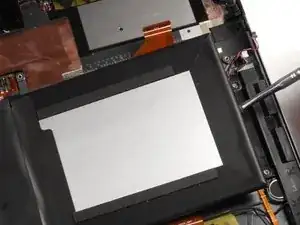
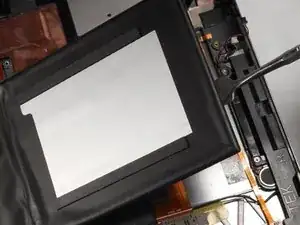
    • Turn the tablet clockwise, so the speaker is facing the right.

    • Use the nylon or metal spudger to pry the battery from the back panel.

  11. ABpPigK2BgBIVjlC
    ABpPigK2BgBIVjlC
    BsI5mqqRn2uXTkGE
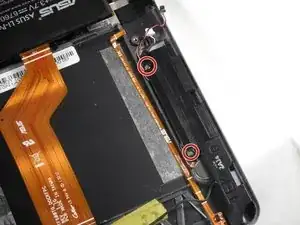
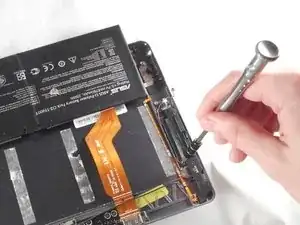
    • Remove two 0.79 mm #00 screws from the speaker with a Phillips screwdriver size #00.

  12. ZkLDhFNMlwYMfJMR
    ZkLDhFNMlwYMfJMR
    sPFEHBBg5dqdJkYL
    • Remove the speaker with the plastic opening tool.

Abschluss

To reassemble your device, follow these instructions in reverse order.
Joseph C Reneau

Mitglied seit: 15/10/15

276 Reputation

0 Kommentare