Einleitung

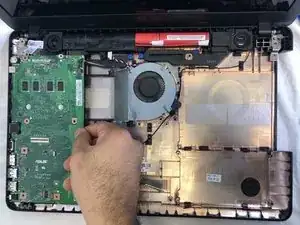
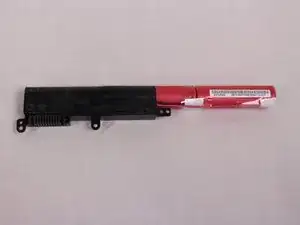
A battery is an essential part of the laptop which is needed in order to power on and use the computer. This guide will show you how to replace the battery of your Asus Vivobook Max X541SA-PD0703X. In order to replace the battery, you will have to remove the hard drive, motherboard, wifi card, and disc drive insert.

  1. YaVr5ALYj1PZNxnU
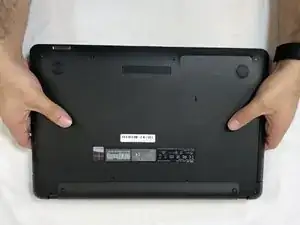
    • Flip the laptop upside down so that the back of the laptop faces you.

  2. hoYPoL6vODSUxlHe
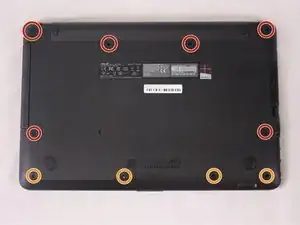
    • Remove the following ten Phillips #0 screws from the bottom of the laptop:

    • Six 13mm screws.

    • Four 11mm screws.

  3. 2PrLThTlSA2OEiYc
    2PrLThTlSA2OEiYc
    ZNsWVcLJNbTbZpXO
    KolSUqOywbVswXMR
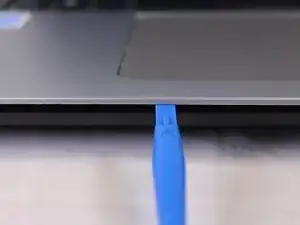
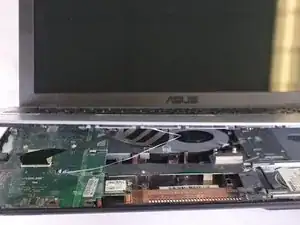
    • Using a plastic opening tool, pry up the palm rest from the bottom case of the laptop.

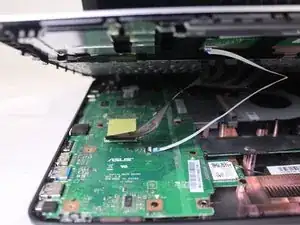
    • Don't completely remove as there are ribbon cables connecting the two halves.

  4. QVRSYGM4x2bdtESa
    QVRSYGM4x2bdtESa
    Pl2acyHhy6AZmYqp
    1kVFJarNVaUCXA1L
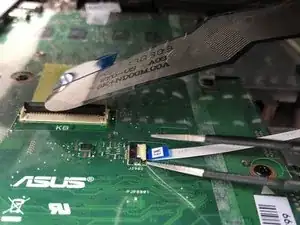
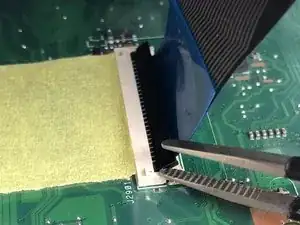
    • Use a spudger to flip up the retaining flaps on both keyboard ribbon cable ZIF sockets.

    • Pull the ribbon cables out of their sockets.

  5. xNelBFlvZfV3vJIE
    • Remove the three 6mm Phillips #0 screws from the motherboard.

  6. OnCcelBQkOLcJShx
    OnCcelBQkOLcJShx
    eqq5OHsNUCrRXvIQ
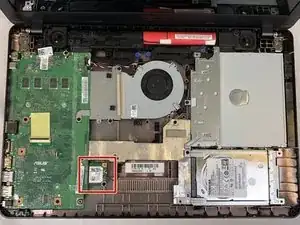
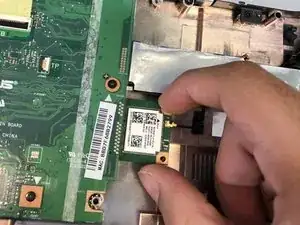
    • Pull the Wi-Fi card out of the motherboard.

    The removal of the wifi card seems unnecessary for removing the hard drive.

    Jakub Šušlík -

  7. IKmiDutK1AAtN1yr
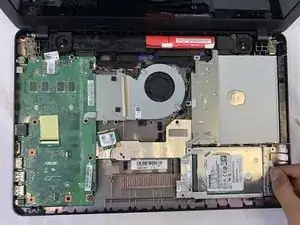
    • Remove the hard drive by pulling it towards the right, and removing it from the laptop case

    I have an ASUS x451N. I changed the storage to an ssd since its very slow and now it doesn't boot. It just gets stuck in bios. It appears in the storage section but not on the boot menu. The ssd has an os and I have already tried to boot it in my pc and it works. I hope you can help me with this problem. Thank you!

    Christusjohn Leoncio L Salvani -

  8. VLGp3SOYP2D2NOXE
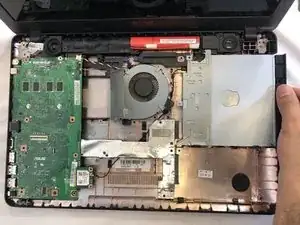
    • Remove the disc drive by sliding it towards the right and removing it from the laptop case

  9. uxI6PQWotUaLAlNM
    uxI6PQWotUaLAlNM
    PdnityA3KMjvJBhB
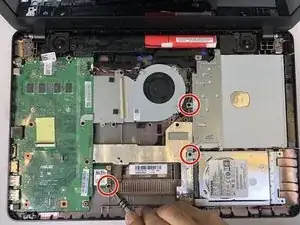
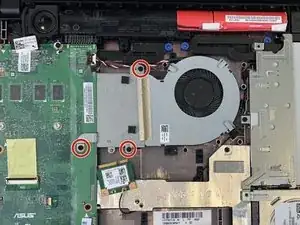
    • Remove the three 6mm Phillips #0 screws from the fan shroud.

    • Remove the shroud from the motherboard.

  10. csABVAyNuJCvOOGI
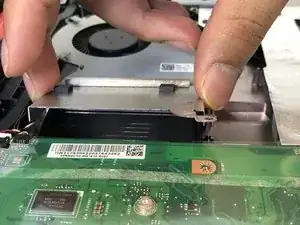
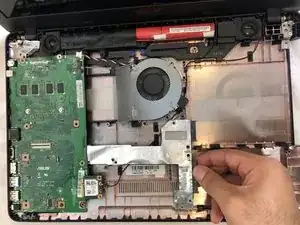
    • Pull the metal casing to the right.

    • Be careful when pulling the case because it may break the motherboard.

  11. MMn6OnRUV4YOaMfZ
    MMn6OnRUV4YOaMfZ
    OqpWqbCZRXTxLXuf
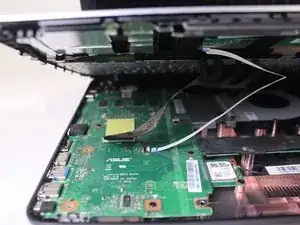
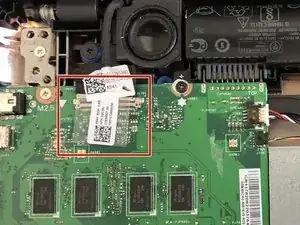
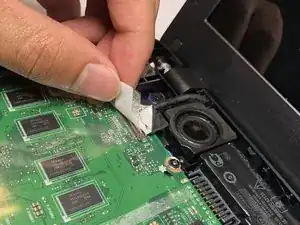
    • There is a wire attached to the screen display.

    • Peel the sticker and disconnect it from the motherboard.

  12. lGjSjkxYhQ2NhwW5
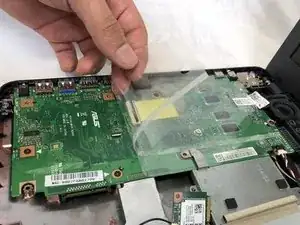
    • Remove the plastic covering off of the motherboard.

  13. QmvuwJPhKRvJ1Vi5
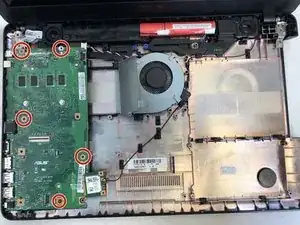
    • Remove the five 6mm Phillips #0 screws from the motherboard.

  14. eHKVpFlmRXDUd1EB
    eHKVpFlmRXDUd1EB
    xHbGEZ3RrNCEnorq
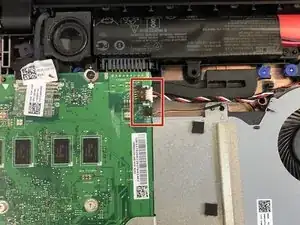
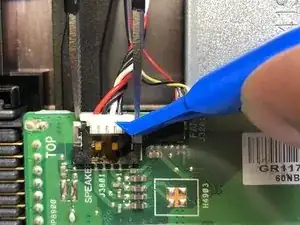
    • Remove the cables connected to the motherboard by unplugging them using a plastic opening tool, or by hand.

  15. daPLEYWIuobieBeG
    • Pull the motherboard to the right and lift up.

  16. Y5vqGMbsQp5WtYwC
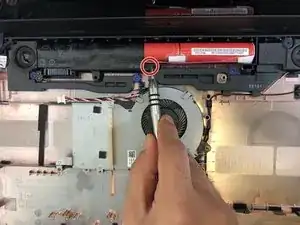
    • Remove the 6mm Phillips #0 screw from the battery bracket.

  17. WZkmYACMQOFmi3nt
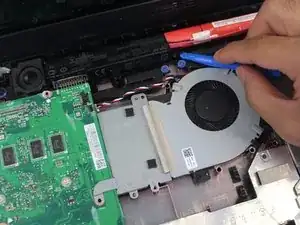
    • Use a plastic opening tool to remove the battery from the laptop.

Abschluss

To reassemble your device, follow these instructions in reverse order.

Hetvi Mehta

Mitglied seit: 23/02/18

769 Reputation

2 Kommentare

Finished so simple, guide was easy to follow. Thank you

Forever R Holdings -

Who was the idiot who designed this laptop? Remove the motherboard to replace the battery? Unbelievable.
Greg Worrel -