Einleitung
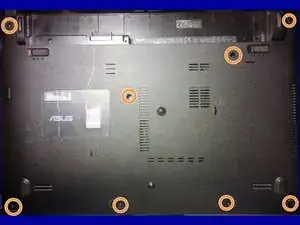
The ASUS laptop is actually quite easy to open up and work on, there are however 2 flat ribbon cables which you should know about.
Werkzeuge
Ersatzteile
-
-
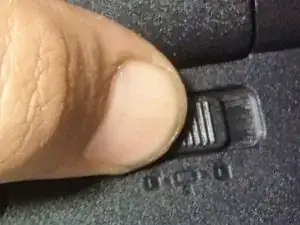
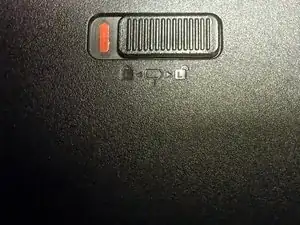
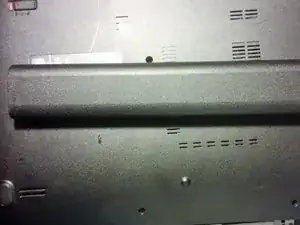
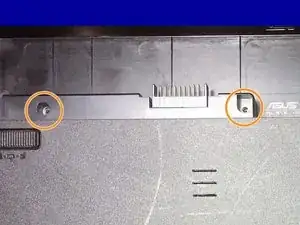
Slide battery lock to unlocked position on left side, then hold it in on the right side while sliding the battery out.
-
-
-
Turn over laptop
-
Open lid as far as it will go
-
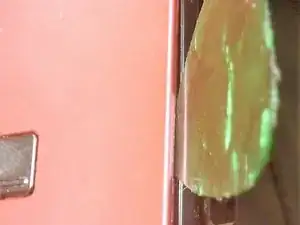
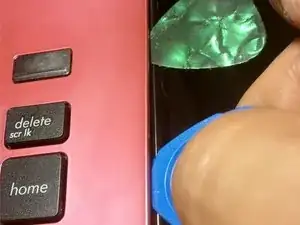
Insert opening pick as shown
-
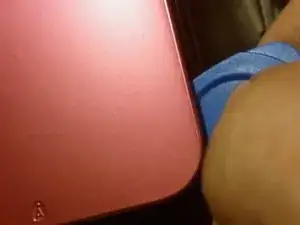
Follow entirely around the laptop
-
-
-
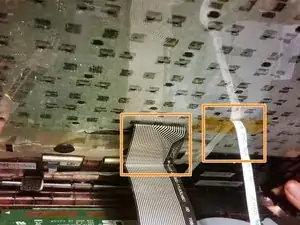
On the underside of the keyboard are 2 flat cables connected to the surface.
-
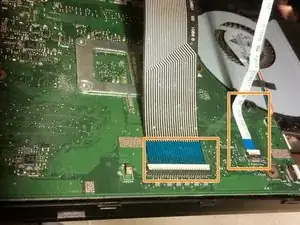
You can use a opening pick to pop these out of their respective slots on the main board.
-
-
-
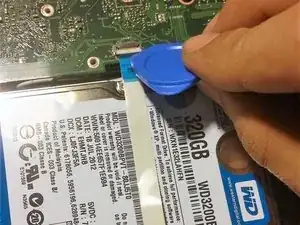
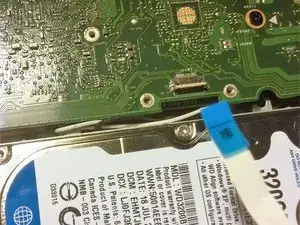
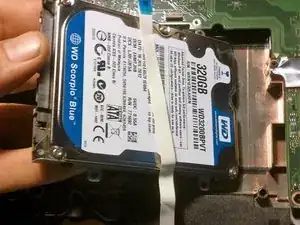
Using an opening pick you can now undo the connector for over the hard drive.
-
There is adhesive holding the flat cable to the hard drive.
-
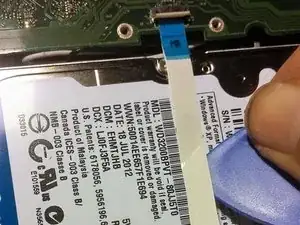
Slide something under the flat cable to gently remove it.
-
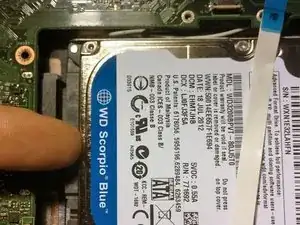
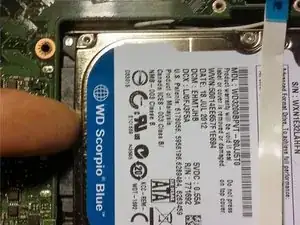
Slide flat cable out of socket.
-
To reassemble your device, follow these instructions in reverse order.
