Einleitung

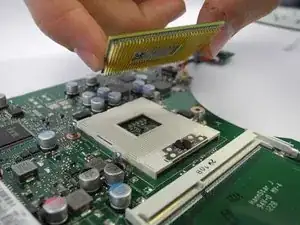
This guide will teach you how to take apart your laptop in order to get to the processor, fan, graphics card, and many other important components. Through the steps listed below, you will be able to identify and replace your laptop's processor!

  1. yECcfevBHVsUBdtu
    yECcfevBHVsUBdtu
    rtH3IfB55crBX1Sc
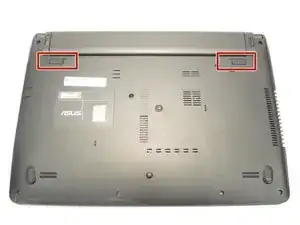
    • Turn your laptop off and unplug it from its charger prior to the repair to avoid electric shock.

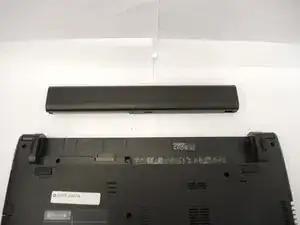
    • Turn your laptop over, and press on the latches to remove the battery.

  2. B54VG3jORRrZY4Rg
    B54VG3jORRrZY4Rg
    BgcO6eMNa45oVuDQ
    gu4p3UXOCKW2HKSt
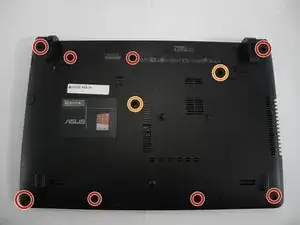
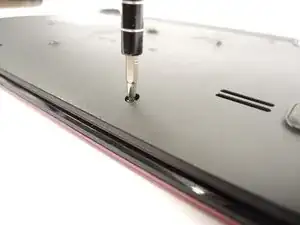
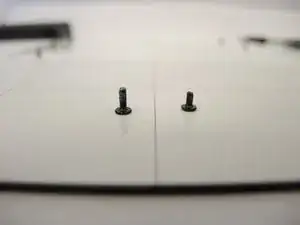
    • Unscrew the ten screws with a Phillips Head #1 screwdriver.

    • Eight screws are 3mm.

    • Two screws are 4mm.

    • Place the screws on a magnetic mat.

  3. 4kHU1YJH12gGNi3Y
    4kHU1YJH12gGNi3Y
    RFDXxuFk3AJUFD4V
    gfaqoLSkg6qnTZx3
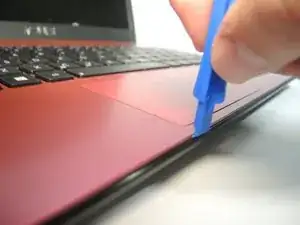
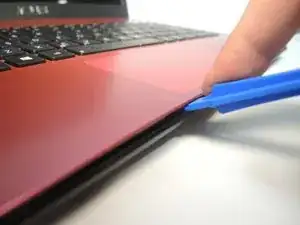
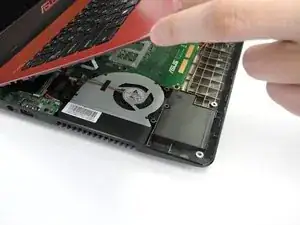
    • Separate the keyboard from the back of the laptop with a plastic opening tool.

    • Do not completely separate the two pieces as there are ribbon cables that need to be disconnected.

    • When reassembling, you will hear snapping noises as the pieces connect together.

  4. DHLaeXMc3uIJVPgV
    DHLaeXMc3uIJVPgV
    tH354AoLBMQxSwPB
    GXKDFwiwWkP1F6P1
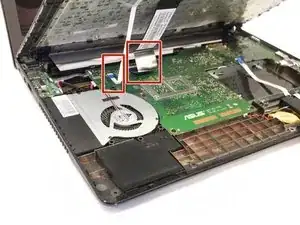
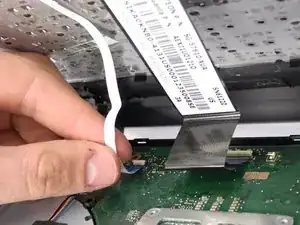
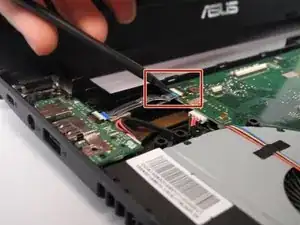
    • Use a spudger to lift ZIF tabs up to disconnect the black and the white ribbon cable.

  5. OQBhYJcilZnKIkVx
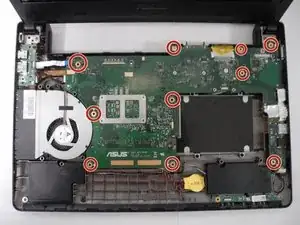
    • Unscrew the ten 3mm screws with a Phillips Head #1 screwdriver,

  6. CWelDkAi4JwlcdaS
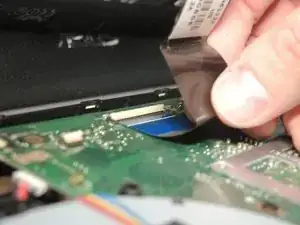
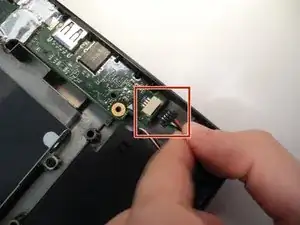
    • Use a spudger to lift the ZIF connector up to release the ribbon cable.

  7. HORnbWWJpPRtSUqM
    HORnbWWJpPRtSUqM
    QaTbhfY2Dgc1lkpo
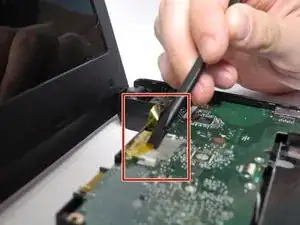
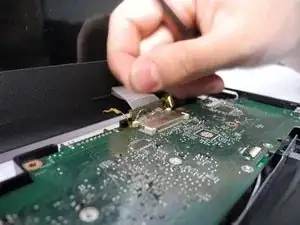
    • Lift the connection between the screen and motherboard with a plastic spudger.

    • Remove the yellow and the clear tape.

  8. pHxPsEgAWgSq6E6T
    • Disconnect the wire connecting the speakers.

  9. TBvgRHTH6oBrdoDe
    TBvgRHTH6oBrdoDe
    Nhy3gF5MSbtNYvRO
    HkPZcADOpouhELJF
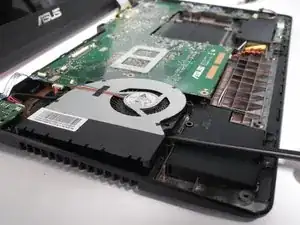
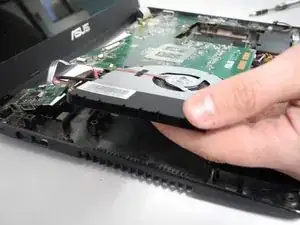
    • Lift the motherboard from the frame with a plastic spudger.

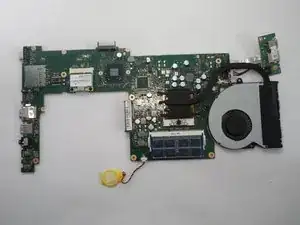
    • Set the frame of the laptop aside, and turn the motherboard over.

  10. FrIHKPoCqSKQFVmt
    FrIHKPoCqSKQFVmt
    j23w6DUIFhCKdrEU
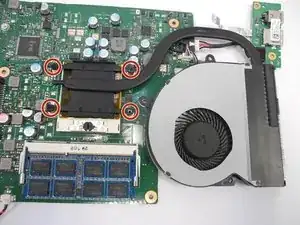
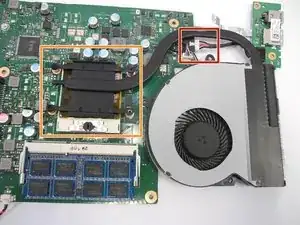
    • Unscrew the four screws with a Phillips Head #1 screwdriver to disconnect the fan from the processor.

  11. rl6d5WDudLIfF6qy
    rl6d5WDudLIfF6qy
    gAnYbWBoROHZ6JPZ
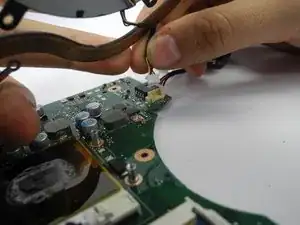
    • Disconnect the cable connecting the fan to the motherboard.

    • Lift the fan part from the processor.

  12. N22xag12wurIAwMN
    N22xag12wurIAwMN
    XFfASVrrILDqV1AC
    v5SoFliKrqL5XkRa
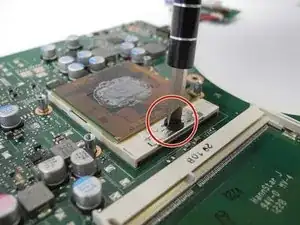
    • Unscrew the screw holding the processor to the motherboard with a flathead screwdriver.

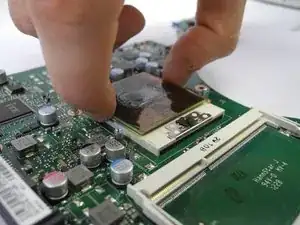
    • Lift the processor up away from the socket.

Abschluss

To reassemble your device, follow these instructions in reverse order.

Tyler Stiles

Mitglied seit: 07/02/17

152 Reputation

Ein Kommentar

Hi

What is the highest CPU I can put on it?

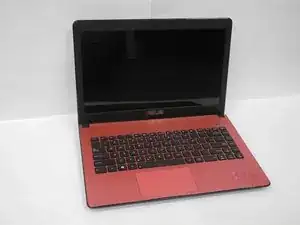
Does Asus X401A support i5-2450M?
mmaksat1988 -