Einleitung

  1. 1wNmIp5CuRg5qDT4
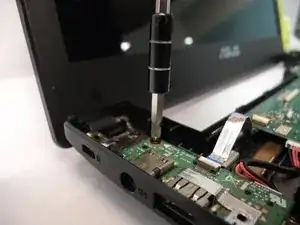
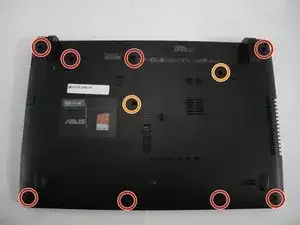
    • Use a Phillips head #1 screwdriver to remove the eight 3mm screws.

    • Use a Phillips head #1 screwdriver to remove the two 4mm screws.

  2. 4FcLvBjy1YfhDKBn
    4FcLvBjy1YfhDKBn
    X2ICiIaHwihsZsSX
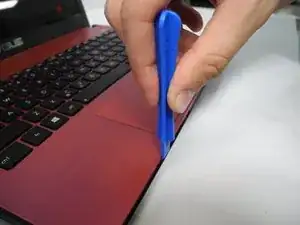
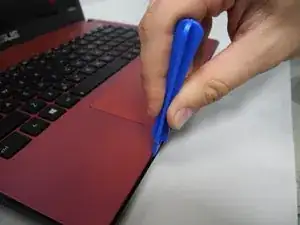
    • After removing the screws from the underside, flip the laptop over and, using a plastic opening tool, remove the keyboard panel

    • To efficiently remove the keyboard panel, use the opening tool in a prying motion

    • When reattaching the keyboard panel, press firmly until snaps are heard, indicating the panel has been reattached.

  3. fAfYqujnOECKTuMn
    fAfYqujnOECKTuMn
    ANiiqtBuGsqIpPc4
    xPDaIqdVBCSH1I2I
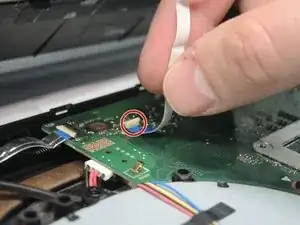
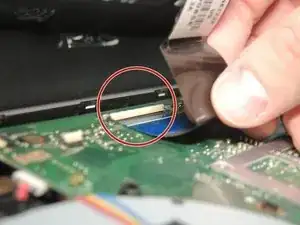
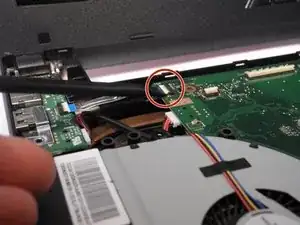
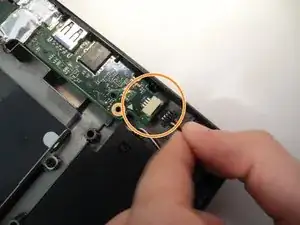
    • Disconnect these cables by unlocking the ZIF connectors with a spudger.

  4. PywJp5EE6NfxAMXY
    PywJp5EE6NfxAMXY
    vrAYFeu5LmnFRaWC
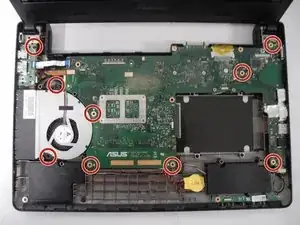
    • Using a Phillips Head 1 Screwdriver, remove all screws securing the motherboard to the frame of the laptop

  5. w5kxoOUDIbVyI4WX
    w5kxoOUDIbVyI4WX
    WxcU5osWLpRdJUdT
    • Use a spudger to lift up on the ZIF tab and remove the USB/charing port ribbon cable.

    • Use a spudger to release the speaker's bundled cable from the connector.

    • After disconnecting the USB/Charging port board completely, remove and set aside, as it would otherwise obstruct future steps.

  6. XOvMfs1TrjPSZGgR
    XOvMfs1TrjPSZGgR
    k2BZ4boX4ZeZywkA
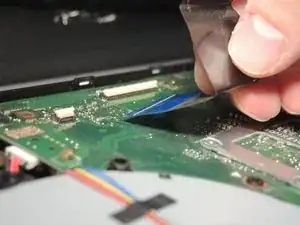
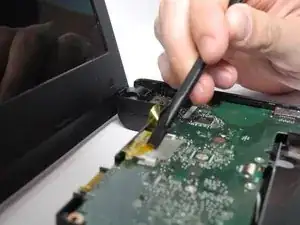
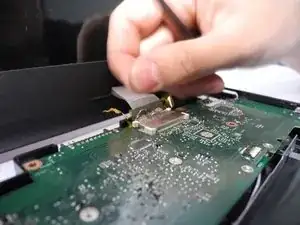
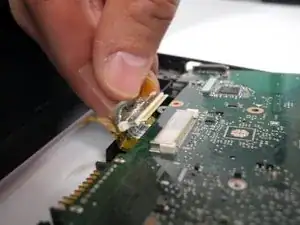
    • Peel back the tape securing the cable for the laptop's screen. It is not recommended you disconnect the cable at this time, as you risk damaging the cable.

  7. sTGmunsYKCKGdwIM
    sTGmunsYKCKGdwIM
    kFe4Def6BXCYFwLb
    MMblgUYMqswJXkxe
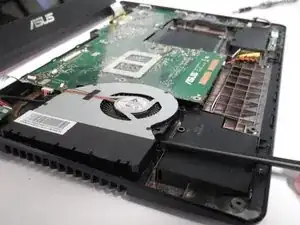
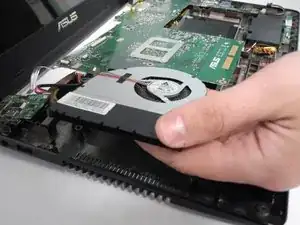
    • Using the plastic spudger tool, lift up the fan from the frame of the laptop using a prying motion, which will also lift the motherboard

    • As you remove the motherboard, pull it towards the left to allow the ports on the opposite side to slide out easily from their slots.

    • As you lift the motherboard, disconnect the video cable mentioned in the previous step.

  8. kIoWtK51SVtTfy2K
    kIoWtK51SVtTfy2K
    JN5OEahQZmHfjneg
    k1rIpngSa6oDt5U3
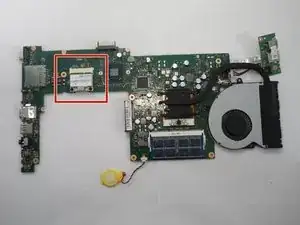
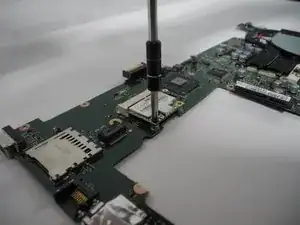
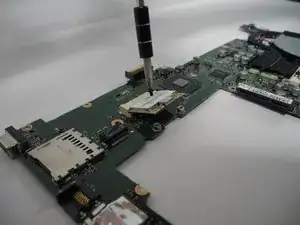
    • Identify the wireless card on the underside of the motherboard and remove the 2 screws holding it in place

    • As you remove the second screw, the wireless card will spring up on its own

  9. RbsBHTXgHCCeuIps
    RbsBHTXgHCCeuIps
    CJ6BCXCHnBJpuUrm
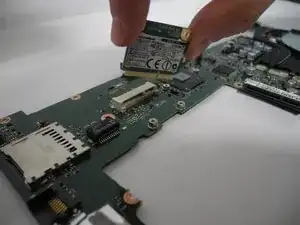
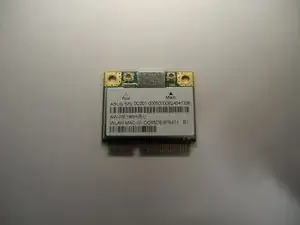
    • Remove the wireless card along its angle, and insert your replacement card at the same angle.

Abschluss

To reassemble your device, follow these instructions in reverse order.
Connor Santee

Mitglied seit: 07/02/17

149 Reputation

0 Kommentare