Einleitung
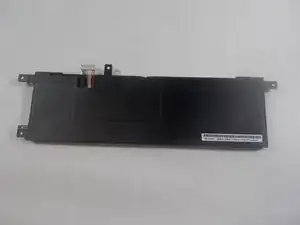
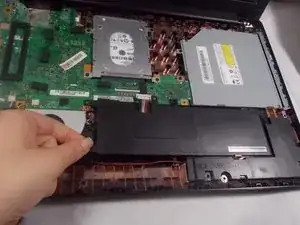
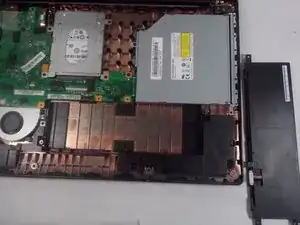
If you are having issues with your AsusX553MA-BPD07051 holding a charge, and you have identified that the issue is not the power cord adapter, the problem is most likely with the battery itself. Once you have identified that your battery does not function properly and needs to be replaced, this guide will allow for simple removal of the battery. Ensure that before working on your laptop, the laptop is completely turned off. For more troubleshooting assistance, check out this link. Before opening up the laptop, ensure that the device has been powered off to avoid being shocked.
Werkzeuge
-
-
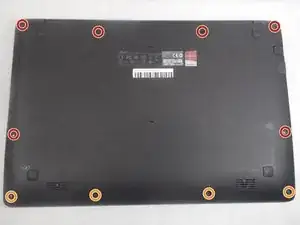
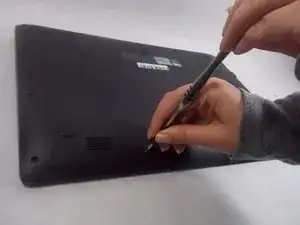
Use a Phillips #0 screwdriver (PH0 bit) to remove the four 5.0 mm screws that are securing the bottom of the laptop.
-
Use a Phillips #0 screwdriver (PH0 bit) to remove the six 11.0 mm screws that are securing the bottom of the laptop.
-
-
-
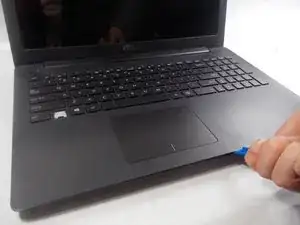
Lift the edges of the keyboard using the plastic iFixit opening tool and raise the keyboard slightly to see the inside of the laptop.
-
-
-
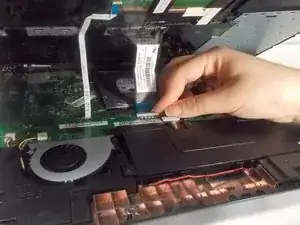
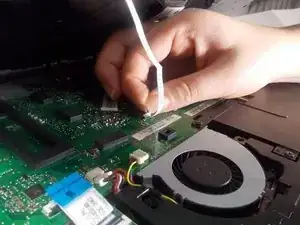
Lift back the clip on the ribbon tape, and pull the tape out in order to remove the keyboard from the laptop.
-
Remove both pieces of the ribbon tape connecting the keyboard to the motherboard.
-
-
-
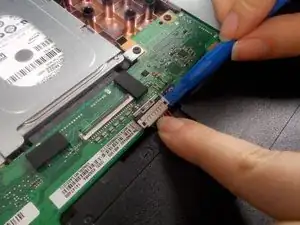
Remove the bundled cable connector attaching the battery to the motherboard with the plastic iFixit opening tool.
-
-
-
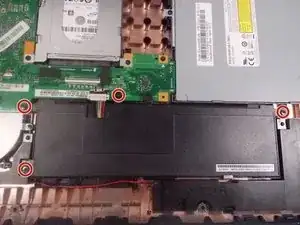
Use Phillips #0 screwdriver (PH0 bit) to remove the four 6.0 mm screws attaching the battery to the laptop.
-
To reassemble your device, follow these instructions in reverse order.
2 Kommentare
I used your guide when i repaired my mates X553. I found it quite easy. So thanks for the heads up on what to look out for :-)
gazza667 -
Easy with the use of these clear instructions. Thanks and keep up the good work.
