Einleitung
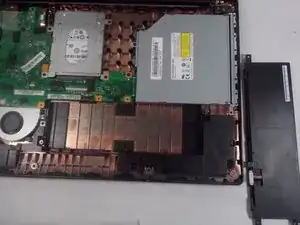
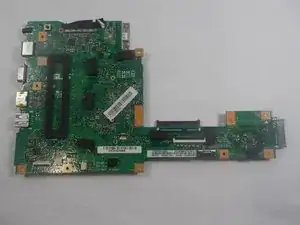
If your AsusX553MA-BPD07051 keeps giving you a Blue Screen of Death, then the issue is most likely with the RAM or the motherboard. Follow the troubleshooting instructions here in order to identify which piece of hardware is causing the problem. If you determine that the motherboard is the issue, then follow this guide to replace it. Remember to unplug your computer and disconnect the battery prior to working on it.
Werkzeuge
-
-
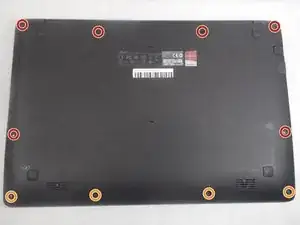
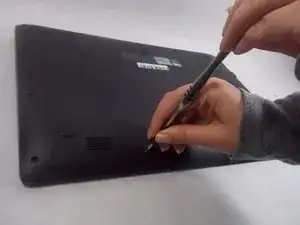
Use a Phillips #0 screwdriver (PH0 bit) to remove the four 5.0 mm screws that are securing the bottom of the laptop.
-
Use a Phillips #0 screwdriver (PH0 bit) to remove the six 11.0 mm screws that are securing the bottom of the laptop.
-
-
-
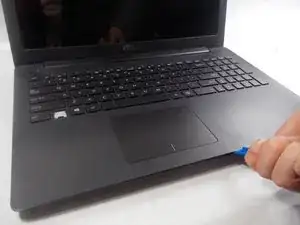
Lift the edges of the keyboard using the plastic iFixit opening tool and raise the keyboard slightly to see the inside of the laptop.
-
-
-
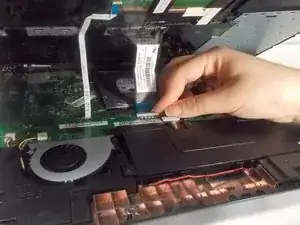
Lift back the clip on the ribbon tape, and pull the tape out in order to remove the keyboard from the laptop.
-
Remove both pieces of the ribbon tape connecting the keyboard to the motherboard.
-
-
-
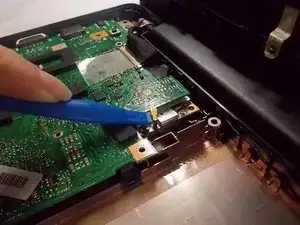
Remove the bundled cable connector attaching the battery to the motherboard with the plastic iFixit opening tool.
-
-
-
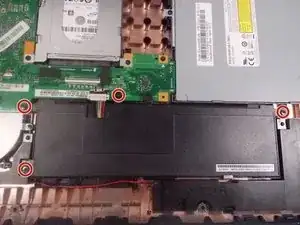
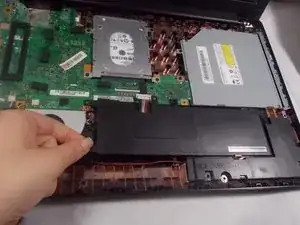
Use Phillips #0 screwdriver (PH0 bit) to remove the four 6.0 mm screws attaching the battery to the laptop.
-
-
-
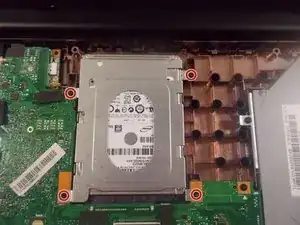
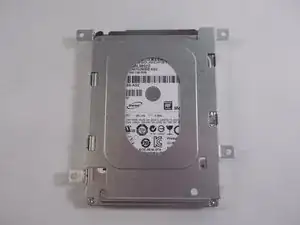
Use a Phillips #0 screwdriver (PH0 bit) to remove the four 6.0 mm screws that are securing the hard drive.
-
-
-
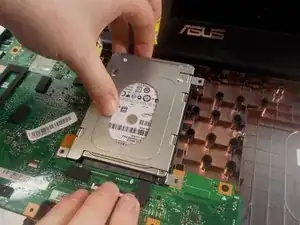
Lift the hard drive up and pull it towards the screen so that it disconnects from the motherboard.
-
-
-
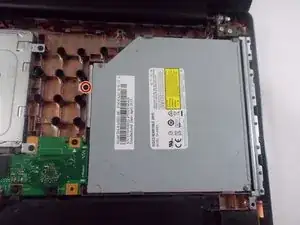
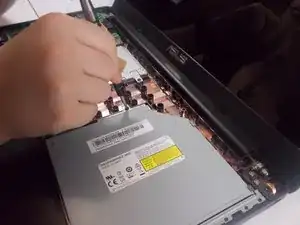
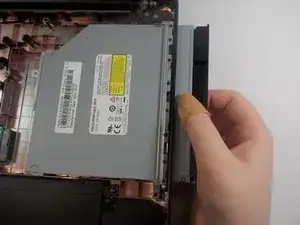
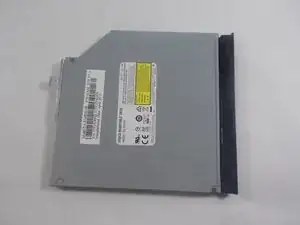
Use a Phillips #0 screwdriver (PH0 bit) to remove the one 6.0 mm screw holding in the optical drive.
-
-
-
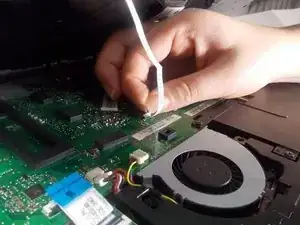
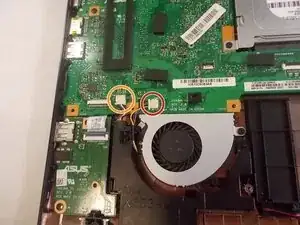
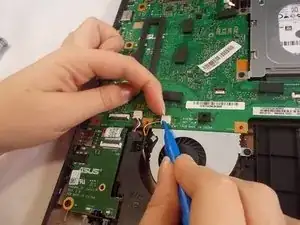
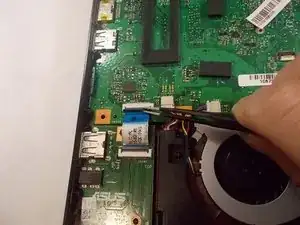
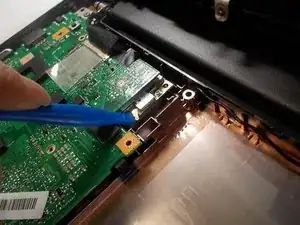
Remove the bundled cable connector that connects the fan to the motherboard using the plastic iFixit opening tool.
-
Remove the bundled cable connector that attaches the audio to the motherboard with the plastic iFixit opening tool.
-
-
-
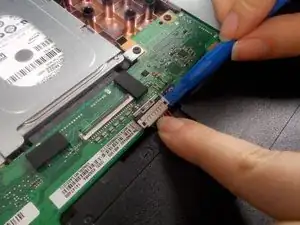
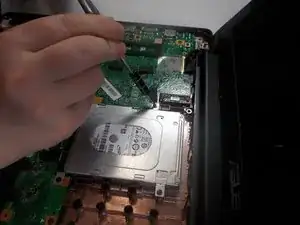
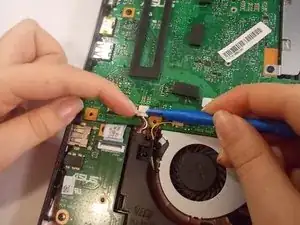
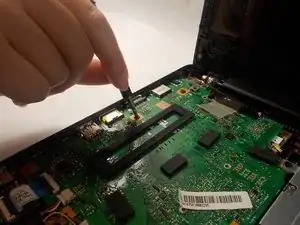
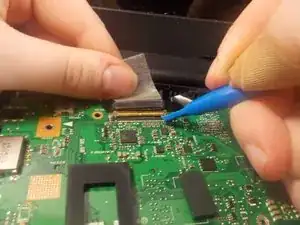
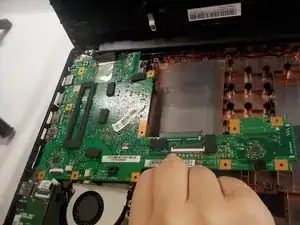
Lift the metal clip holding the ZIF connector ribbon down.
-
Pull the ribbon out from the connector, away from the motherboard.
-
-
-
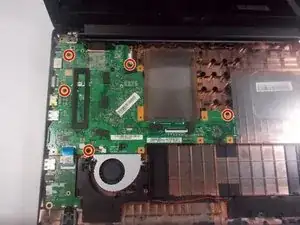
Use a Phillips #0 screwdriver (PH0 bit) to remove the five 6.0 mm screws attaching the motherboard to the base of the laptop.
-
-
-
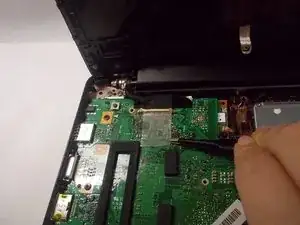
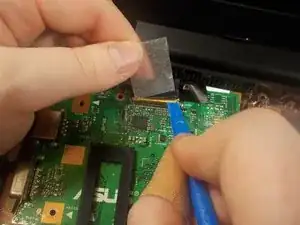
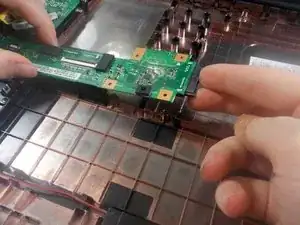
Lift the metal clips holding the ZIF connector down.
-
Push the gold metal connector away from the motherboard.
-
To reassemble your device, follow these instructions in reverse order.
5 Kommentare
Hi! Where the !&&* is the CMOS battery?
Hi, I’m sorry but I don’t have an image of the CMOS battery! It should be located on the motherboard though.
See my reply below. There isn’t one.
Gazza
gazza667 -
Hi, I think there is no CMOS battery on this motherboard. See https://vinafix.com/media/asus-x553ma.11....
I can vouch that there is NO CMOS battery on this laptop. I now own one from a friend who had it condemned by another ‘repair tech’. It turned out that the display connector was not secured properly. Anyway, having stripped it down completely, i decided to replace the CMOS battery before putting it back together & there isn’t one. On the underside of the board is an area with white plastic in the shape of a button battery. On reassembly i noticed the CMOS had lost the clock memory. Which i put down to disconnecting the battery. It must be powered when the battery is connected & not separately.
Gazza
gazza667 -

