Einleitung

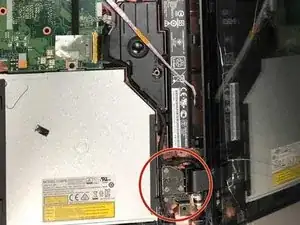
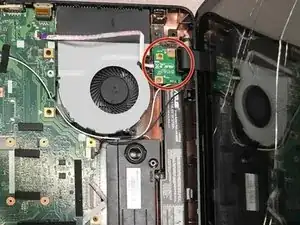
The Asus X751MA-DH01TQ has a built in webcam that is easy to access with this guide.

  1. 1GGp2v5F5fHSTINV
    1GGp2v5F5fHSTINV
    dsJtVt4XUQtrOuyG
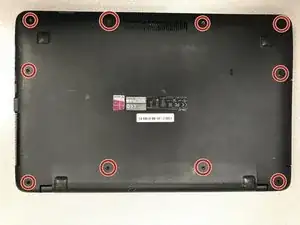
    • Turn the laptop upside down and locate the ten screws that hold the plate cover.

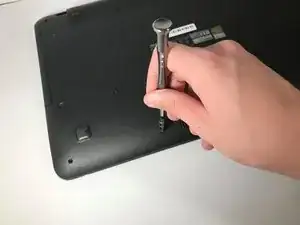
    • Remove all ten screws using a 00 Phillips head screwdriver.

  2. GkqQFOOOyWfJRhge
    GkqQFOOOyWfJRhge
    OEGig13RgpW4Gk6i
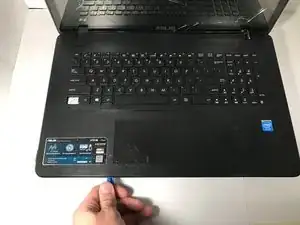
    • Using the plastic opening tool, pry the keyboard off of the base of the laptop.

    • Lift up and remove the keyboard.

  3. XKOeWLuVjKrN5SeC
    XKOeWLuVjKrN5SeC
    Yi2Hi4SnNHA5sD5H
    fWQTOJnTnk4DiREx
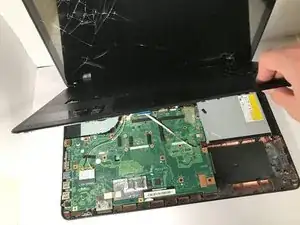
    • Remove eight 4.4 Phillips #00 screws attached to the hinge.

    • Hold the screen so it wont fall over.

  4. kKTNYEZndApZIZA1
    kKTNYEZndApZIZA1
    OJtsAVXQnpEkfY1G
    UeRPPRFrVybeMic1
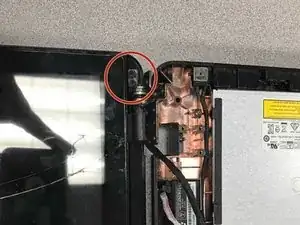
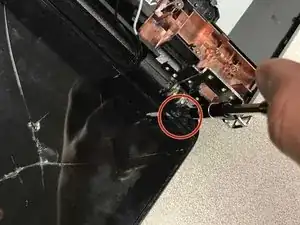
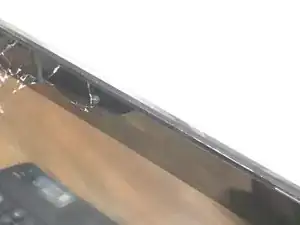
    • Remove the stickers from the bottom left and right corners of the screen.

    • Use a 00 Phillips head screw driver to remove the four screws.

  5. TRZwWaWTBfr2e2oB
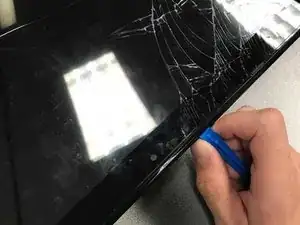
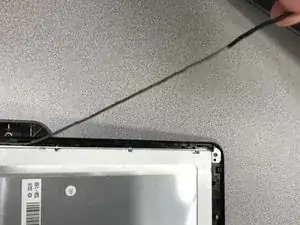
    • Use the plastic opening tool to take the screen apart.

  6. UphPqM6beWCShwRQ
    UphPqM6beWCShwRQ
    xNGhGn56gkJLFmMG
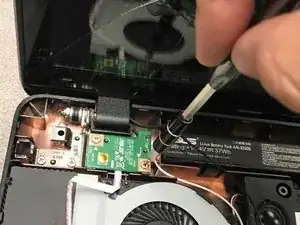
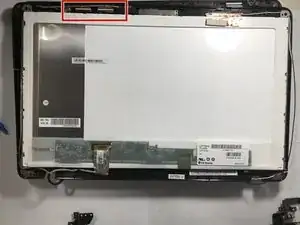
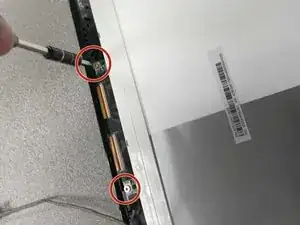
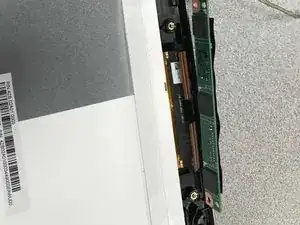
    • Remove the two 4mm Phillips #00 screws attached to the webcam.

  7. CbBcFTkQBZVB4yEY
    CbBcFTkQBZVB4yEY
    gEsufU2WVwuvCAsN
    dWRsfB2mMRBdTVO2
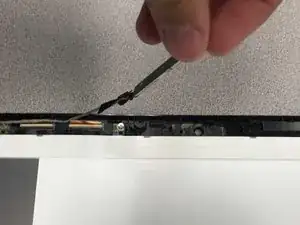
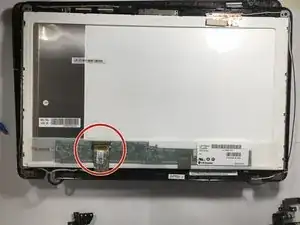
    • Slowly pull up the webcam out of its slot, and begin to remove the wire.

  8. FIbI3A52aMrdJHAE
    FIbI3A52aMrdJHAE
    oxVUWS2MbN5OWDCc
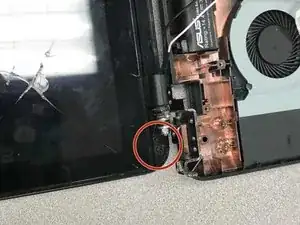
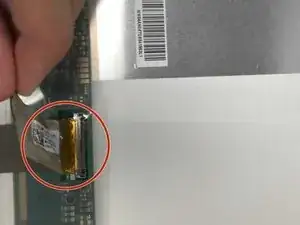
    • Continue to unravel the wire and peel the webcam wire sticker off.

  9. XUO2MUTtNhJdSMZt
    XUO2MUTtNhJdSMZt
    6GKPrAZDndSJlhfQ
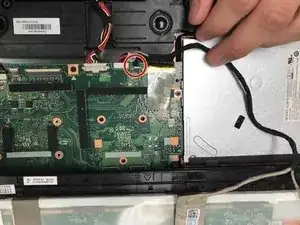
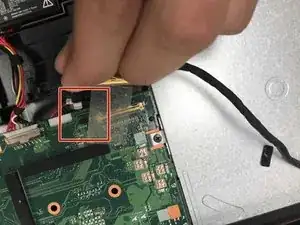
    • Once the sticker is peeled off pull the plug holding the webcam into the circuit board and the webcam is now disconnected.

Abschluss

To reassemble your device, follow these instructions in reverse order.
Darren Kim

Mitglied seit: 18/09/18

657 Reputation

0 Kommentare