Einleitung
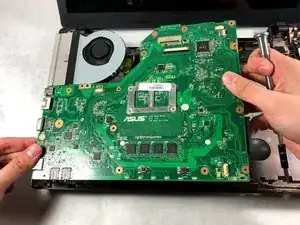
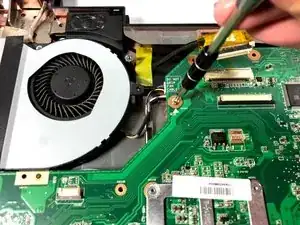
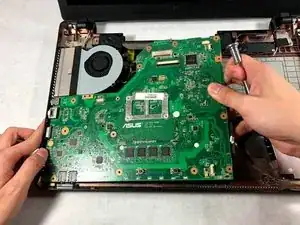
The motherboard connects all the hardware components of the laptop so that they can communicate with each other.
Werkzeuge
-
-
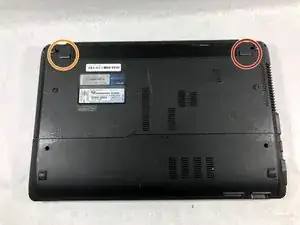
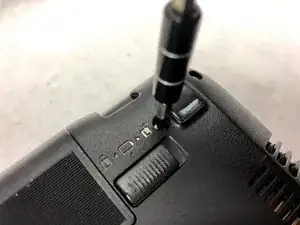
Turn the laptop upside down so that the underside is facing up and locate the two switches that are on each side of the battery.
-
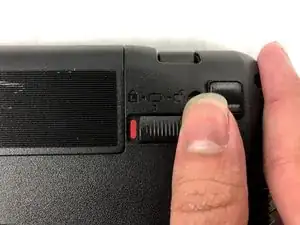
Slide the switch on the top right corner to the right.
-
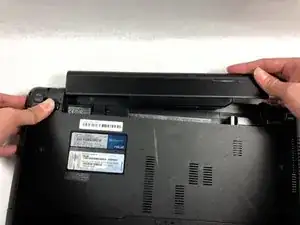
Slide and hold the switch on the top left corner to the left and carefully remove the battery.
-
-
-
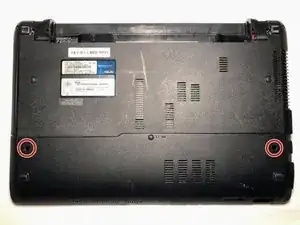
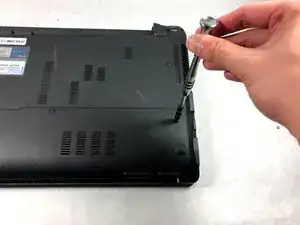
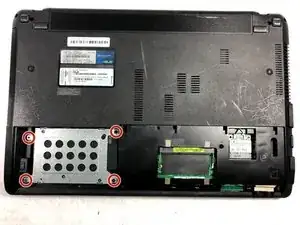
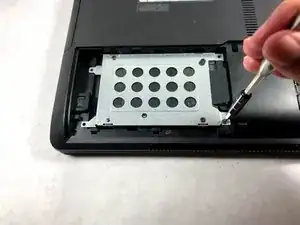
Use a Phillips #000 screwdriver to remove the two 9mm screws from the HDD/RAM cover panel.
-
-
-
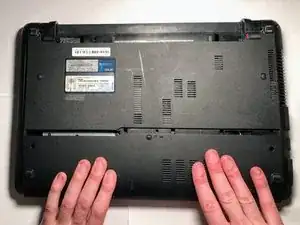
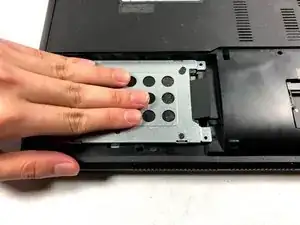
Slide the back panel off by placing a hand on each corner and pulling the panel towards you.
-
-
-
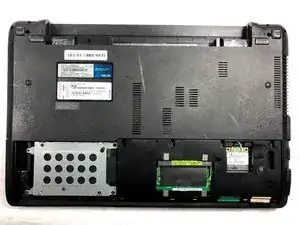
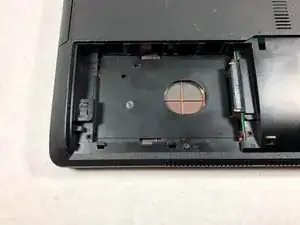
Slide the hard drive to the left to disconnect it.
-
Then pull on the black tab to lift the hard drive out of the laptop.
-
-
-
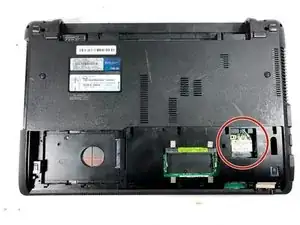
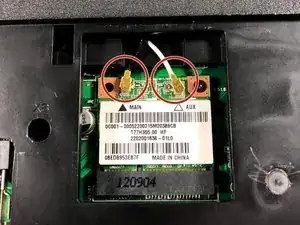
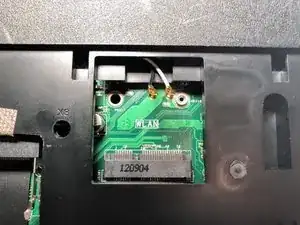
Disconnect both the black and white coaxial connectors from the WiFi card by pulling up on the gold colored piece.
-
-
-
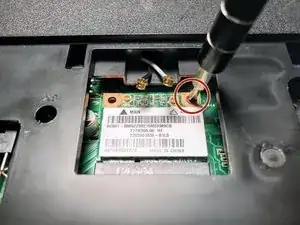
Remove the 3mm screw from the top right corner of the WiFi card using a Phillips #0 screwdriver.
-
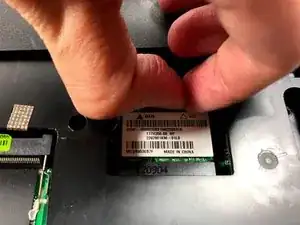
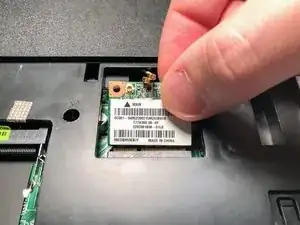
The WiFi card will pop up. Grasp it and pull it out of its slot.
-
-
-
Turn the laptop to its normal position and open the display to show the keyboard.
-
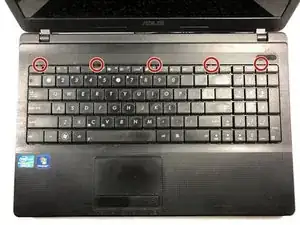
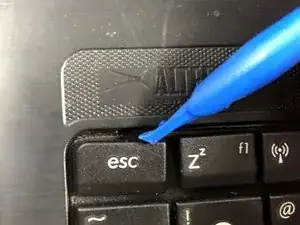
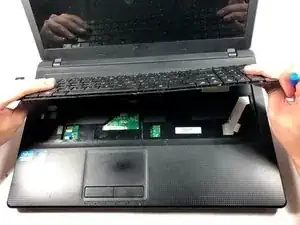
Gently push back the five tabs holding the keyboard down using the plastic opening tool.
-
-
-
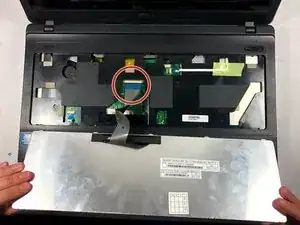
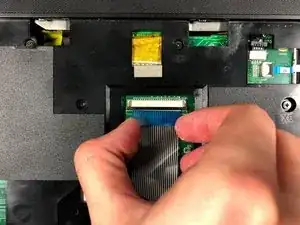
Once the keyboard is free, disconnect the ribbon cable from the zero insertion force (ZIF) connector by flipping up the locking flap and pulling the cable out.
-
-
-
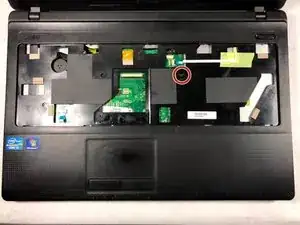
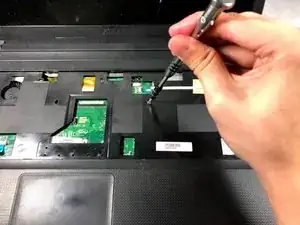
Remove the 3mm screw with a Phillips #000 screwdriver.
-
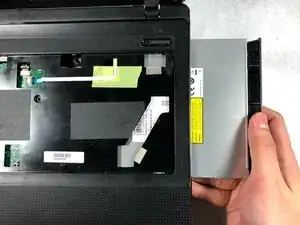
Slide out the optical disc drive by pulling it away from the laptop.
-
-
-
Turn the laptop over so that the back side is facing up.
-
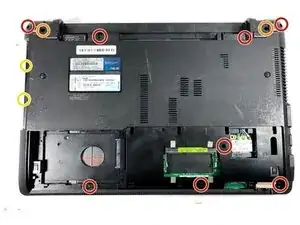
Remove eight 9mm screws from the back of the laptop.
-
Remove two 6mm screws near the battery.
-
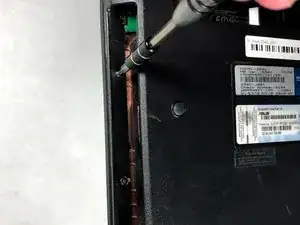
Remove two 3mm screws from the optical drive slot.
-
-
-
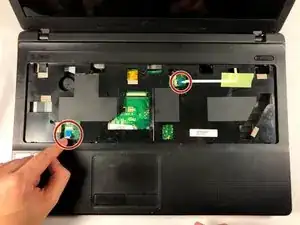
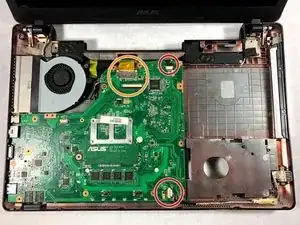
Disconnect the two ribbons cables from the zero insertion force connectors by flipping up the small locking flap and pulling them gently out of the connectors.
-
-
-
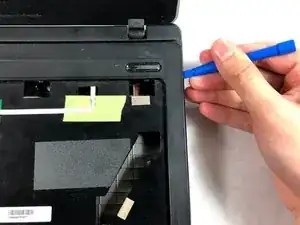
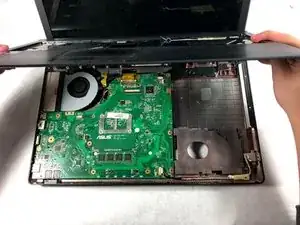
Use the plastic opening tool to pop off the plastic layer by sticking it in between the two parts and sliding it around the whole laptop.
-
Lift off the top plastic layer.
-
-
-
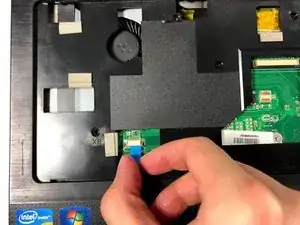
Disconnect the two ribbon cables from the no-fuss ribbon cable connectors attached to the motherboard by pulling the cable straight out of the connector.
-
Disconnect the ribbon cable from the zero insertion force connector by flipping up the locking flap and pulling the cable out.
-
-
-
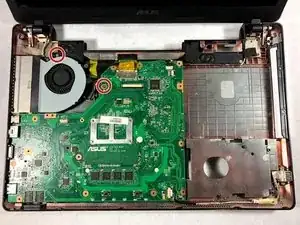
Remove the two 5mm screws holding the motherboard and fan in place.
-
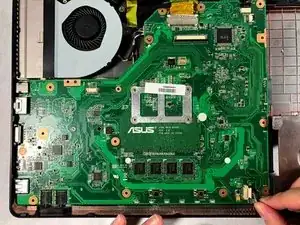
Lift out the motherboard and fan.
-
To reassemble your device, follow these instructions in reverse order.
