
Einleitung
Laptop batteries, like most batteries, have a finite usable lifespan and will lose their performance and charge over time. Use this guide to remove and replace the battery of your ASUS Zenbook UX430UA.
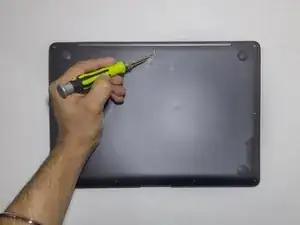
To minimize the risk of damaging your device, allow the battery of your device to discharge fully before starting this procedure. A lithium-ion battery with a charge can create a dangerous fire if punctured. If your battery is swollen, you should take extra steps
-
-
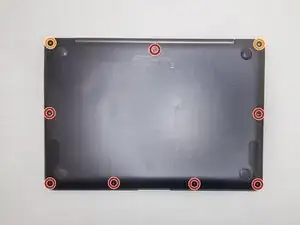
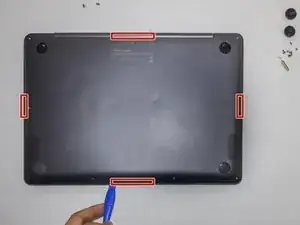
Remove the seven T5 Torx screws securing the bottom case to the chassis.
-
Remove the two T5 Torx screws that are threaded differently.
-
-
-
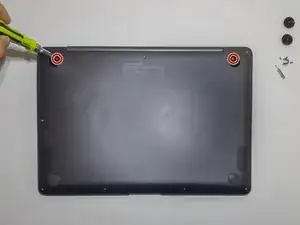
Remove the two rubber feet from the bottom casing.
-
Remove the two screws holding the bottom casing to the chassis using a Phillips #1 screwdriver.
-
-
-
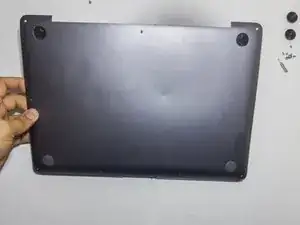
Use an iFixit opening tool to gently pry open the bottom case away from the top case.
-
The bottom case is secured to the upper case with four plastic clips near the edges of the laptop.
-
Gently pull the lower case away from the upper case of the laptop by lifting the top first.
-
-
-
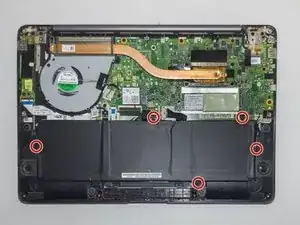
Use a Phillips 1 screwdriver to remove the five screws holding the battery to the motherboard.
-

To reassemble your device, follow these instructions in reverse order.
