Einleitung

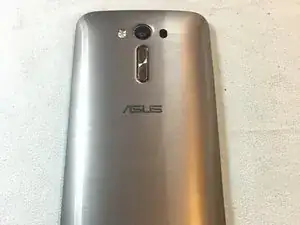
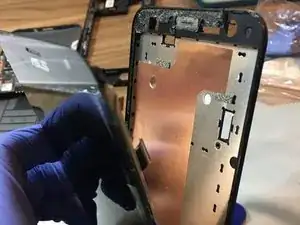
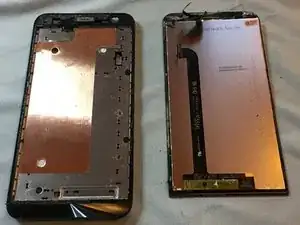
Have a broken screen on your ZenFone 2 Laser? Don't worry! Just follow this guide and you will be fine!

  1. w42aFMUYNjGPRZVP
    w42aFMUYNjGPRZVP
    rQETisIW1cAmMUxS
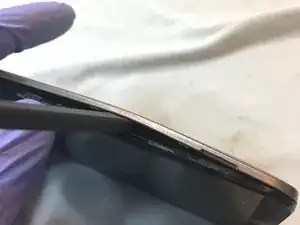
    • Insert a spudger or a your fingernail in the slit in the rear case on the right to separate the phone from the case.

    • There are a few plastic clips, but it shouldn't be too difficult to remove.

    • Note: Do not bend the case as shown in Picture1! It might break if you bend it too much.

  2. YLKPXGnMPtBoHxgT
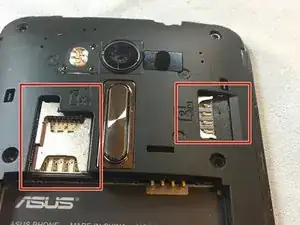
    • Slide out the SIM card and SD card (if applicable)

  3. 4PVkLWrARNjXjEsK
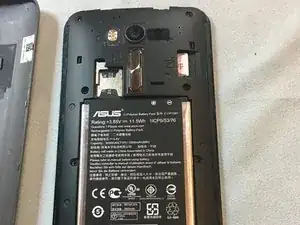
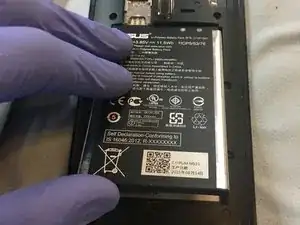
    • Remove the battery from the phone by using a spudger near the bottom.

    • Do not damage the battery in any way, it might explode if it gets damaged.

  4. 55rvkaIoys5L2NTV
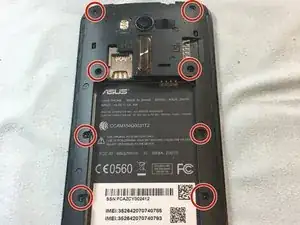
    • Remove 12 Phillips screws from the phone.

    • There are only 8 pictured, but there are also four at the bottom.

    2 of the Philips screws are sightly longer than the others. I only noticed this once they were gathered together. My guess is they go in the 2nd row from the top just above that battery compartment, as this is the thickest portion of the frame. Can anyone confirm this?

    Haitham -

  5. i4dBYyJMl4uH5FQA
    i4dBYyJMl4uH5FQA
    HlGG1WhjNKa6OoB6
    NqsFfLXYTDoFlGHS
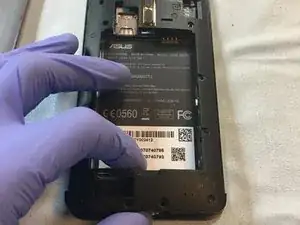
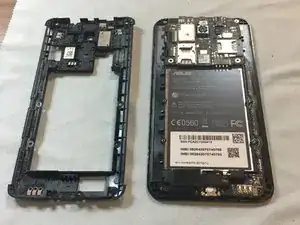
    • Remove the plastic covering after taking out the screws. It should come out relatively easily.

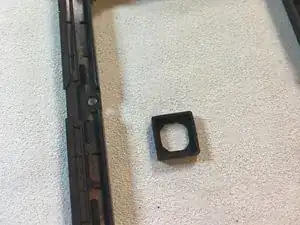
    • If the rubber camera piece falls out, put it back in the square where the rear camera sits.

  6. NFbbv65vwvBPVZrp
    NFbbv65vwvBPVZrp
    DOPnILfFryIl4LXr
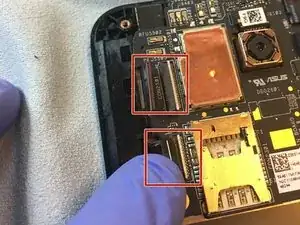
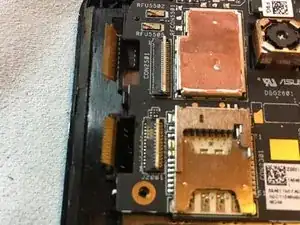
    • Use a spudger swing open the white "door" and use tweezer to pull out the connector.

    • Be careful not to damage the Main Board! If you do manage to damage it, it would be better to buy a new phone.

  7. PDII1MsXy1sLvNIN
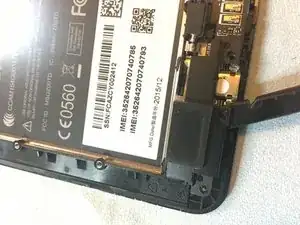
    • Use a spudger to pop off the loudspeaker. It is held to the case by a little adhesive.

  8. FO6TflUUBOxwgScO
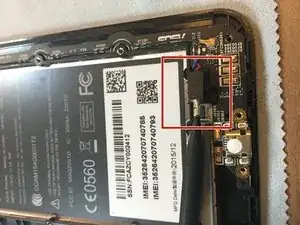
    • Pick up the vibration motor out of its plastic housing.

    • Do not remove the vibration motor entirely since it is soldered to the logic board.

  9. En6ruRig5Xul4AEi
    En6ruRig5Xul4AEi
    aKbFwTRiYQ4TnEVh
    gUlQMXo6ftoQ1UNP
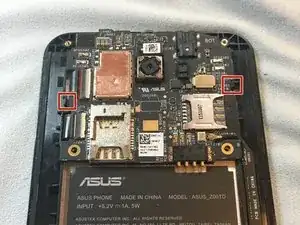
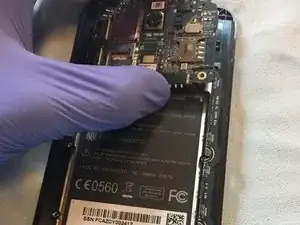
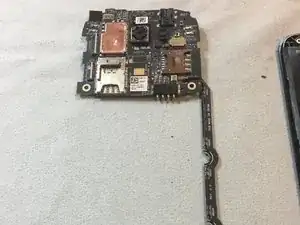
    • There are two plastic clips that hold the logic board down. Push one out of the way and grasp the logic board to pull it out.

    • You want to grab the entire logic board, including the skinny piece that extends down the right to the micro-USB port.

  10. WDUaerSboCgSwpNt
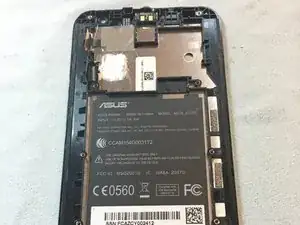
    • If your new display includes the plastic bezel, you can stop here and begin transferring everything over. If it doesn't, please continue.

  11. DgtaSm1NFXcGU1pT
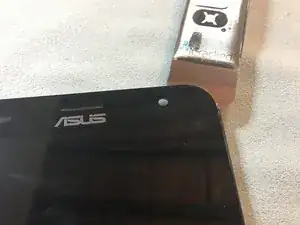
    • Insert your spudger, perhaps an iSesamo, to the top right of the display. You will want to slide it between the glass and the plastic bezel.

    • There is a good amount of adhesive along the top of the display.

    • Replace the spudger with a guitar pic to hold its place.

    • Be careful how you insert the spudger, though, since there is a cable that connects the display to the logic board between the ear speaker and rear camera hole.

  12. NlBy3IeEtYVBT14P
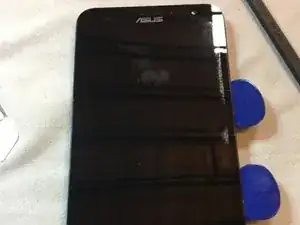
    • Using the spudger (or iSesamo) in a saw-like motion, work your way down the right side of the display. Make sure you put the tool under the LCD and not in it.

    • In the picture shown, I originally put the iSesamo in the LCD which caused the damage to the right. The guitar pics are under the LCD after I corrected my movement.

  13. NVyeltXYGqiAVmw5
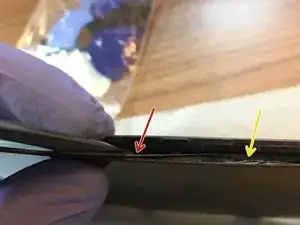
    • Make sure the tool you're using is under the LCD and not above it. The tool pictured it under it.

    • The yellow arrow shows where the tool would be if it was above the LCD.

  14. 5FCmY2MN3bCP6fZC
    5FCmY2MN3bCP6fZC
    xsfE6sqLUljEJhNf
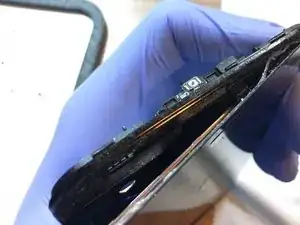
    • Begin to separate the glass display with LCD from the plastic frame.

    • There is a lot of adhesive on the top, but there is not much on the sides and on the bottom.

    • Make sure you slide the top flex cable through the hole before you separate the display (not pictured).

  15. nOkIqpljgaRfSxZO
    • Completely separate the glass display with LCD from the plastic frame.

    • When installing the new display, prebend the flex cables and make sure they fit where they are supposed it. This will remind you of the iPhone 4/4s screen repair if you have ever done it.

Abschluss

To reassemble your device, follow these instructions in reverse order.

Kevin Stuckey

Mitglied seit: 11/01/15

1160 Reputation

9 Kommentare

You forgot to mention replacing the double-sided tape needed to hold the screen in for screens that do not come inserted in the plastic bezel already. You must remove all of the old tape first and then add the new tape into the plastic bezel that holds the screen in before placing the screen into it. This is an integral and obvious part of the repair. I used "Lopurs 1mm 3M Red Double Sided Adhesive Sticker Tape" ordered from Amazon.

anthony.cavalea -

Thanks for the tip! My display included it so I didn't think about it. Sorry I missed it.

Kevin Stuckey -

Opened mine up to dry after it went for a swim in the sink. Any recommendations for replacing what appears to be a thermal pad. It disintegrated when I pulled the mainboard away from the screen. The pad is visible in Step 10. Could I get away with some Arctic Silver 5 and gauze, or should I look into a specific thermal pad?

Philip Kunz -

This is my life saver!!!!

Omie C -
How to male sock charger pine modal no

E-mail .yamarendr.ay@gmail.com

Amarendra yadav -

Can I use Asus zenfone Laser’s display for Asus zenfone 2 ZE551ML? Please comment.

Anil kumar -

I remplace the display of my asus zenfone 2 laser but when I start my phone the sreen stay black … Where from can come the problem ?

Simon GREUSARD -

What about the power button and speaker at the top?

gerrydaworm -

black screen after replacing the LCD screen. I went through the same steps. but the screen is not working. how do i fix it?

Spencer -