Einleitung
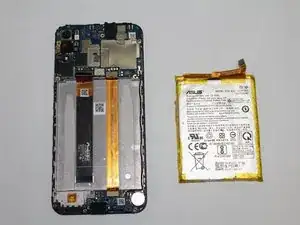
If the charging port of your Asus ZenFone 5 stops working, here are some steps to replace the charging port without puncturing the battery or otherwise damaging your device. The charging port is where you plug in the cable to charge your Asus ZenFone 5, and when it fails the device will have difficulty or be unable to charge.
Werkzeuge
-
-
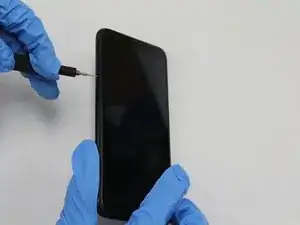
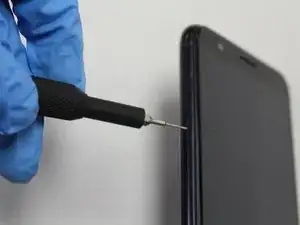
Insert a SIM card removal tool or the end of a paperclip into the small hole on the lefthand side of the phone to release the SIM card.
-
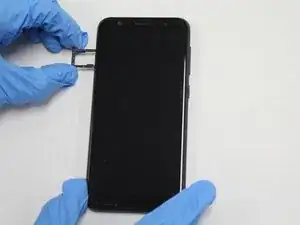
Pull out the SIM card tray.
-
-
-
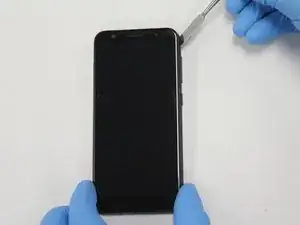
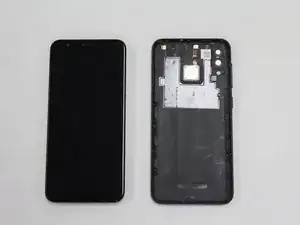
Use a plastic opening pick to pry into the crease between the back cover and the midframe of the phone.
-
Move all the way around the phone until the back cover is separated from the rest of the phone.
-
-
-
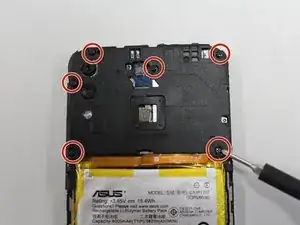
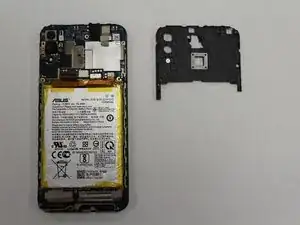
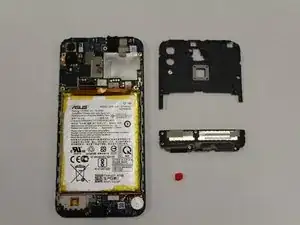
Using a Phillips #00 screwdriver, remove the six screws across the top mid frame and gently lift the top assembly piece. It should detach easily and can be set aside.
-
-
-
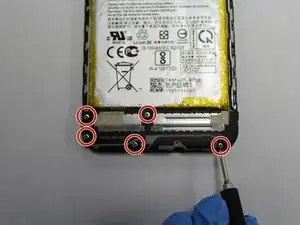
Using a Phillips #00 screwdriver, remove the five screws from the bottom midframe.
-
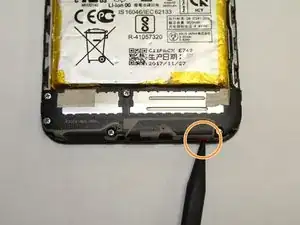
Use the pointed end of a spudger to pry off the bottom midframe using the red latch provided.
-
-
-
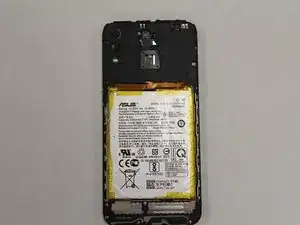
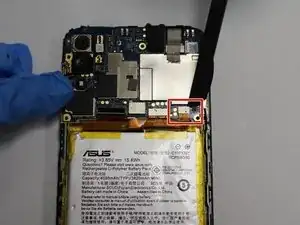
Use a halberd spudger to pry up the battery's press fit connector from the motherboard.
-
Gently pry the battery out of the case, taking care not to bend or puncture the battery.
-
-
-
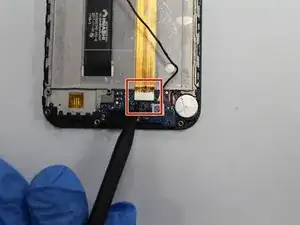
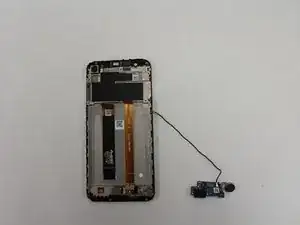
Use a spudger to pry up the interconnect cable's connection on the daughterboard at the bottom end of the phone.
-
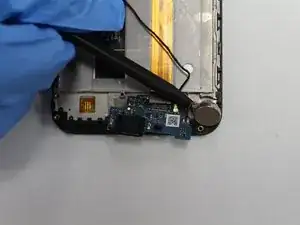
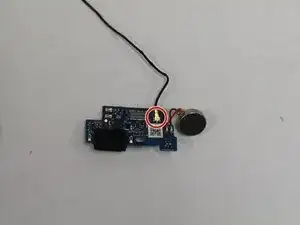
Use a spudger to pry up the daughterboard and CMOS battery.
-
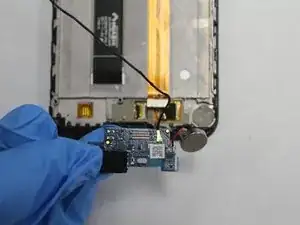
Remove the daughterboard containing the charging port.
-
To reassemble your device, follow these instructions in reverse order.
